Yan . 01, 2025 04:53 Back to list
Steps to Replace a Submersible Well Pump Efficiently and Safely
Changing a Submersible Well Pump A Comprehensive Guide
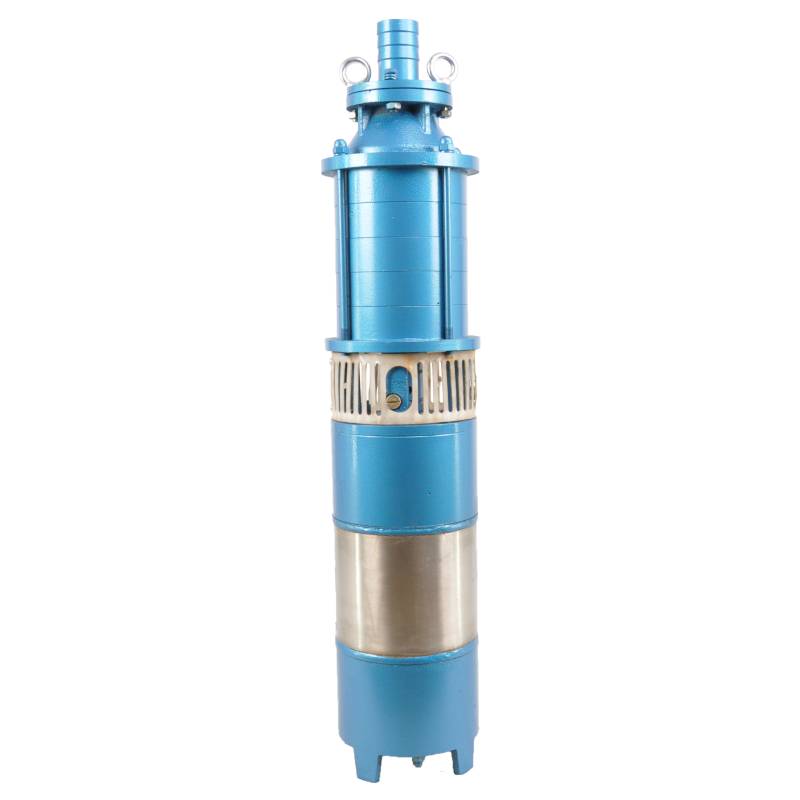
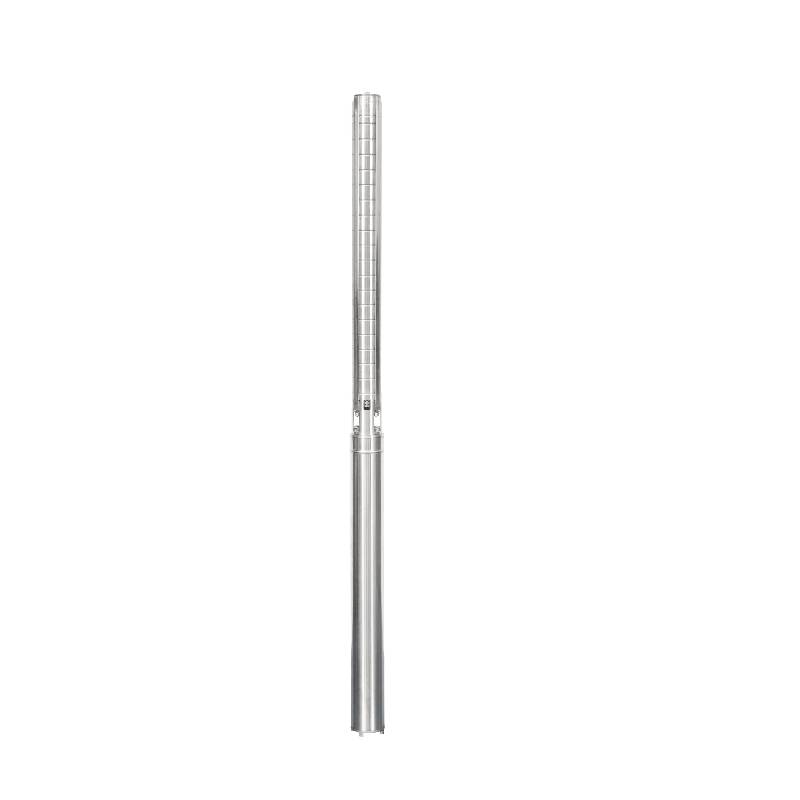
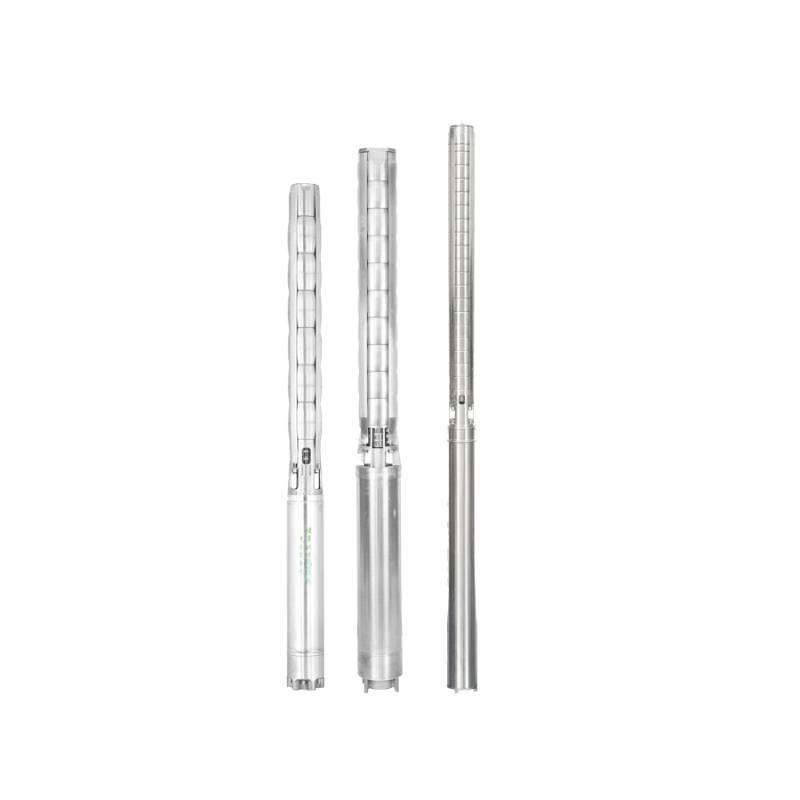
Submersible well pumps are essential devices for retrieving groundwater from deep wells. These pumps function by being submerged in water, which allows them to efficiently push water to the surface. However, like any mechanical equipment, submersible pumps can wear out over time or require replacement due to performance issues. Changing a submersible well pump may seem daunting, but with the right tools and knowledge, it can be a manageable task.
Understanding the Need for Replacement
The first step in changing a submersible well pump is to recognize when it needs to be replaced. Signs that your pump may require replacement include
1. Inconsistent Water Supply If your water flow is intermittent or has significantly reduced, it may indicate pump failure. 2. Unusual Noises Strange noises such as grinding or rattling can point to internal issues. 3. High Energy Bills Increased energy costs may suggest that your pump is working harder than it should be. 4. Age of the Pump Most submersible pumps last between 10-15 years. If your pump is nearing or past this lifespan, it may be time for a replacement.
Tools and Materials Needed
Before beginning the replacement process, gather the necessary tools and materials
- Safety gear (gloves, goggles) - Wrench set - Pipe wrenches - Electrical tools (wire cutters, connectors) - New submersible well pump - PVC or metal piping (if replacement is needed) - Rope or chain for lifting - Bucket for water
Steps to Change the Submersible Well Pump
1
. Prepare the Workspacechanging a submersible well pump

Turn off the power supply to the pump at the circuit breaker. This is crucial for ensuring safety during the replacement process. If there is any residual water in the well, use a bucket to remove it.
2. Remove the Existing Pump
- Disconnect the Electrical Supply Carefully disconnect the electrical wires attached to the pump. Label the wires for easier reconnection later. - Detach the Pump Use wrenches to disconnect the discharge pipe that connects the pump to the surface. If the pump is secured with a tether, carefully unscrew it or cut the rope. - Lift the Pump With the help of a partner, use a rope or chain to gently lift the pump straight out of the well. Be cautious of any sudden jolts and ensure that the pump emerges evenly to prevent bending the pipe.
3. Install the New Pump
- Prepare the New Pump Before installation, inspect the new pump for any damage during shipping. Ensure that all components are intact. - Lower the New Pump Carefully lower the new pump into the well using a lifting device. Make sure it is aligned with the discharge pipe and seated correctly at the bottom of the well. - Reconnect the Discharge Pipe Fasten the discharge pipe securely to the new pump. Ensure all connections are tight to avoid leaks.
4. Reconnect the Electrical Supply
- Wiring Following the labels you made earlier, reconnect the electrical wires to the new pump. Make sure the connections are secure and insulated to prevent any electrical hazards. 5. Power On and Test
Once everything is securely installed, turn the power back on at the circuit breaker. Check for any leaks at the connections and ensure that the pump starts functioning correctly. Observe the water flow to confirm that it meets your expectations.
Final Thoughts
Changing a submersible well pump may seem intimidating, but by following these steps and adhering to safety protocols, you can successfully complete the task. Regular maintenance and timely replacement of your well pump will enhance your system's efficiency and reliability. If you ever feel uncertain, consider consulting with a professional to handle the installation, ensuring peace of mind and optimal functionality of your well water supply.
-
submersible-sump-pump-auto-drainage-for-crawlspaces
NewsAug.22,2025
-
solar-powered-stainless-steel-submersible-well-pump-setup
NewsAug.22,2025
-
stainless-steel-well-pump-flow-rate-optimization
NewsAug.22,2025
-
water-filled-submersible-pump-fish-farm-oxygenation
NewsAug.22,2025
-
submersible-pump-in-aquaculture-and-fish-farming
NewsAug.22,2025
-
deep-well-submersible-pump-for-drought-areas
NewsAug.22,2025
-
 submersible-sump-pump-auto-drainage-for-crawlspacesCrawlspaces, those narrow areas beneath homes, are prone to water accumulation due to leaks, groundwDetail
 -
 solar-powered-stainless-steel-submersible-well-pump-setupHarnessing solar energy to power stainless steel submersible well pumps is a sustainable and coDetail
 -
 stainless-steel-well-pump-flow-rate-optimizationIn various applications like agriculture, domestic water supply, and industrial use, the flow rate oDetail
