Νοέ . 19, 2024 14:04 Back to list
how to replace a submersible water well pump
How to Replace a Submersible Water Well Pump
Replacing a submersible water well pump can seem like a daunting task, but with the right tools and knowledge, it can be accomplished by a determined homeowner. This guide will walk you through the necessary steps to safely and effectively replace a submersible water well pump.
Understanding Submersible Pumps
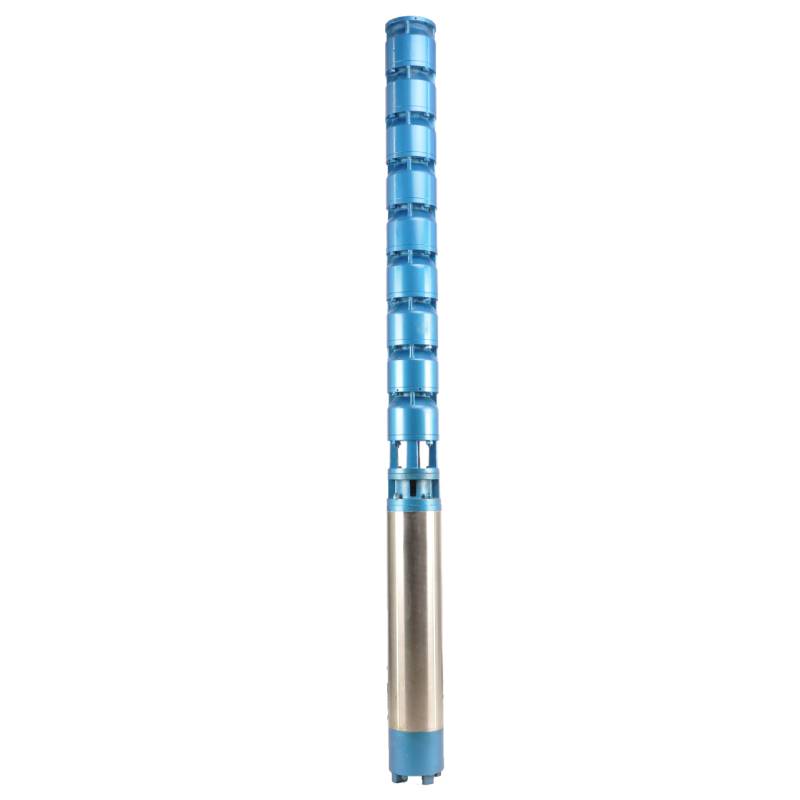
Submersible pumps are designed to operate underwater within a well. They are typically encased in a sealed housing, which protects the motor from water intrusion. These pumps are efficient and can handle a significant amount of water, making them a popular choice for residential water systems. However, like any mechanical device, they can wear out over time, necessitating replacement.
Safety First
Before starting, ensure you have the following safety equipment gloves, safety goggles, and sturdy footwear. Additionally, turning off the power to the well pump at the circuit breaker is crucial to prevent any electrical shock. Verify that the power is off using a multimeter or voltage tester.
Tools and Materials Needed
To replace your submersible pump, you will need a variety of tools and materials
- A new submersible water well pump - A well pitless adapter (if necessary) - PEX or PVC pipe (depending on your existing installation) - A wrench set - A utility knife - A bucket or hose for water drainage - Teflon tape - Rope or pump cable
Steps to Replace Your Submersible Pump
1. Remove the Well Cap Start by removing the well cap. This may involve unscrewing bolts or nuts; consult your specific system for details.
how to replace a submersible water well pump

2. Disconnect the Pump The pump is usually connected to a power supply via a cable. Disconnect the electrical connections while ensuring that you take note of the wiring configuration for reinstallation.
3. Pull the Pump Up This part requires some muscle. You will need to attach a rope or cable to the pump if it isn't already attached, then carefully pull it out of the well. Make sure to pull it straight up to avoid damaging the discharge pipe or wires.
4. Inspect and Prepare the New Pump Once the old pump is out, inspect the well for debris or damage. Clean the area if necessary. Before installation, ensure that your new pump matches the specifications needed for your well system.
5. Install the New Pump Lower the new pump into the well carefully. Ensure that it is positioned correctly and does not twist or tangle the cable.
6. Reconnect the Pump Once the new pump is in place, reconnect the electrical wiring according to the notes you took earlier. Be sure to use Teflon tape on threaded connections to ensure a watertight seal.
7. Install the Well Cap With the pump securely connected, replace the well cap, ensuring it is fastened properly to prevent contaminants from entering the well.
8. Power Up the System Once everything is connected and secured, turn the power back on at the circuit breaker.
9. Test the Pump After re-energizing the system, turn on the water supply and check for any leaks around the connections. Allow the pump to run for a few minutes, observing the water flow and pressure to ensure it operates correctly.
Final Thoughts
Replacing a submersible water well pump may take some effort, but by following these steps carefully, you can successfully manage the process yourself. Remember, if at any point you feel overwhelmed or unsure, it’s wise to consult or hire a professional to ensure the job is done safely and correctly. Regular maintenance and timely replacements can help ensure your well system operates efficiently, providing you and your family with a reliable source of water for years to come.
-
Submersible Water Pump: The Efficient 'Power Pioneer' of the Underwater World
NewsJul.01,2025
-
Submersible Pond Pump: The Hidden Guardian of Water Landscape Ecology
NewsJul.01,2025
-
Stainless Well Pump: A Reliable and Durable Pumping Main Force
NewsJul.01,2025
-
Stainless Steel Submersible Pump: An Efficient and Versatile Tool for Underwater Operations
NewsJul.01,2025
-
Deep Well Submersible Pump: An Efficient 'Sucker' of Groundwater Sources
NewsJul.01,2025
-
Deep Water Well Pump: An Efficient 'Sucker' of Groundwater Sources
NewsJul.01,2025
-
 Submersible Water Pump: The Efficient 'Power Pioneer' of the Underwater WorldIn the field of hydraulic equipment, the Submersible Water Pump has become the core equipment for underwater operations and water resource transportation due to its unique design and excellent performance.Detail
 -
 Submersible Pond Pump: The Hidden Guardian of Water Landscape EcologyIn courtyard landscapes, ecological ponds, and even small-scale water conservancy projects, there is a silent yet indispensable equipment - the Submersible Pond Pump.Detail
 -
 Stainless Well Pump: A Reliable and Durable Pumping Main ForceIn the field of water resource transportation, Stainless Well Pump has become the core equipment for various pumping scenarios with its excellent performance and reliable quality.Detail
