Дек . 30, 2024 01:51 Back to list
Guidelines for Installing a Submersible Water Pump in Your Well System
Installing a Submersible Well Pump A Complete Guide
When it comes to accessing groundwater, submersible well pumps are an efficient and reliable solution. These pumps are designed to be submerged in water, making them ideal for deep wells. Nevertheless, installing a submersible well pump requires careful planning and execution to ensure optimal performance and longevity. In this article, we will explore the steps necessary for installing a submersible well pump effectively.
Understanding Submersible Well Pumps
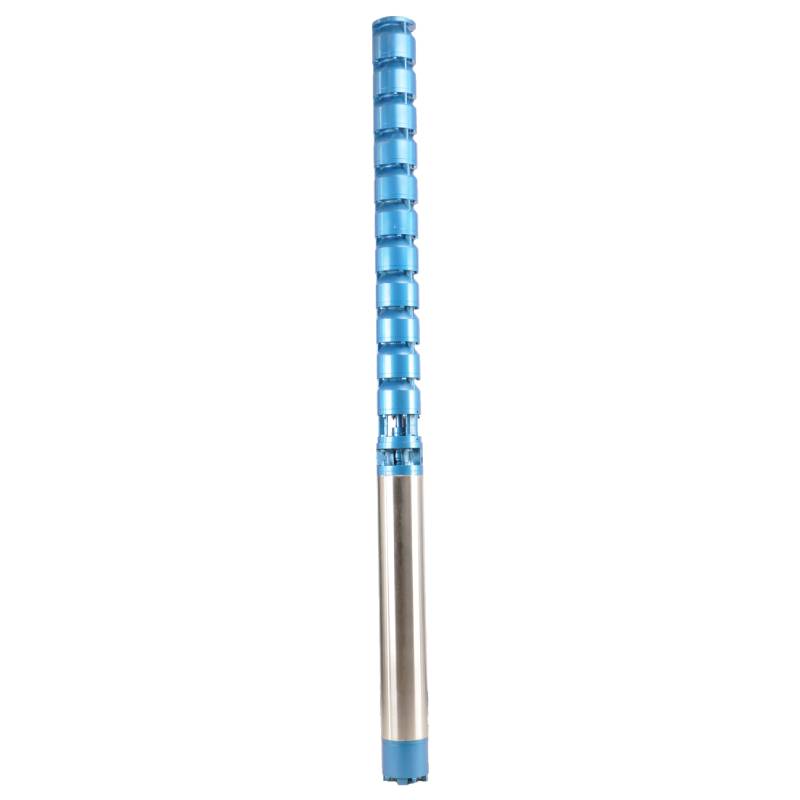
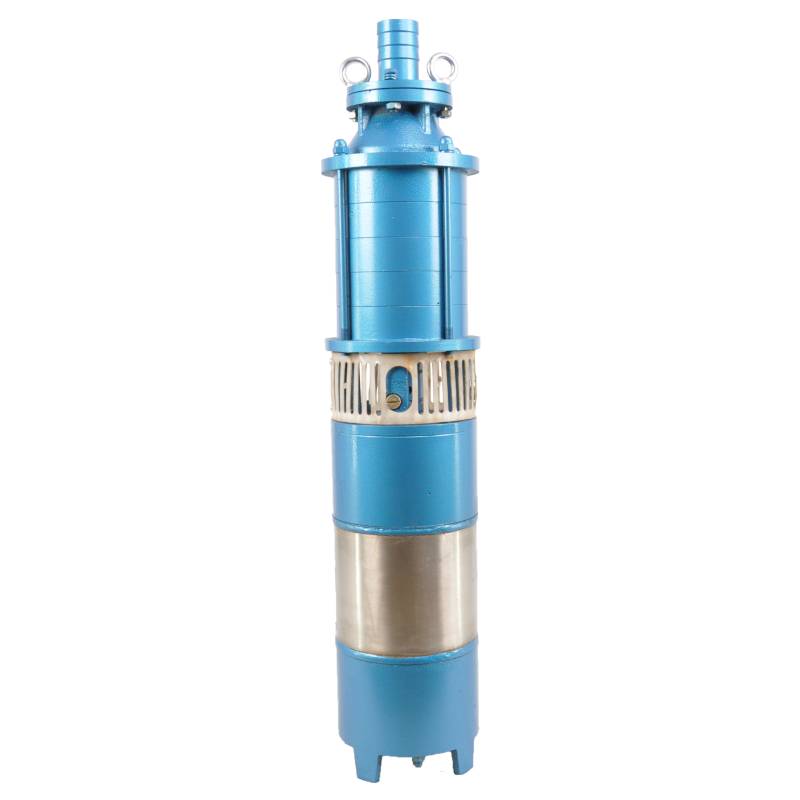
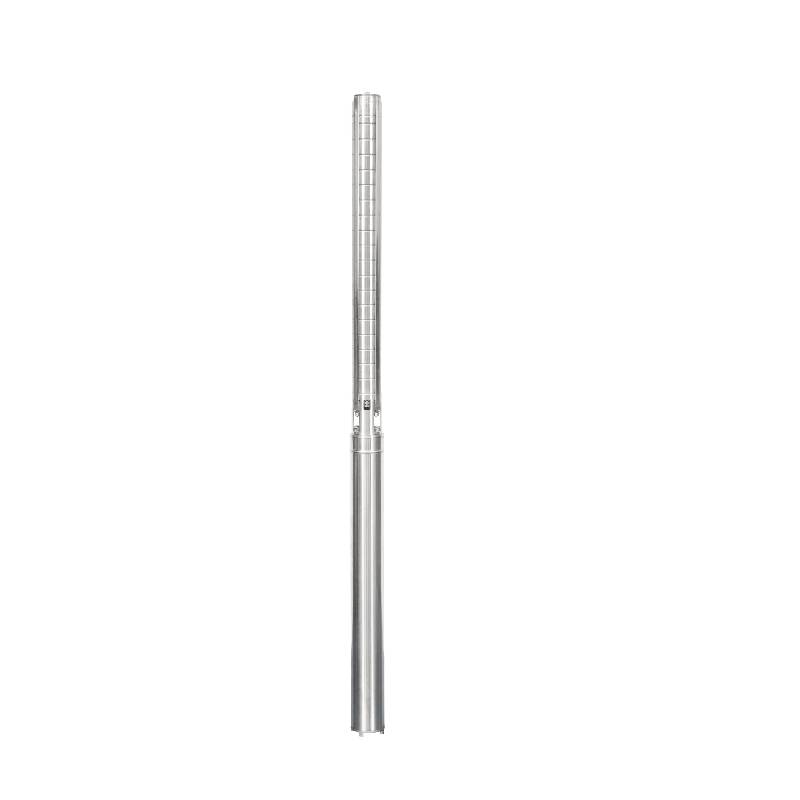
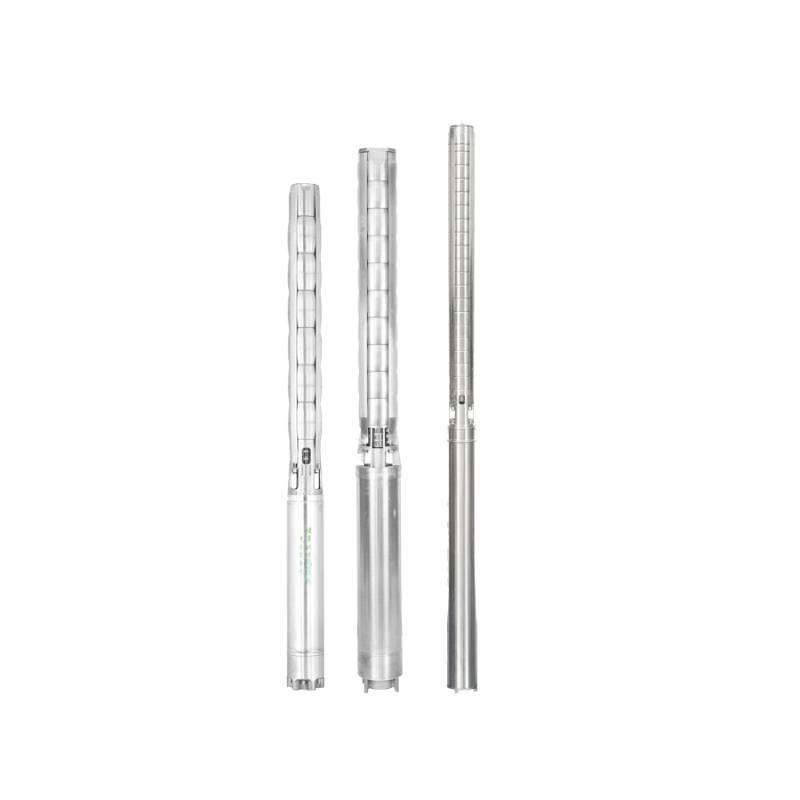
Submersible well pumps operate by using a series of stages that increase water pressure as it moves to the surface. They typically consist of a motor and a pump assembly, both encased in a waterproof housing. This design allows them to push water to the surface instead of pulling it, reducing the risk of cavitation and improving efficiency.
Tools and Materials Needed
Before you begin the installation process, gather the necessary tools and materials
1. Submersible well pump (sized appropriately for your well depth and water demand) 2. Pump control box (if required) 3. PVC or polyethylene piping (for the discharge line) 4. Electrical wire (rated for submersible applications) 5. Waterproof connectors and junction boxes 6. Wrenches, pliers, and screwdrivers 7. Sling or lifting equipment (for lowering the pump) 8. Safety gear (gloves, goggles)
Step-by-Step Installation Process
Step 1 Site Preparation
Start by ensuring that the well head is accessible and clear of debris. Verify that the well casing is intact and free from any cracks that could lead to contamination. Additionally, confirm that you have the proper permits and adhere to local regulations regarding well installations.
Step 2 Assemble the Pump and Piping
Before lowering the pump, assemble the discharge piping and fittings to the pump. Ensure that all connections are secure and leak-proof. Use Teflon tape or thread sealant to prevent any leaks. Allow enough length of pipe to reach the surface and connect to your plumbing system.
Step 3 Lowering the Pump
installing a submersible well pump

Using a sling or lifting equipment, carefully lower the submersible pump into the well. Be cautious to avoid kinking or damaging the discharge pipe. As you lower the pump, make sure the electrical cable follows without getting tangled. The pump should be positioned at least 10 feet above the bottom of the well to avoid sediment intake.
Step 4 Connecting Electrical Wiring
At the well head, make the necessary electrical connections to the pump. This usually involves connecting the power supply to the pump control box. Make sure to follow the manufacturer's instructions for wiring. Use waterproof connectors to protect against corrosion and moisture. Once connected, seal any junction boxes with appropriate covers.
Step 5 Testing the System
With the pump in place and electrical connections secured, it’s time to test the system. Turn on the power supply and observe the pump's operation. Listen for any unusual sounds and check for leaks at the connections. Monitor the water flow and pressure to ensure the pump is delivering the required output.
Step 6 Finalizing the Installation
Once you’ve confirmed that the pump is working correctly, secure any loose components and tidy up the installation site. Seal the well head to prevent contamination from surface water and pests. Regularly inspect the pump and connections for wear and tear, taking note of any changes in performance.
Maintenance Tips
To ensure the longevity of your submersible well pump, establish a regular maintenance routine.
- Check the electrical connections and wiring annually for signs of wear. - Inspect the pump for mineral buildup or corrosion. - Test the water quality periodically to detect any contamination that may arise.
Conclusion
Installing a submersible well pump can significantly enhance your access to groundwater, providing a reliable water supply for various uses. By following the steps outlined in this guide and adhering to safety and maintenance practices, you can ensure a successful installation and the longevity of your pump. Always consult professional installers or local guidelines if you encounter uncertainties during the installation process.
-
submersible-sump-pump-auto-drainage-for-crawlspaces
NewsAug.22,2025
-
solar-powered-stainless-steel-submersible-well-pump-setup
NewsAug.22,2025
-
stainless-steel-well-pump-flow-rate-optimization
NewsAug.22,2025
-
water-filled-submersible-pump-fish-farm-oxygenation
NewsAug.22,2025
-
submersible-pump-in-aquaculture-and-fish-farming
NewsAug.22,2025
-
deep-well-submersible-pump-for-drought-areas
NewsAug.22,2025
-
 submersible-sump-pump-auto-drainage-for-crawlspacesCrawlspaces, those narrow areas beneath homes, are prone to water accumulation due to leaks, groundwDetail
 -
 solar-powered-stainless-steel-submersible-well-pump-setupHarnessing solar energy to power stainless steel submersible well pumps is a sustainable and coDetail
 -
 stainless-steel-well-pump-flow-rate-optimizationIn various applications like agriculture, domestic water supply, and industrial use, the flow rate oDetail
