Қаз . 14, 2024 01:25 Back to list
replacing a submersible well pump
Replacing a Submersible Well Pump A Comprehensive Guide
Replacing a submersible well pump is a task that many homeowners with private water systems may eventually face. While the process can seem daunting, understanding the steps involved can simplify the experience and ensure the job is done effectively.
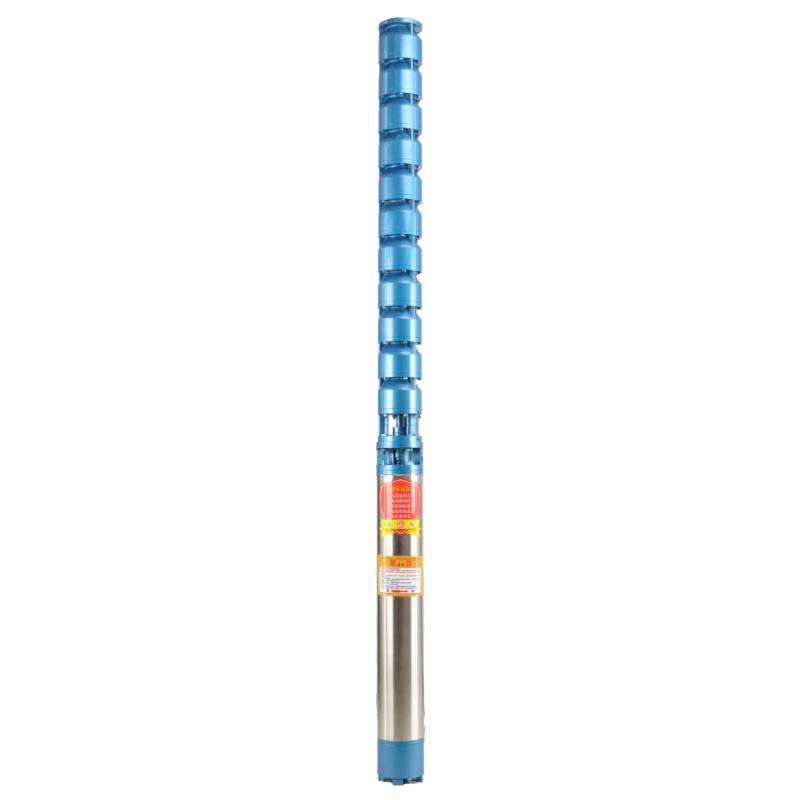
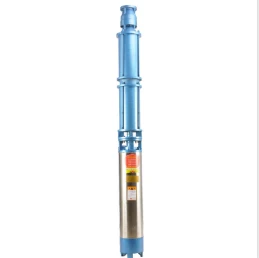
Submersible well pumps are designed to function underwater, efficiently lifting water from deep underground to the surface. Over time, factors such as wear and tear, sediment build-up, and electrical failures can hinder their performance. Recognizing the signs of a failing pump is essential. Symptoms may include a decrease in water pressure, strange noises, or discolored water. Once you've determined that replacement is necessary, here’s how to proceed.
Step 1 Gather Necessary Tools and Materials
Before beginning the replacement process, it’s crucial to gather all required tools and materials. You'll need a new submersible pump, a wrench, a pipe cutter, Teflon tape, a hoist or pulley system, and safety gear. Ensuring you have everything on hand can make the task smoother and more efficient.
Step 2 Disconnect Power Supply
Safety is paramount when working with electrical equipment. Start by turning off the power to the well pump at the circuit breaker. Confirm that the power is off by testing the circuit with a voltage tester. This precaution will prevent accidents while you’re working.
Step 3 Remove the Existing Pump
replacing a submersible well pump

Using a hoisting system or a pulley, carefully lift the old pump from the well. Be cautious of the wiring and piping that connects the pump to the control box and waterline. Detach the pump from these connections, and if necessary, cut the pipe carefully using a pipe cutter.
Step 4 Install the New Pump
Once the old pump is out, it’s time to install the new one. Start by connecting the pipes to the new submersible pump. Use Teflon tape on threaded connections to ensure a watertight seal. Lower the pump into the well, ensuring that it’s placed at the appropriate depth for optimal performance.
Step 5 Reconnect Power and Test the System
After securing the pump in place, reconnect the electrical wiring according to the manufacturer's guidelines. Once everything is reassembled, turn the power back on at the circuit breaker. Monitor the system for any unusual sounds or leaks. If everything operates smoothly, you’ve successfully replaced your submersible well pump.
Conclusion
Replacing a submersible well pump may seem like a complex task, but with the right preparation and understanding, it can be accomplished efficiently. Always remember to prioritize safety, follow manufacturer instructions, and consult a professional if you're uncertain about any part of the process. Taking these steps will ensure a reliable water supply for your home for years to come.
-
Water Pumps: Solutions for Every Need
NewsJul.30,2025
-
Submersible Well Pumps: Reliable Water Solutions
NewsJul.30,2025
-
Stainless Steel Water Pumps: Quality and Durability
NewsJul.30,2025
-
Powerful Water Pumps: Your Solution for Efficient Water Management
NewsJul.30,2025
-
Oil vs Water Filled Submersible Pumps: Which is Better?
NewsJul.30,2025
-
Deep Well Pumps: Power and Reliability
NewsJul.30,2025
-
 Water Pumps: Solutions for Every NeedWhen it comes to handling dirty water, the dirty water pump is a must-have.Detail
 -
 Submersible Well Pumps: Reliable Water SolutionsWhen it comes to ensuring a reliable water supply, submersible well pumps are a top choice.Detail
 -
 Stainless Steel Water Pumps: Quality and DurabilityWhen it comes to choosing a water pump, the stainless steel water pump price is a crucial factor.Detail
