ធ្នូ . 26, 2024 04:32 Back to list
Guide to Installing a Submersible Pump for Deep Well Applications
How to Install a Deep Well Submersible Pump
Installing a deep well submersible pump can seem daunting, but with the right tools and knowledge, it can be a manageable project. These pumps are designed for deep water extraction, making them essential for agricultural, residential, and commercial use. Here’s a comprehensive guide to help you through the installation process.
1. Gather Necessary Tools and Materials
Before you start the installation, ensure you have all the required tools and materials. You'll typically need
- A submersible pump - PVC or galvanized pipe (depending on your application) - Wiring and a control box - Well casing and adapters - A pipe wrench - A power drill - A pipe cutter - Teflon tape - Safety gear (gloves, goggles)
2. Prepare the Well
Begin by ensuring that your well is free from debris and has sufficient space for the pump. Inspect the well casing and make any necessary repairs. Before proceeding, check local regulations regarding well installations to ensure compliance.
3. Determine Pump Depth
Calculate the distance the pump needs to be submerged and the water level in the well. A good rule of thumb is to position the pump at least 10 feet below the static water level but not so low that it risks sucking in sediment. A depth gauge can be helpful for this task.
4. Assemble the Pump and Pipe
Attach the discharge head to the pump and then connect the pipe. Depending on your pump model, you may need to use specific fittings. Ensure that all connections are secure and use Teflon tape to create a watertight seal. This assembly will be crucial for the overall efficiency of your pump.
5
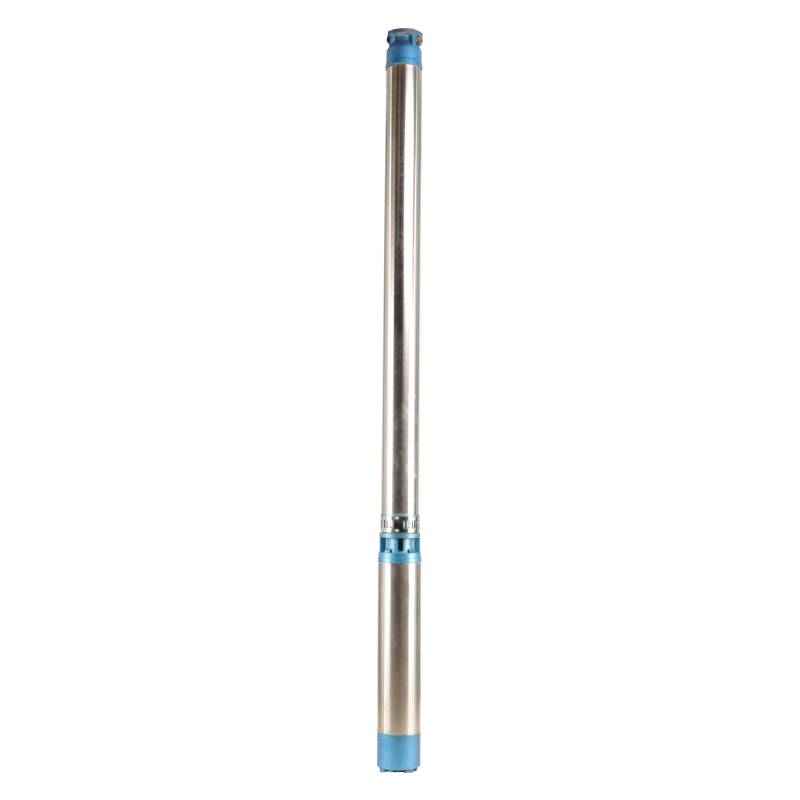
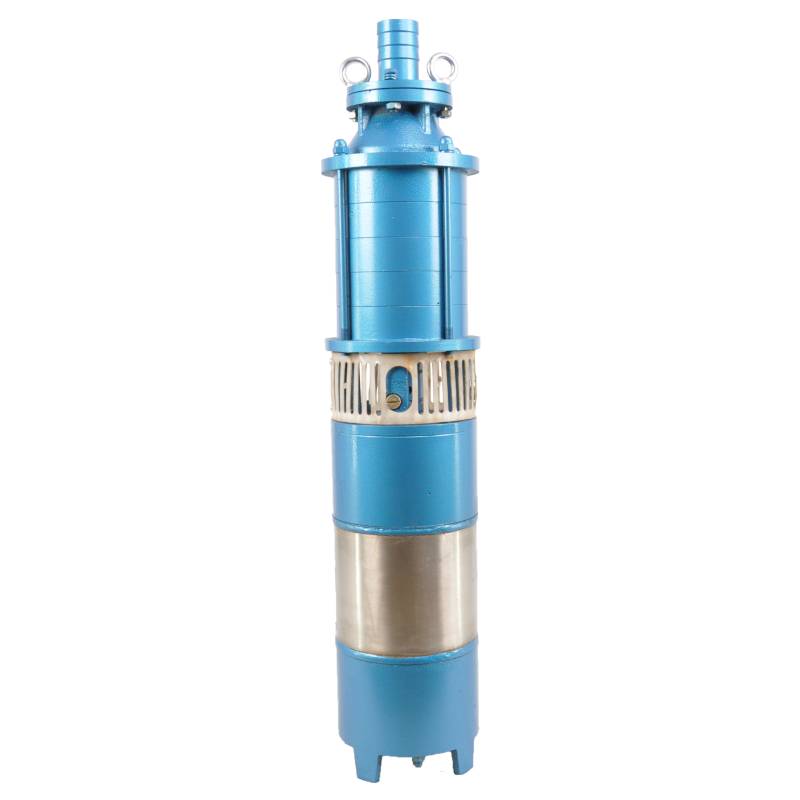
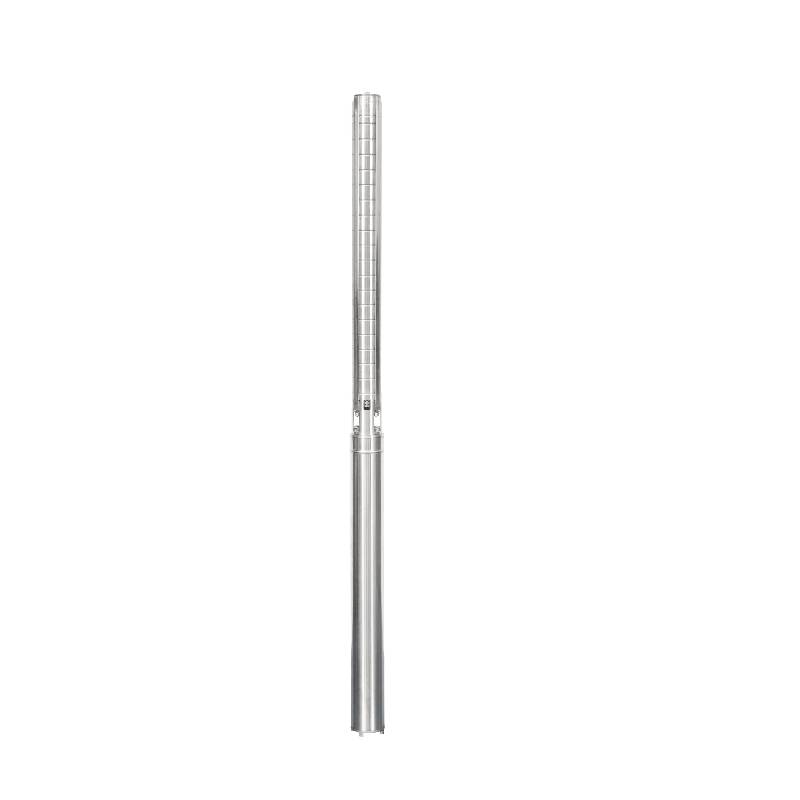
. Install the Pumphow to install a deep well submersible pump

Carefully lower the pump into the well using a strong, durable rope or cable. It's important to lower the pump straight down to avoid damaging it or the well casing. Some pumps come with guides that can help maintain alignment. Check the pump's owner manual for specific instructions regarding the installation.
6. Connect Electrical Wiring
Once the pump is in place, you'll need to connect the electrical wiring. Follow the manufacturer's guidelines for the specific wiring setup. Make sure that the power supply is turned off during this stage. Connect the wires from the pump to the control box according to the provided schematic. A proper connection is vital to avoid electrical issues later on.
7. Test the Pump
Before fully sealing the well, conduct a test run of the pump. Restore power and observe the operation carefully. Check for leaks in the connections and listen for unusual noises that might indicate a problem. Ensure that water is flowing freely from the pump.
8. Secure the Wellhead
Once you've verified that everything is functioning correctly, secure the wellhead according to local regulations. This might involve installing a protective cap and ensuring that there are no gaps that could allow contaminants to enter the well.
9. Regular Maintenance
After installation, it’s crucial to maintain your submersible pump regularly. Periodic checks for wear and tear, cleaning out any sediment buildup, and ensuring that electrical connections remain secure can significantly extend the life of your pump.
Conclusion
Installing a deep well submersible pump can be a straightforward project if approached systematically. By gathering the right tools, following safety protocols, and carefully adhering to manufacturer instructions, you can ensure a successful installation. Always consult with professionals if you are uncertain at any step, as mishaps can lead to costly repairs or even hazardous situations. With a little patience and effort, you'll have a reliable water source that meets your needs for years to come.
-
submersible-sump-pump-auto-drainage-for-crawlspaces
NewsAug.22,2025
-
solar-powered-stainless-steel-submersible-well-pump-setup
NewsAug.22,2025
-
stainless-steel-well-pump-flow-rate-optimization
NewsAug.22,2025
-
water-filled-submersible-pump-fish-farm-oxygenation
NewsAug.22,2025
-
submersible-pump-in-aquaculture-and-fish-farming
NewsAug.22,2025
-
deep-well-submersible-pump-for-drought-areas
NewsAug.22,2025
-
 submersible-sump-pump-auto-drainage-for-crawlspacesCrawlspaces, those narrow areas beneath homes, are prone to water accumulation due to leaks, groundwDetail
 -
 solar-powered-stainless-steel-submersible-well-pump-setupHarnessing solar energy to power stainless steel submersible well pumps is a sustainable and coDetail
 -
 stainless-steel-well-pump-flow-rate-optimizationIn various applications like agriculture, domestic water supply, and industrial use, the flow rate oDetail
