ធ្នូ . 26, 2024 15:07 Back to list
installing submersible well pump
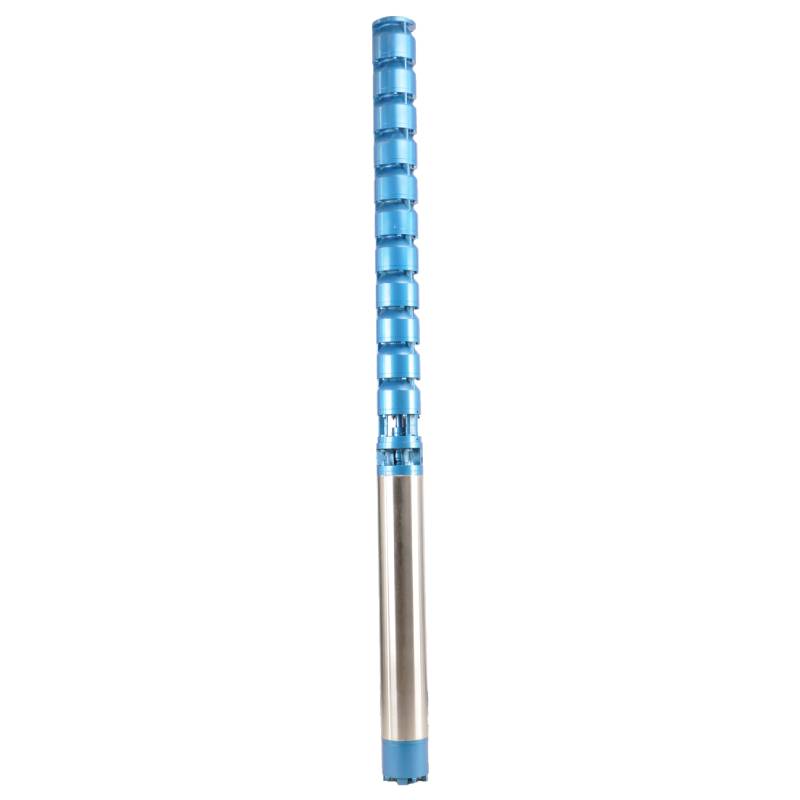
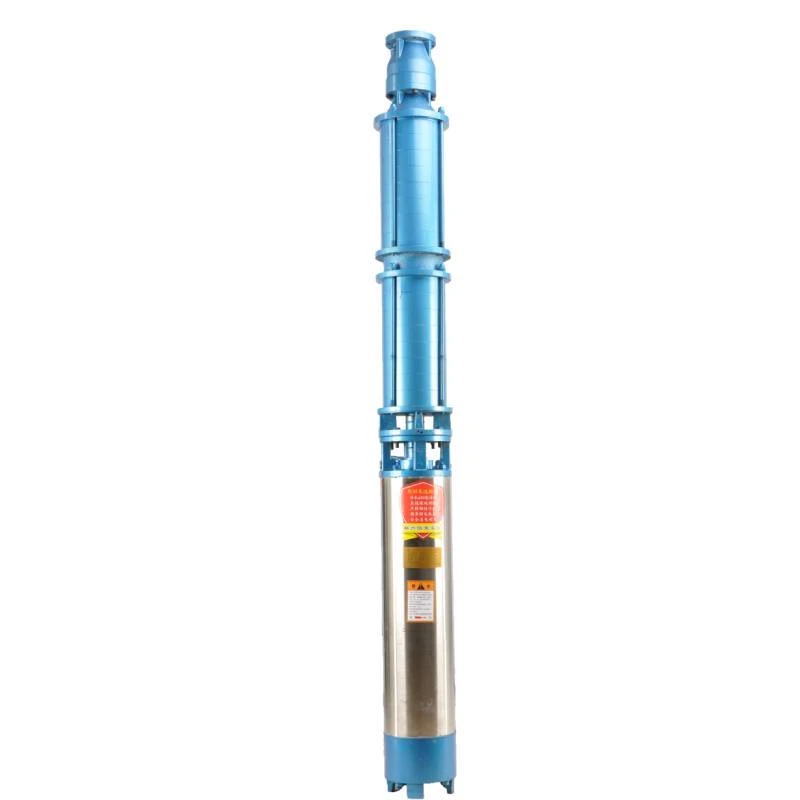
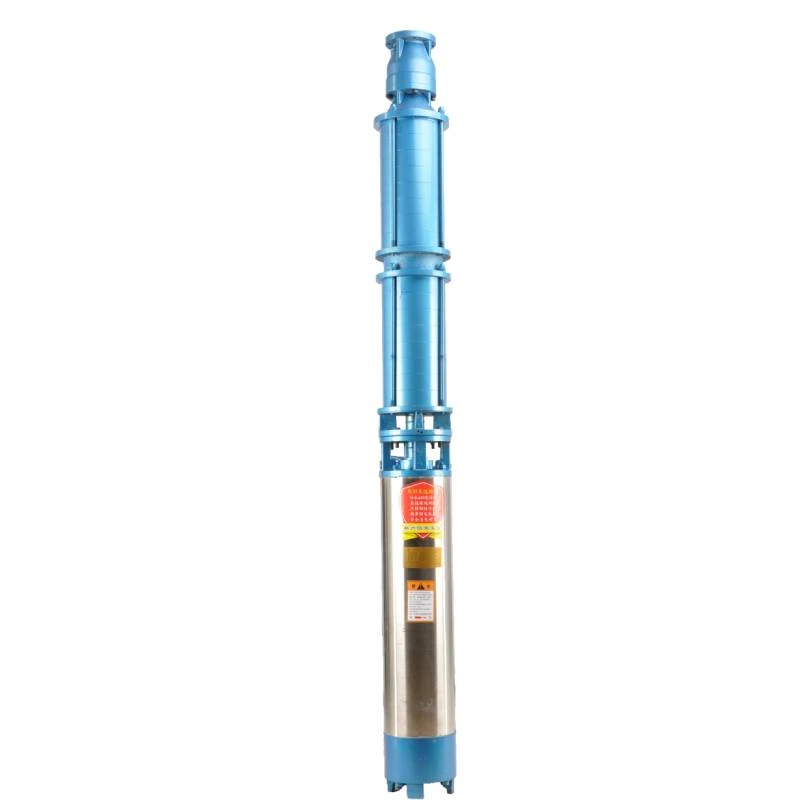
Installing a Submersible Well Pump A Comprehensive Guide
Submersible well pumps are essential devices used to extract groundwater from wells. They are designed to operate underwater, enabling them to push water to the surface effectively. Installing a submersible well pump may seem daunting, but with the right tools and knowledge, it can be a manageable task. Here is a comprehensive guide to help you navigate through the installation process.
Understanding the Components
Before diving into the installation, it’s crucial to familiarize yourself with the components of a submersible well pump. The primary parts include
1. Pump The heart of the system, transferring water from the well. 2. Motor Attached to the pump and powered by electricity, it drives the pump mechanism. 3. Drop Pipe A pipe that connects the pump to the surface, allowing water to travel upwards. 4. Check Valve Prevents backflow of water when the pump is turned off. 5. Electrical Wiring Needed to connect the motor to the power supply.
Understanding these components is essential for a successful installation.
Safety First
Before starting the installation, ensure you have the necessary safety gear. This includes gloves, goggles, and sturdy footwear to protect against potential hazards. Additionally, turn off the power supply to avoid any electrical accidents.
Tools Required
The following tools will be necessary for installing a submersible well pump
- Pipe wrenches - Adjustable wrench - Screwdrivers - Electrical tape - A well pump installation tool (if available) - A depth measuring tape
Installation Steps
installing submersible well pump

1. Preparation Begin by measuring the depth of the well using the depth measuring tape. This will help you determine the length of the drop pipe and electrical wiring needed.
2. Assemble the Pump Attach the motor to the pump according to the manufacturer's instructions. Ensure that all connections are secure and watertight.
3. Attach the Drop Pipe Connect the drop pipe to the pump outlet. Use pipe wrenches to ensure a tight fit. It is essential to use the correct type of pipe, typically PVC or galvanized steel, which can withstand the submersion and pressure.
4. Install the Check Valve Place the check valve in the drop pipe, ideally a few feet above the pump. This will help prevent water from flowing back down the well when the pump is off.
5. Lower the Pump Carefully lower the assembled pump into the well. Do this slowly to avoid damaging the pump or the well casing. Ensure that the drop pipe and electrical wiring are not twisted or kinked during this process.
6. Connect the Electrical Wiring Once the pump is submerged, pull the electrical wiring up to the surface. Strip the ends of the wires and connect them to the power supply according to local electrical codes. It’s highly recommended to consult a licensed electrician for this step to ensure safety and compliance.
7. Test the Pump Before sealing everything up, test the pump to ensure it operates correctly. Turn on the power supply and check for any leaks in the connections. If everything functions smoothly, you're well on your way.
Final Touches
After confirming that the pump is operational, seal the well casing tightly. This prevents contamination and maintains the integrity of your water supply. Finally, document the installation details, including the pump model, depth, and any maintenance tips for future reference.
Conclusion
Installing a submersible well pump is a practical skill that can enhance your water supply system. By understanding the components, following safety precautions, and adhering to the installation steps, you can successfully install a submersible well pump. Remember, when in doubt, it’s wise to consult with or hire professionals to ensure everything is done correctly and safely. With your new pump in place, you can enjoy reliable access to fresh, clean water for years to come.
-
125QJR Deep Well Submersible Pump - High Performance & Reliable Water Supply
NewsAug.28,2025
-
Water Filled Submersible Pump
NewsAug.26,2025
-
The Ultimate Solution for Clean
NewsAug.26,2025
-
SS Submersible Pump
NewsAug.26,2025
-
Reliable Water Extraction from Great Depths
NewsAug.26,2025
-
Deep Well Submersible Pump
NewsAug.26,2025
-
 125QJR Deep Well Submersible Pump - High Performance & Reliable Water SupplyGet reliable, high-performance water with the 125QJR Deep Well Submersible Pump. Ideal for irrigation, agriculture, and industrial deep well applications. Experience efficient, continuous water supply. Shop now!Detail
 -
 Water Filled Submersible PumpA water filled submersible pump is engineered for optimal cooling, eco-friendliness, and high efficiency, especially in applications involving clean or slightly sandy water.Detail
 -
 The Ultimate Solution for CleanWhen it comes to efficient water delivery from underground or submerged sources, a submersible pump stands as the go-to solution for homes, farms, ponds, and industrial sites.Detail
