
Feb . 15, 2025 20:19 Back to list
3 phase submersible pump wiring diagram
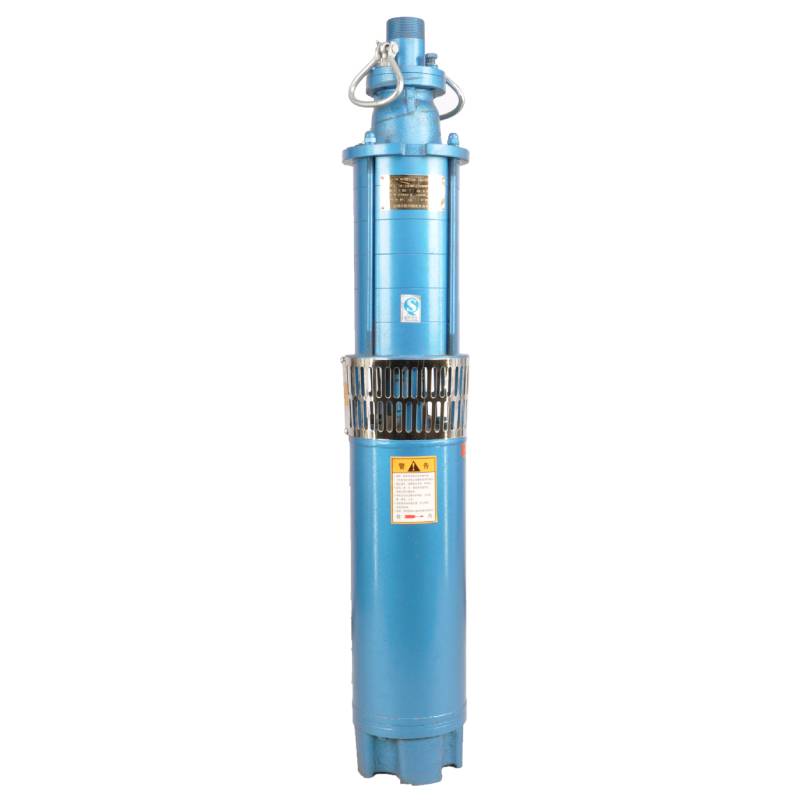
Understanding the wiring of a 3 phase submersible pump is essential for professionals looking to ensure reliability, safety, and efficiency in fluid management systems. These pumps are commonly used in applications such as irrigation, sewage treatment, and industrial water processes, where understanding the nuances of electrical connections can significantly impact performance and longevity.
It is also important to consider the specific environmental conditions in which the pump operates. Factors like water acidity, temperature, and the presence of solids can influence both wiring insulation and the choice of material for connectors and junction boxes. Opting for high-quality, corrosion-resistant materials can extend the life of the installation and reduce maintenance frequency. From an authoritative standpoint, consulting the pump manufacturer's technical datasheet and adhering to local electrical codes provides a framework for best practices in wiring. Technical support and resources are often available from manufacturers for complex installations requiring specialized configurations. Finally, regular maintenance and inspection form a crucial part of ensuring the system’s trustworthiness and efficient performance over time. Scheduled checks help identify early signs of wear or compliance issues, such as integrity of insulation and secure connections, thereby preempting potential failures. This framework not only optimizes the functionality of a 3-phase submersible pump but also enhances operational safety and minimizes costly downtime. In-depth understanding and meticulous implementation of wiring guidelines contribute to sustainable operations and are a testament to the expertise and reliability expected in professional electrical and mechanical installations.

It is also important to consider the specific environmental conditions in which the pump operates. Factors like water acidity, temperature, and the presence of solids can influence both wiring insulation and the choice of material for connectors and junction boxes. Opting for high-quality, corrosion-resistant materials can extend the life of the installation and reduce maintenance frequency. From an authoritative standpoint, consulting the pump manufacturer's technical datasheet and adhering to local electrical codes provides a framework for best practices in wiring. Technical support and resources are often available from manufacturers for complex installations requiring specialized configurations. Finally, regular maintenance and inspection form a crucial part of ensuring the system’s trustworthiness and efficient performance over time. Scheduled checks help identify early signs of wear or compliance issues, such as integrity of insulation and secure connections, thereby preempting potential failures. This framework not only optimizes the functionality of a 3-phase submersible pump but also enhances operational safety and minimizes costly downtime. In-depth understanding and meticulous implementation of wiring guidelines contribute to sustainable operations and are a testament to the expertise and reliability expected in professional electrical and mechanical installations.
Next:
Latest news
-
Understanding the Price Submersible Pump and Buyer Guide
NewsApr.16,2026
-
Factors Affecting the Price for Submersible Pump a Buyers Guide
NewsApr.09,2026
-
Choosing the Right Mini Submersible Fountain Pump for Optimal Water Feature Performance
NewsApr.07,2026
-
A Detailed Guide to Installing a Submersible Pump for Optimal Performance
NewsApr.04,2026
-
Comprehensive Guide on How to Test a Submersible Water Well Pump Effectively
NewsMar.31,2026
-
Learn How to Replace a Submersible Well Pump Safely and Effectively
NewsMar.28,2026
-
 Understanding the Price Submersible Pump and Buyer GuideWhen searching for the ideal water management solution, understanding the price submersible pump options is crucial for balancing budget with performance. Whether you are dealing with a flooded basement, managing agricultural irrigation, or extracting water from a deep well, the cost of a submersible pump can vary significantly based on its build quality and capacity. Investing in a high-quality pump ensures long-term reliability and reduces the frequency of expensive replacements. In this guide, we will break down the factors that influence pricing and help you make an informed decision for your specific needs.Detail
 -
 Factors Affecting the Price for Submersible Pump a Buyers GuideWhen investing in water management systems, understanding the price for submersible pump options is essential for balancing performance with budget. Whether you are managing a residential well, an industrial drainage project, or agricultural irrigation, the cost of a pump is rarely a flat fee; it is a reflection of the engineering, materials, and capacity required for your specific environment. In this guide, we will break down the factors that influence pricing and help you determine the best value for your investment to ensure long-term reliability and efficiency.Detail
 -
 Choosing the Right Mini Submersible Fountain Pump for Optimal Water Feature PerformanceCreating a beautiful and relaxing water feature doesn't have to be complicated. A mini submersible fountain pump is the heart of any indoor or outdoor fountain, and selecting the right one is crucial for optimal performance and longevity. This article will guide you through the key considerations when choosing a mini submersible fountain pump, covering types, features, applications, and how to ensure you get the perfect pump for your project. We’ll also explore how Wellpumpact can provide you with the ideal solution.Detail