ຕ.ລ. . 30, 2024 16:28 Back to list
how to install a submersible deep well pump
How to Install a Submersible Deep Well Pump
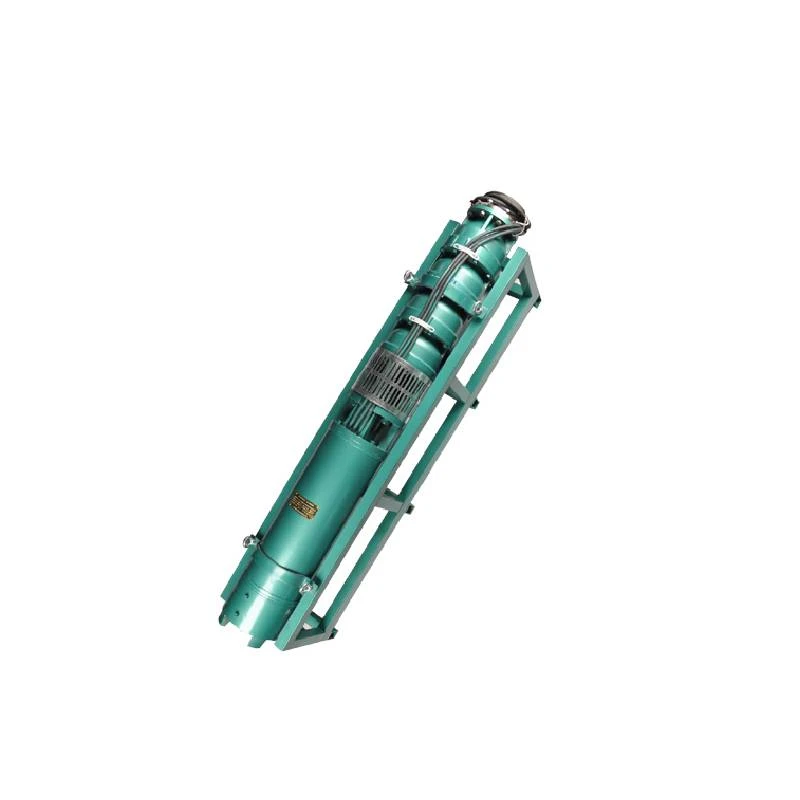
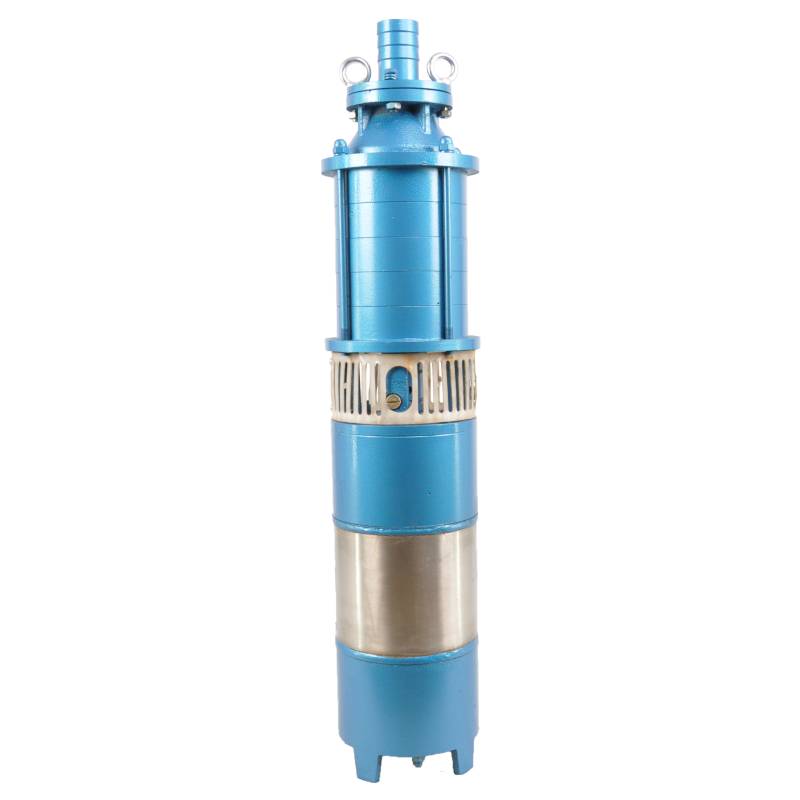
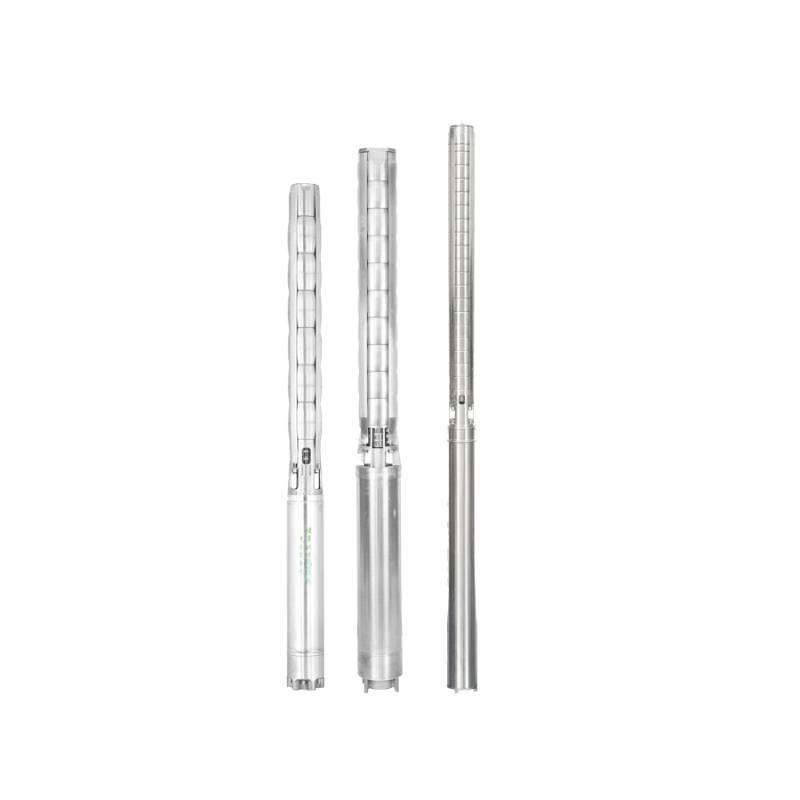
Installing a submersible deep well pump can seem daunting, but with the right tools and knowledge, it can be accomplished effectively. These pumps are designed to push water from deep underground, making them effective for extracting groundwater. Here’s a step-by-step guide to help you successfully install your submersible pump.
1. Gather the Required Tools and Materials Before you begin, ensure you have all the necessary tools and materials. You will need
- Submersible deep well pump - Electrical cable - Pipe fittings (PVC or metal) - Well cap - Wrench set - Rope or cable - Bucket or storage container - Pipe sealing tape - Power source (generator or electrical outlet) - Safety gear (gloves, goggles)
2. Prepare the Site Before installation, clear the area around the well. Make sure there is enough room to maneuver and install all components. Verify the depth of the well and ensure you have the right size pump for your water needs.
3. Assemble the Pump and Fittings Carefully unpack the submersible pump and read the manufacturer’s instructions. Assemble the necessary fittings while paying attention to sealing to prevent leaks. Use pipe sealing tape on threaded joints to ensure a watertight seal.
4. Attach the Electrical Cable Most submersible pumps require an electrical connection. Make sure to install the electrical cable according to the manufacturer’s guidelines. This usually involves connecting the power supply to the pump’s motor. If unsure, consult a licensed electrician to avoid electrical hazards.
how to install a submersible deep well pump

5. Lower the Pump into the Well With the help of a friend or family member, carefully lower the submersible pump into the well using a rope or cable. Ensure the pump descends straight down and does not tilt, as this could damage the pump or well casing. Lower it to the required depth according to the pump specifications.
6. Connect the Discharge Pipe Once the pump is in place, connect the discharge pipe to the pump’s outlet. Make sure to secure the connection firmly to prevent any future leaks. Use appropriate materials depending on the pump and well type to ensure durability and resistance to corrosion.
7. Install the Well Cap After the pump is securely in place, install the well cap. This serves to protect the pump from contaminants and ensures the system remains sealed. Ensure that all connections are tight, and that fittings are secure.
8. Test the Pump Before considering the job complete, perform a test run of the pump. Turn on the power supply and observe the operation. Check for any leaks or unusual noises. If everything runs smoothly, you can expect efficient operation from your deep well pump.
9. Regular Maintenance After installation, remember that regular maintenance is key to ensuring the longevity of your pump. Check for sediment build-up, inspect electrical connections, and replace any worn parts as necessary.
By following these steps, you can successfully install a submersible deep well pump, bringing reliable water supply to your home or farm. Always refer to the manufacturer’s instructions for specific guidance, and do not hesitate to contact professionals if you encounter any challenges during the installation process.
-
submersible-sump-pump-auto-drainage-for-crawlspaces
NewsAug.22,2025
-
solar-powered-stainless-steel-submersible-well-pump-setup
NewsAug.22,2025
-
stainless-steel-well-pump-flow-rate-optimization
NewsAug.22,2025
-
water-filled-submersible-pump-fish-farm-oxygenation
NewsAug.22,2025
-
submersible-pump-in-aquaculture-and-fish-farming
NewsAug.22,2025
-
deep-well-submersible-pump-for-drought-areas
NewsAug.22,2025
-
 submersible-sump-pump-auto-drainage-for-crawlspacesCrawlspaces, those narrow areas beneath homes, are prone to water accumulation due to leaks, groundwDetail
 -
 solar-powered-stainless-steel-submersible-well-pump-setupHarnessing solar energy to power stainless steel submersible well pumps is a sustainable and coDetail
 -
 stainless-steel-well-pump-flow-rate-optimizationIn various applications like agriculture, domestic water supply, and industrial use, the flow rate oDetail
