नोव्हेंबर . 11, 2024 12:11 Back to list
how to install a deep well submersible pump
How to Install a Deep Well Submersible Pump
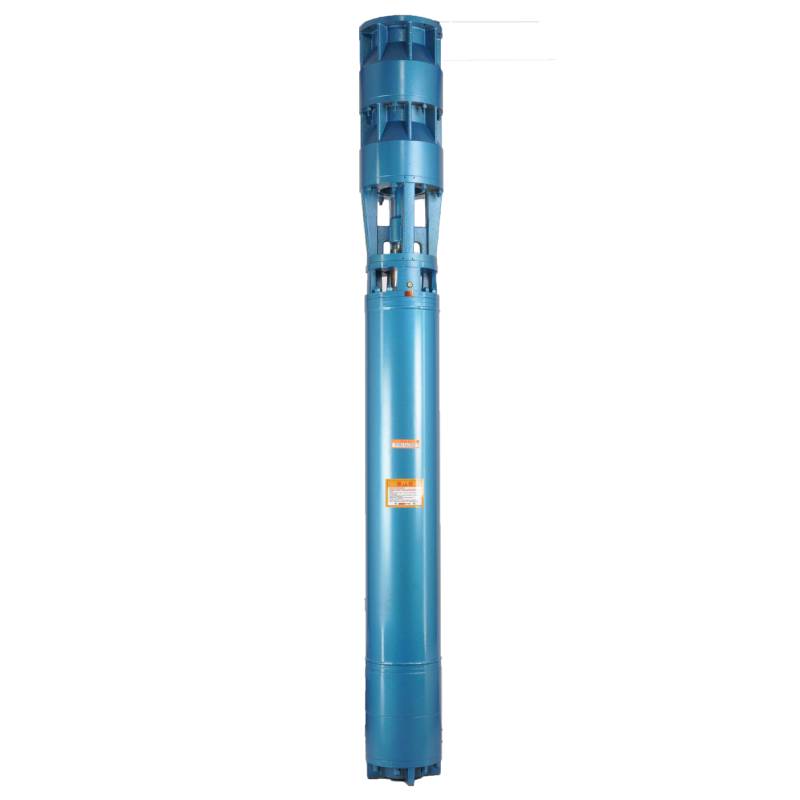
Installing a deep well submersible pump can be a daunting task, especially for those who are not experienced in plumbing or electrical work. However, with the right tools, knowledge, and a little patience, it can be accomplished successfully. This guide will take you through the step-by-step process to install a deep well submersible pump effectively.
Tools and Materials Needed
Before starting the installation, gather all necessary materials and tools. You will need
- Deep well submersible pump - Electrical cable - Pipe wrench - Teflon tape - Wire connectors - Electrical tape - Safety goggles - Gloves - Guide ropes (optional) - A power supply - A drill (for additional fittings)
Step 1 Preparation
Begin by determining the depth of your well and the required specifications for the pump. You should consult the manufacturer’s guidelines to select a pump that matches the depth and water requirements. Next, gather all your tools and materials.
It’s also crucial to ensure that you have access to the power source near the well. If necessary, you might need to dig a trench for electrical wiring to reach the pump safely.
Step 2 Safety First
Before you begin installation, make sure to wear safety goggles and gloves. Working with electricity and heavy equipment requires precautions to avoid accidents. It’s also advisable to have someone assist you during the installation process, especially when lowering the pump into the well.
Step 3 Assemble the Pump and Pipe
Follow the manufacturer’s instructions to assemble the pump and the discharge pipe. This typically involves attaching the pump to the top of the pipe using a pipe wrench. Make sure the connection is secure and use Teflon tape on the threads to prevent water leaks.
how to install a deep well submersible pump

Step 4 Lower the Pump into the Well
Once the pump is securely attached to the discharge pipe, it is time to lower it into the well. If you have a guide rope, this may facilitate the process. Carefully lower the pump into the well, ensuring it goes straight down to avoid any damage.
Step 5 Connect the Electrical Wiring
Once the pump is fully submerged, you’ll need to connect the electrical wiring. Depending on your pump model, this may involve wiring the electrical cable directly to the pump. Make sure to refer to the pump’s wiring diagram for proper connections. Use wire connectors to secure the connections and wrap them with electrical tape for protection.
Step 6 Make the Final Connections
After connecting the electrical wiring, secure the discharge pipe to your well casing. This may require additional fittings, which you can install using a drill if necessary. Ensure that all connections are tight to prevent leaks.
Step 7 Test the System
Before sealing everything up, turn on the power supply to the pump to test the system. Ensure the water flows freely from the discharge line and check for leaks at all the joints. If everything is functioning correctly, proceed to the next step.
Step 8 Seal the Well
Once you are satisfied with the operation of the pump, it is time to seal the well. Use a well cap to prevent debris from entering the well and to protect the pump from the elements. This helps maintain the integrity of the water supply and ensures the longevity of your pump.
Conclusion
Installing a deep well submersible pump can be a complex process, but by following these steps systematically, you can achieve a successful installation. Always prioritize safety by wearing protective gear and, if in doubt, don’t hesitate to consult with a professional plumber or electrician. With proper installation and maintenance, your submersible pump can provide reliable access to water for years to come.
-
Submersible Water Pump: The Efficient 'Power Pioneer' of the Underwater World
NewsJul.01,2025
-
Submersible Pond Pump: The Hidden Guardian of Water Landscape Ecology
NewsJul.01,2025
-
Stainless Well Pump: A Reliable and Durable Pumping Main Force
NewsJul.01,2025
-
Stainless Steel Submersible Pump: An Efficient and Versatile Tool for Underwater Operations
NewsJul.01,2025
-
Deep Well Submersible Pump: An Efficient 'Sucker' of Groundwater Sources
NewsJul.01,2025
-
Deep Water Well Pump: An Efficient 'Sucker' of Groundwater Sources
NewsJul.01,2025
-
 Submersible Water Pump: The Efficient 'Power Pioneer' of the Underwater WorldIn the field of hydraulic equipment, the Submersible Water Pump has become the core equipment for underwater operations and water resource transportation due to its unique design and excellent performance.Detail
 -
 Submersible Pond Pump: The Hidden Guardian of Water Landscape EcologyIn courtyard landscapes, ecological ponds, and even small-scale water conservancy projects, there is a silent yet indispensable equipment - the Submersible Pond Pump.Detail
 -
 Stainless Well Pump: A Reliable and Durable Pumping Main ForceIn the field of water resource transportation, Stainless Well Pump has become the core equipment for various pumping scenarios with its excellent performance and reliable quality.Detail
