नोभ . 06, 2024 04:27 Back to list
Guidelines for Installing Submersible Well Pumps Effectively and Safely
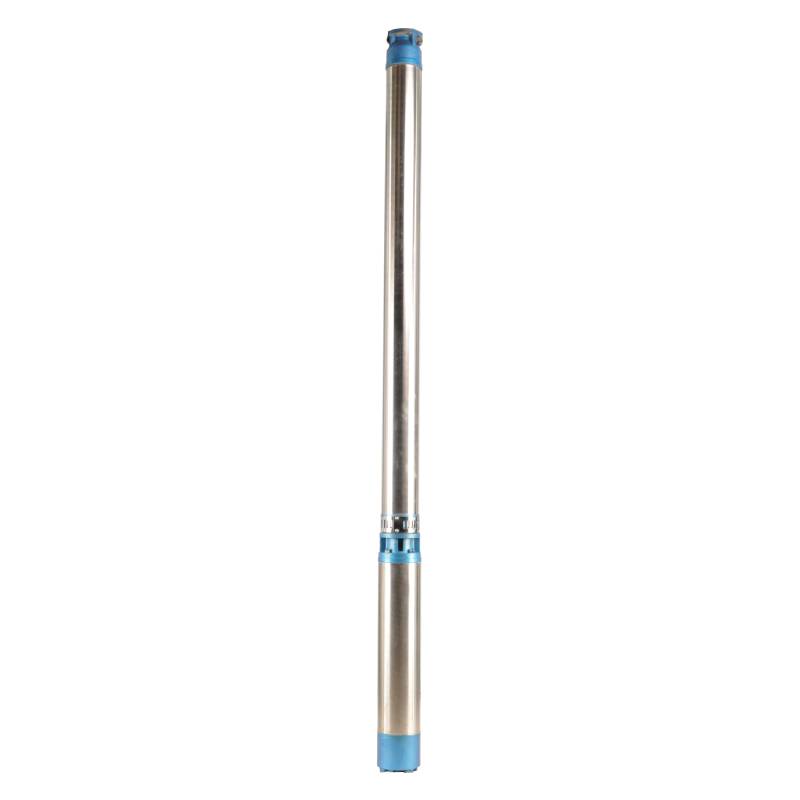
Submersible Well Pump Installation A Comprehensive Guide
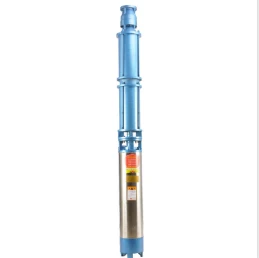
Installing a submersible well pump can be a daunting task, but with the right knowledge and tools, it becomes manageable. Submersible well pumps are designed to be submerged underwater, typically in wells, and they are used to transport water from deep underground to the surface. Their efficiency and ability to draw water from significant depths make them a popular choice for residential, agricultural, and commercial applications. This article outlines the essential steps and considerations for a successful installation.
1. Gather Necessary Materials and Tools
Before beginning the installation, it’s vital to gather all required materials and tools. The main components you will need include
- Submersible well pump (sized according to your needs) - Pump control box (if required) - PVC piping or stainless steel piping - Check valve - Wire connectors and electrical wires - Sump or submersible pump discharge fittings - A suitable electrical power supply - Basic tools (wrenches, pliers, screwdrivers, tape measure, etc.)
2. Preparing the Site
Choose a suitable location for the well pump installation. Ensure that the area around the well is free from obstructions and that there’s good access to electrical supply. Ensure the groundwater quality and level are adequate for your needs. It’s also essential to check local regulations regarding well installation, as they can vary by location.
Begin by lowering the submersible pump into the well casing carefully. It’s crucial to ensure that the pump is positioned at the correct depth, typically within 10 to 20 feet from the water surface, depending on its specifications. Use a cable and rope or a sturdy lifting device to lower it gently into place without damaging the pump.
As you lower the pump, attach the discharge piping, which will carry water to the surface. Use threaded fittings to connect the pump to the discharge pipe securely. Before fully securing the plumbing, check the alignment and ensure that all threads are sealed properly to prevent leaks.
submersible well pump installation

4. Electrical Connections
After the pump is secured in the well, the next step is to connect the electrical wiring. This process can be intricate and should be approached with caution. Follow the manufacturer’s guidelines closely
- Connect the power supply cables to the pump motor per the wiring diagram provided with your pump. - Ensure that the connections are watertight to prevent any electrical hazards. - Install a control box if your pump model requires one, and ensure it's positioned above ground and protected from moisture.
5. Testing the System
Once everything is installed, it’s time to test the system. Turn on the power to the pump and monitor its operation. Listen for unusual sounds and check for any leaks or malfunctions. Allow the pump to run for a while to ensure it's functioning efficiently and delivering water at the required pressure.
6. Final Checks and Maintenance
After successful testing, make sure to cover any components and secure the well. It’s vital to schedule regular maintenance checks to ensure the continued performance of your submersible well pump. Look out for signs of wear and tear, and replace any parts as necessary.
Conclusion
Installing a submersible well pump can significantly improve water access for your property. While it requires careful planning and execution, following the steps outlined in this guide will ensure a smooth installation process. Always adhere to safety precautions and consider consulting with a professional if you encounter complex issues. With proper installation and maintenance, your submersible well pump will serve you reliably for years to come.
-
Water Pumps: Solutions for Every Need
NewsJul.30,2025
-
Submersible Well Pumps: Reliable Water Solutions
NewsJul.30,2025
-
Stainless Steel Water Pumps: Quality and Durability
NewsJul.30,2025
-
Powerful Water Pumps: Your Solution for Efficient Water Management
NewsJul.30,2025
-
Oil vs Water Filled Submersible Pumps: Which is Better?
NewsJul.30,2025
-
Deep Well Pumps: Power and Reliability
NewsJul.30,2025
-
 Water Pumps: Solutions for Every NeedWhen it comes to handling dirty water, the dirty water pump is a must-have.Detail
 -
 Submersible Well Pumps: Reliable Water SolutionsWhen it comes to ensuring a reliable water supply, submersible well pumps are a top choice.Detail
 -
 Stainless Steel Water Pumps: Quality and DurabilityWhen it comes to choosing a water pump, the stainless steel water pump price is a crucial factor.Detail
