Jul . 25, 2024 04:31 Back to list
Guidelines and Best Practices for Installing Deep Well Pumps Effectively and Efficiently
Deep Well Pump Installation A Comprehensive Guide
Installing a deep well pump is a crucial step in optimizing water retrieval for both residential and agricultural purposes. These pumps are designed to extract water from depths typically ranging from 20 to over 100 feet. Understanding the installation process can help ensure efficiency, longevity, and optimal performance of the system.
Understanding Deep Well Pumps
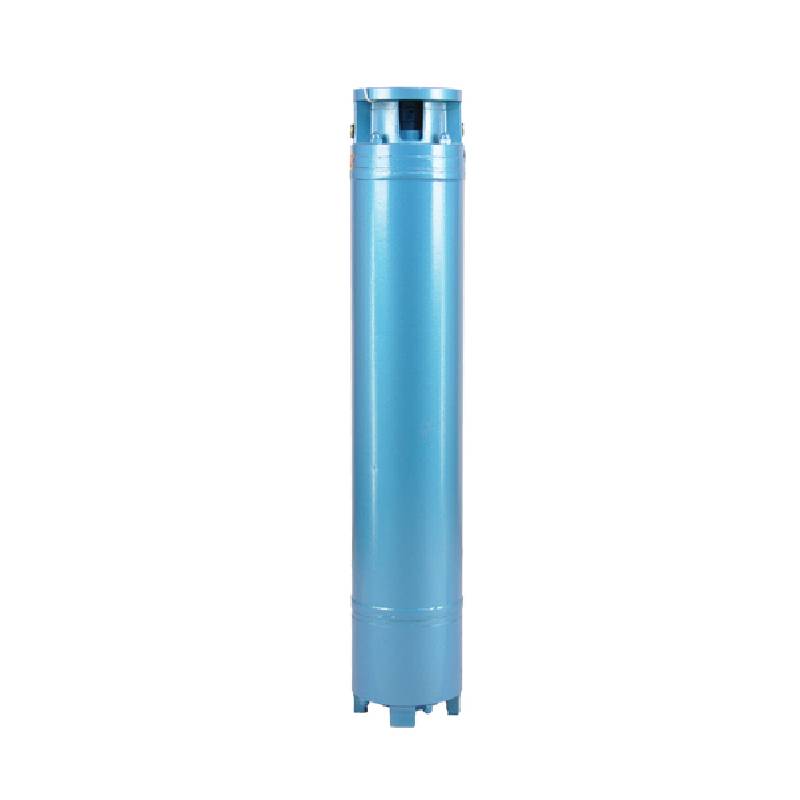
Before diving into the installation process, it's essential to understand what a deep well pump is. Unlike shallow well pumps, deep well pumps are equipped to draw water from deeper sources. They are either submersible or vertical turbine pumps. Submersible pumps are installed underwater and operate by pushing water to the surface, while vertical turbine pumps are positioned above ground and utilize a series of impellers to draw water up from the well.
Tools and Materials Required
Before starting the installation, you'll need to gather the necessary tools and materials. Basic tools include
- Wrenches and pliers - A pipe cutter - A level - A hammer - Screwdrivers - A measuring tape - Safety gear (gloves, goggles)
You'll also need to have your pump system, PVC pipes, a check valve, a pressure switch, gauges, and electrical wiring components.
Step-by-Step Installation Process
1. Preparation of the Site Start by selecting a suitable location for the pump system, ensuring it's easily accessible and away from any potential contaminants. Clear the area of debris and vegetation.
2. Well Inspection Examine the well for any signs of contamination, structural integrity, or blockages. An inspection might require a camera or a professional assessment.
3. Pump Selection Choose a pump that suits your depth and water needs. Consider factors like flow rate and horsepower based on your requirements.
deep well pump installation

4. Setting the Pump If you're installing a submersible pump, lower the pump into the well using a sturdy cable. Make sure it's positioned at an optimal depth where water is available year-round.
5. Connecting the Pipes Securely connect the PVC or piping system to the pump outlet. Use appropriate fittings and ensure all connections are snug to prevent leaks.
6. Installing the Check Valve Place a check valve between the pump and the vertical rise of the pipe to prevent backflow when the pump is turned off. This is vital for maintaining pressure.
7. Electrical Wiring Connect the pump to a suitable power source. Ensure that the electrical installation meets local codes and safety standards. It’s highly recommended to hire a licensed electrician for this step to avoid hazards.
8. Installing the Pressure Tank Connect a pressure tank to maintain consistent water pressure. This tank acts as a reservoir and helps reduce the frequency of pump cycling.
9. Testing the System Before sealing everything, test the pump operation by turning it on and checking for leaks, proper pressure levels, and adequate water flow. Monitor the system for a while to ensure everything functions correctly.
10. Finalizing the Installation Once you’ve confirmed that the system is working correctly, finish covering any exposed pipes and secure the surface around the well. Implement practices to protect the well from contamination and maintain good water quality.
Maintenance Tips
Proper maintenance is essential for the longevity of your deep well pump. Regularly check for wear and tear, inspect the electrical connections, and monitor the water quality. Scheduled maintenance can prevent costly repairs and ensure the pump operates efficiently.
Conclusion
Installing a deep well pump may seem daunting, but with the right tools, materials, and a clear understanding of the process, it can be accomplished successfully. This investment not only enhances your water accessibility but also contributes to sustainable usage of groundwater resources. Make sure to follow safety protocols and local regulations throughout the installation process for a safe and efficient setup.
-
Submersible Water Pump: The Efficient 'Power Pioneer' of the Underwater World
NewsJul.01,2025
-
Submersible Pond Pump: The Hidden Guardian of Water Landscape Ecology
NewsJul.01,2025
-
Stainless Well Pump: A Reliable and Durable Pumping Main Force
NewsJul.01,2025
-
Stainless Steel Submersible Pump: An Efficient and Versatile Tool for Underwater Operations
NewsJul.01,2025
-
Deep Well Submersible Pump: An Efficient 'Sucker' of Groundwater Sources
NewsJul.01,2025
-
Deep Water Well Pump: An Efficient 'Sucker' of Groundwater Sources
NewsJul.01,2025
-
 Submersible Water Pump: The Efficient 'Power Pioneer' of the Underwater WorldIn the field of hydraulic equipment, the Submersible Water Pump has become the core equipment for underwater operations and water resource transportation due to its unique design and excellent performance.Detail
 -
 Submersible Pond Pump: The Hidden Guardian of Water Landscape EcologyIn courtyard landscapes, ecological ponds, and even small-scale water conservancy projects, there is a silent yet indispensable equipment - the Submersible Pond Pump.Detail
 -
 Stainless Well Pump: A Reliable and Durable Pumping Main ForceIn the field of water resource transportation, Stainless Well Pump has become the core equipment for various pumping scenarios with its excellent performance and reliable quality.Detail
