Aug . 15, 2024 00:33 Back to list
Guidelines for Safely Removing a Submersible Well Pump from Deep Water Sources
Removing Submersible Well Pumps A Step-by-Step Guide
Submersible well pumps are essential for supplying water from underground sources to homes and businesses. Over time, these pumps may require removal due to various reasons, such as maintenance, replacement, or malfunction. Understanding the process of removing a submersible well pump is crucial for anyone who plans to undertake this task. This article provides a comprehensive guide to help you navigate the removal process safely and efficiently.
Safety First
Before starting the removal process, it is vital to prioritize safety. Ensure you have the following tools and equipment ready wrench set, adjustable pliers, a bucket, a wire cutter, and safety gear, including gloves and protective eyewear. Always switch off the power supply to the pump to prevent electric shocks or accidents during removal.
Step 1 Prepare the Area
Begin by clearing the area around the wellhead. Remove any debris or obstacles that may hinder your access. This preparation is essential, as it provides a clear working space and helps you move tools and equipment effortlessly. Additionally, ensure that the well cap is accessible, as you will need to remove it to access the pump.
Step 2 Disconnect the Electrical Supply
Before proceeding, it’s crucial to disconnect the electrical wires that power the pump. Carefully remove the well cap to expose the wiring. Using your wire cutter, disconnect the wires from the pump. Take note of how the wires are connected, as you will need to reconnect them in the same manner when installing a new pump or reinstalling the existing one.
Step 3 Remove the Pump
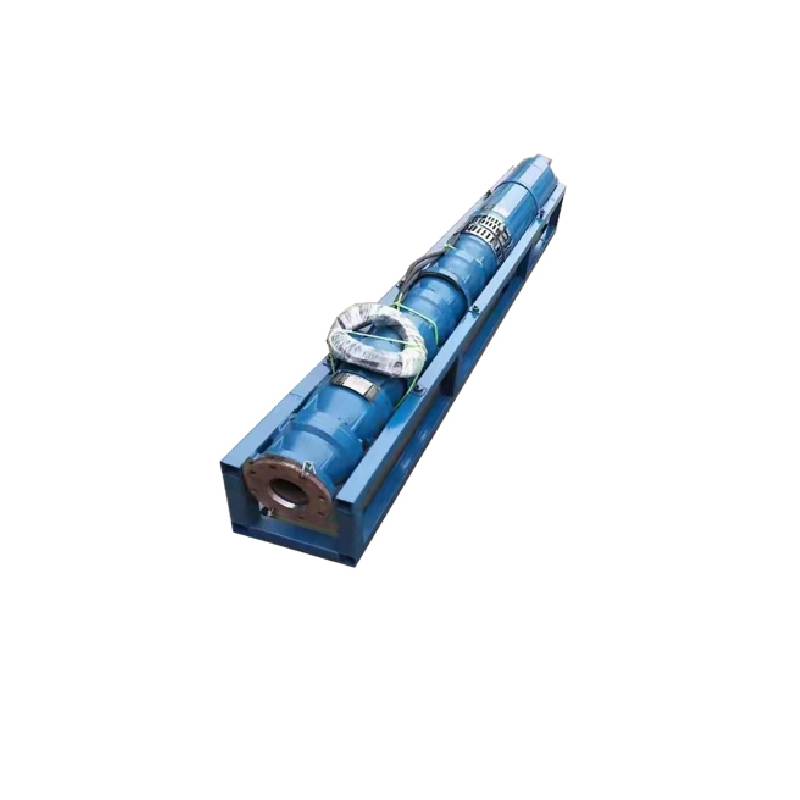
removing submersible well pump

Once the electrical supply is disconnected, use a wrench to loosen the bolts or screws that secure the pump in place. If the pump is stuck, it may require a bit of gentle wiggling. Be cautious not to apply excessive force, as this could lead to damage. Depending on your pump configuration, you may need to lift the pump by its discharge pipe. If necessary, enlist the help of another person to support the pump’s weight as you pull it out.
Step 4 Inspect the Pump
After successfully removing the pump, take the time to inspect it thoroughly. Check for any signs of wear and tear, corrosion, or blockage. Take note of any components that may need replacement or repair. This inspection is crucial for understanding the pump’s condition and determining the appropriate course of action, whether it entails repairing or replacing the unit.
Step 5 Clean the Well
Once the pump is out, it’s an excellent opportunity to clean the well. Remove any debris or sediment that may have accumulated. This maintenance step not only ensures the longevity of your new or repaired pump but also helps maintain water quality.
Step 6 Reinstallation
If you plan to install a new pump, follow the manufacturer’s instructions carefully. Make sure to connect the electrical wires securely, replacing the well cap once everything is in place. If you’re reinstalling the old pump, ensure that all necessary repairs or replacements are completed before reinstallation.
Conclusion
Removing a submersible well pump can seem daunting, but with proper preparation and safety measures, it can be a manageable task. By following these steps, you can effectively remove and inspect your pump, ensuring that your water supply system remains functioning optimally. If at any point you feel unsure or overwhelmed, do not hesitate to seek assistance from a professional. The goal is to ensure safety and efficiency while handling your water supply needs.
-
Submersible Water Pump: The Efficient 'Power Pioneer' of the Underwater World
NewsJul.01,2025
-
Submersible Pond Pump: The Hidden Guardian of Water Landscape Ecology
NewsJul.01,2025
-
Stainless Well Pump: A Reliable and Durable Pumping Main Force
NewsJul.01,2025
-
Stainless Steel Submersible Pump: An Efficient and Versatile Tool for Underwater Operations
NewsJul.01,2025
-
Deep Well Submersible Pump: An Efficient 'Sucker' of Groundwater Sources
NewsJul.01,2025
-
Deep Water Well Pump: An Efficient 'Sucker' of Groundwater Sources
NewsJul.01,2025
-
 Submersible Water Pump: The Efficient 'Power Pioneer' of the Underwater WorldIn the field of hydraulic equipment, the Submersible Water Pump has become the core equipment for underwater operations and water resource transportation due to its unique design and excellent performance.Detail
 -
 Submersible Pond Pump: The Hidden Guardian of Water Landscape EcologyIn courtyard landscapes, ecological ponds, and even small-scale water conservancy projects, there is a silent yet indispensable equipment - the Submersible Pond Pump.Detail
 -
 Stainless Well Pump: A Reliable and Durable Pumping Main ForceIn the field of water resource transportation, Stainless Well Pump has become the core equipment for various pumping scenarios with its excellent performance and reliable quality.Detail
