Jul . 30, 2024 04:12 Back to list
Guidelines for Safely Removing Deep Well Submersible Pumps from Water Wells and Systems
Removing a Deep Well Submersible Pump A Step-by-Step Guide
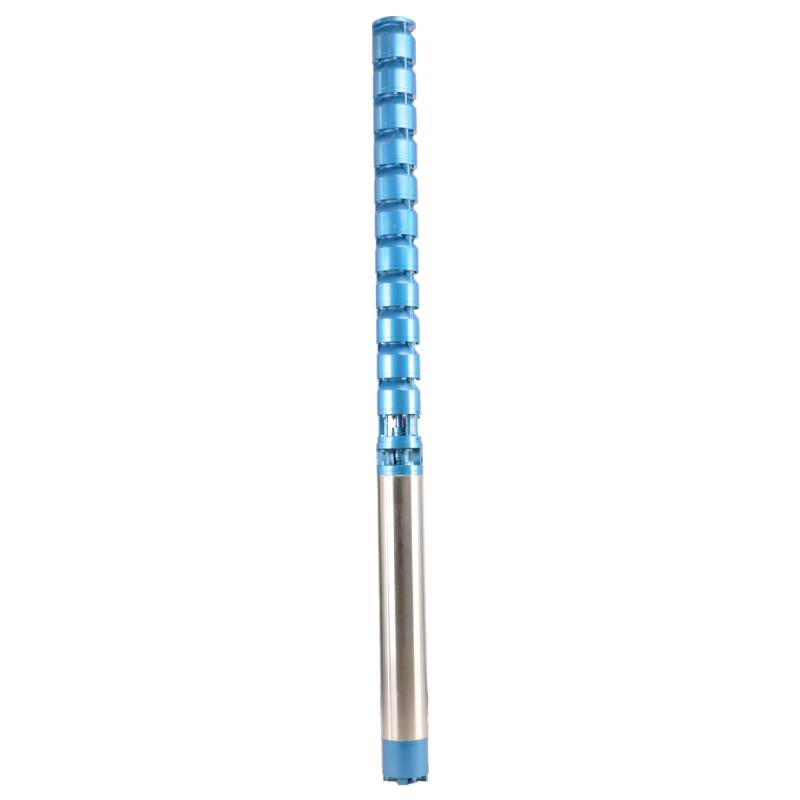
Deep well submersible pumps are essential for extracting groundwater from deep aquifers. While they are largely reliable, there are occasions when a pump may need to be removed, whether for repairs, replacement, or routine maintenance. This article provides a step-by-step guide for safely and effectively removing a deep well submersible pump.
Safety First
Before beginning the removal process, ensure you are equipped with the proper safety gear. This includes gloves, safety goggles, hard hats, and appropriate footwear. Working with heavy equipment can present various hazards, so take necessary safety precautions to avoid accidents.
Tools and Equipment
Gather the tools and equipment you will need for the removal process. Typical tools may include
- Wrenches - Pliers - A hoist or winch - Tapes for measuring - A crane or lifting device (for heavier pumps) - Electrical tools for disconnecting wiring - A bucket or container for any disassembled parts
Step-by-Step Removal Process
1. Disconnect Power Supply Before you start, ensure that the power supply to the pump is completely disconnected. Locate the electrical control box and turn off the circuit breaker. Verify that the power is off using a voltage tester.
deep well submersible pump removal

2. Remove Surface Components Depending on the design of your deep well system, you may need to remove various components at the wellhead. This includes removing the discharge head, check valve, and any piping connected to the pump. Take care to keep track of the order and orientation of the components for reassembly.
3. Assess the Pump's Position Measure the depth of the pump in the well to understand how much cable and pipe you will need to lift out. This will give you an idea of the height you need to lift and the equipment required.
4. Disengage the Pump Support Most submersible pumps are secured by a pipe or cable. Carefully disengage the pump’s support system, whether it is a drop pipe or electrical cable, while ensuring you don’t damage any components.
5. Use a Lifting Device If the pump is heavy, use a winch or hoist to aid in the removal process. Attach the lifting straps securely around the pump, making sure they are clear of other structures or objects that could interfere during lifting.
6. Lift the Pump Gently begin to lift the pump out of the well. Be cautious and maintain control while lifting. It is advisable to have an additional person present to help guide the pump as it is being pulled out to prevent swinging or accidental damage.
7. Inspect the Pump Once removed, carefully inspect the pump for any signs of wear or damage. This is an excellent time to check seals, impellers, and electrical connections. Identifying issues now can save significant time and cost in the future.
8. Clean and Store If the pump is going to be repaired or replaced, clean it and store it in a safe, dry location away from direct sunlight and moisture. For replacement, prepare the new pump for installation.
Conclusion
Removing a deep well submersible pump requires careful planning and execution. Following safety precautions and using the right tools will help ensure a smooth process. Whether you are replacing an old pump or conducting regular maintenance, it is essential to understand the steps involved to avoid damage and ensure the longevity of your well system. If you are uncertain about any part of this process, consider consulting a professional for assistance.
-
Submersible Water Pump: The Efficient 'Power Pioneer' of the Underwater World
NewsJul.01,2025
-
Submersible Pond Pump: The Hidden Guardian of Water Landscape Ecology
NewsJul.01,2025
-
Stainless Well Pump: A Reliable and Durable Pumping Main Force
NewsJul.01,2025
-
Stainless Steel Submersible Pump: An Efficient and Versatile Tool for Underwater Operations
NewsJul.01,2025
-
Deep Well Submersible Pump: An Efficient 'Sucker' of Groundwater Sources
NewsJul.01,2025
-
Deep Water Well Pump: An Efficient 'Sucker' of Groundwater Sources
NewsJul.01,2025
-
 Submersible Water Pump: The Efficient 'Power Pioneer' of the Underwater WorldIn the field of hydraulic equipment, the Submersible Water Pump has become the core equipment for underwater operations and water resource transportation due to its unique design and excellent performance.Detail
 -
 Submersible Pond Pump: The Hidden Guardian of Water Landscape EcologyIn courtyard landscapes, ecological ponds, and even small-scale water conservancy projects, there is a silent yet indispensable equipment - the Submersible Pond Pump.Detail
 -
 Stainless Well Pump: A Reliable and Durable Pumping Main ForceIn the field of water resource transportation, Stainless Well Pump has become the core equipment for various pumping scenarios with its excellent performance and reliable quality.Detail
