Sep . 04, 2024 20:35 Back to list
how to open a submersible pump
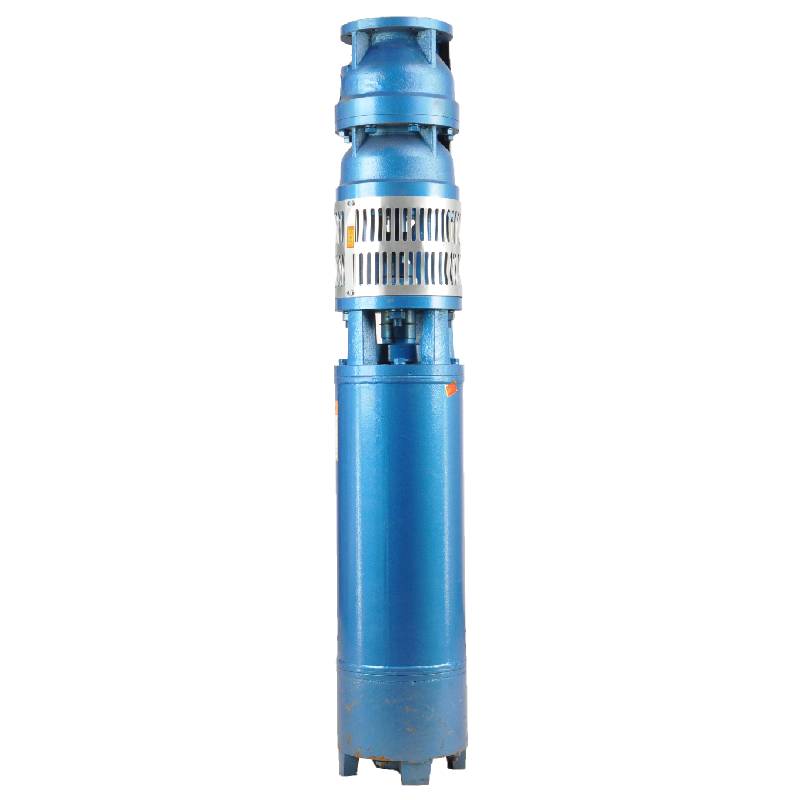
How to Open a Submersible Pump
Submersible pumps are vital tools used in various applications ranging from draining water to managing groundwater. They are designed to operate while submerged, making them an efficient solution for many pumping needs. However, there are instances when you may need to access the internal components of a submersible pump, such as for maintenance or repairs. This article will guide you through the steps necessary to safely open a submersible pump.
1. Gather Necessary Tools and Materials
Before starting the process, ensure you have the right tools at hand. Commonly needed tools include - Screwdrivers (flathead and Phillips) - Wrenches or socket set - Pliers - Torque wrench - Safety goggles and gloves - A clean, dry workspace
It’s also advisable to have a service manual specific to the model of the submersible pump you’re working on, as it can provide valuable insights regarding components and assembly.
2. Disconnect Power Supply
Safety should be your top priority. Before attempting to open the pump, ensure it is completely disconnected from any power source. This could involve turning off circuit breakers or unplugging the pump from the outlet. Confirm that the power is off using a multimeter, if necessary.
3. Remove the Pump from the Water
To open a submersible pump, it must be removed from its working environment. Carefully lift the pump from the water source; ensure you have assistance if the pump is particularly heavy. Use a rope or a lifting mechanism to avoid straining yourself. Place the pump on a flat surface where you can work comfortably.
4. Disassemble the Pump
how to open a submersible pump

Most submersible pumps have a casing that can be removed by unscrewing bolts or screws. Use the appropriate screwdriver or wrench to carefully unscrew these fasteners. Keep these screws in a safe place as you will need them for reassembly. Some models may have additional clips or fasteners that must be removed; consult your service manual for specific instructions.
Once the casing is removed, you may encounter additional components such as the motor, impeller, and volute. Take note of how these parts are assembled, as this will be important for reassembly. Taking photographs during this step can also be beneficial.
5. Inspect Internal Components
Once inside, inspect the internal components for wear or damage. Look for signs of corrosion, leaks, or blockages that could impact the pump's functionality. If you find any damaged parts, consider replacing them. Cleaning any debris from the impeller and other parts can also improve performance.
6. Reassemble the Pump
After inspection and any necessary repairs, it’s time to reassemble the pump. Reverse the disassembly process, ensuring that each component is properly aligned and securely fastened. Replace any seals or gaskets that may have been disturbed during the process to prevent leaks.
7. Test the Pump
Once the pump is reassembled, it’s crucial to test it before placing it back into operation. Connect the pump to the power source and run it for a short period to ensure that it operates correctly and does not leak. Keep an eye on its performance to confirm that everything is in working order.
In summary, opening a submersible pump involves gathering the right tools, ensuring safety precautions, and carefully disassembling the unit for inspection. By following these steps, you can effectively access the internal components of a submersible pump for maintenance or repairs, ensuring its long-term efficiency and functionality.
-
Submersible Water Pump: The Efficient 'Power Pioneer' of the Underwater World
NewsJul.01,2025
-
Submersible Pond Pump: The Hidden Guardian of Water Landscape Ecology
NewsJul.01,2025
-
Stainless Well Pump: A Reliable and Durable Pumping Main Force
NewsJul.01,2025
-
Stainless Steel Submersible Pump: An Efficient and Versatile Tool for Underwater Operations
NewsJul.01,2025
-
Deep Well Submersible Pump: An Efficient 'Sucker' of Groundwater Sources
NewsJul.01,2025
-
Deep Water Well Pump: An Efficient 'Sucker' of Groundwater Sources
NewsJul.01,2025
-
 Submersible Water Pump: The Efficient 'Power Pioneer' of the Underwater WorldIn the field of hydraulic equipment, the Submersible Water Pump has become the core equipment for underwater operations and water resource transportation due to its unique design and excellent performance.Detail
 -
 Submersible Pond Pump: The Hidden Guardian of Water Landscape EcologyIn courtyard landscapes, ecological ponds, and even small-scale water conservancy projects, there is a silent yet indispensable equipment - the Submersible Pond Pump.Detail
 -
 Stainless Well Pump: A Reliable and Durable Pumping Main ForceIn the field of water resource transportation, Stainless Well Pump has become the core equipment for various pumping scenarios with its excellent performance and reliable quality.Detail
