Oct . 19, 2024 07:58 Back to list
Steps to Successfully Install a Deep Well Submersible Pump for Your Water Needs
How to Install a Deep Well Submersible Pump
Installing a deep well submersible pump is a task that can seem daunting for the uninitiated, but with the right tools and knowledge, it's quite manageable. This guide will walk you through the steps required to ensure a successful installation, providing both safety tips and best practices along the way.
Understanding the Submersible Pump
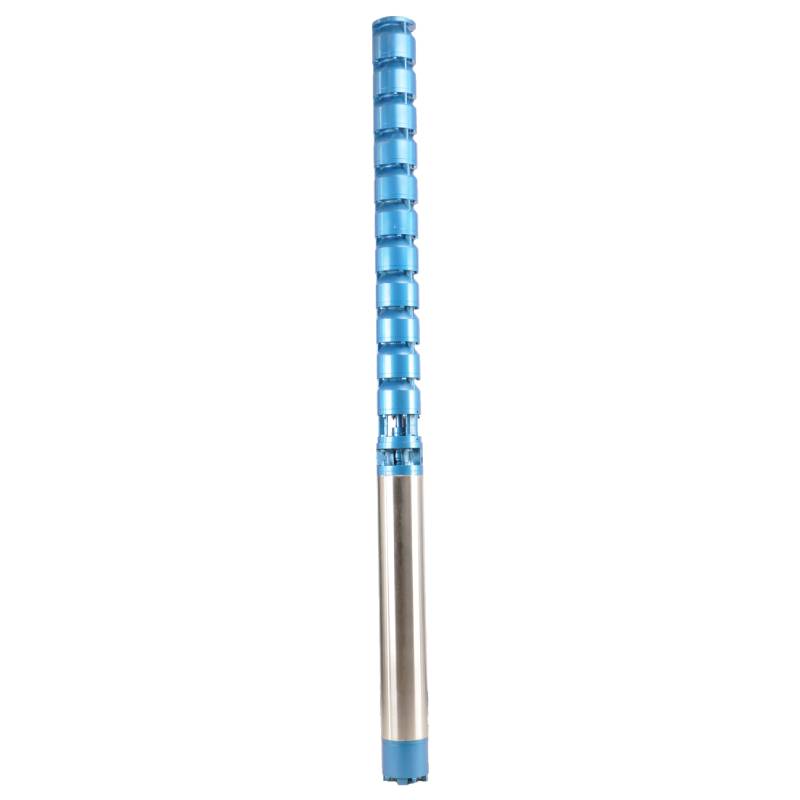
A submersible pump is designed to be submerged in water, typically in wells that are deeper than 25 feet. These pumps are efficient and effective for lifting water from significant depths, making them ideal for residential, agricultural, or industrial applications. Before starting the installation, it's essential to select the right pump size and type based on your well's depth and water requirements.
Tools and Materials Needed
Before beginning the installation, gather the necessary tools and materials
1. Submersible pump 2. Electrical wiring and junction boxes 3. PVC pipes or hose (depending on your setup) 4. A discharge head 5. Pipe wrenches 6. Water level measuring tape 7. Safety gear (gloves, goggles) 8. A hoist or winch (for heavier pumps)
Step-by-Step Installation Process
1. Preparation Before you begin installation, ensure that you have all required tools and materials. Turn off the power supply to the well's existing pump (if applicable) and ensure the area is clear of obstructions.
2. Measure the Depth Using the water level measuring tape, determine the depth of your well. This measurement will help you choose the appropriate length of pipe and ensure your pump is installed correctly.
how to install deep well submersible pump

3. Assemble the Pump Depending on the manufacturer, follow the instructions to assemble your submersible pump. Be sure to connect any necessary components, such as the discharge pipe.
4. Insert the Pump If the pump is heavy, use a hoist or winch to lower it into the well. Take care to keep the pump vertical to avoid damage. You may need assistance during this process to ensure it remains steady.
5. Connect the Discharge Pipe After the pump is securely in the well, connect the discharge pipe to the top of the pump. Ensure that all connections are tight and free of leaks.
6. Electrical Connections Next, make the necessary electrical connections. This may involve installing a control panel or junction box, depending on your pump's specifications. It is essential to follow the manufacturer's guidelines for electrical connections to ensure safety and proper functionality. If you are not comfortable with electrical work, consider hiring a licensed electrician.
7. Test the System After everything is connected and secured, turn on the power supply to the pump. Check for any leaks in the discharge piping and make sure your electrical connections are functioning without issues. Allow the pump to run for several minutes to ensure it is operating properly.
8. Final Adjustments Once the pump is operational, make any necessary adjustments to the controls or settings as per your needs. Monitor the pressure and performance for a while to catch any potential issues early.
Safety Precautions
Always prioritize safety during the installation process. Wear appropriate protective gear, ensure that all electrical work adheres to local codes, and be cautious when handling heavy equipment.
Conclusion
Installing a deep well submersible pump can significantly improve your access to water. While this guide provides a general overview, be sure to refer to your specific pump’s installation manual for detailed instructions tailored to your model. If you feel uncertain about any steps, do not hesitate to consult with a professional to ensure the job is done safely and correctly. With careful planning and execution, your new pump can provide years of reliable service.
-
Submersible Water Pump: The Efficient 'Power Pioneer' of the Underwater World
NewsJul.01,2025
-
Submersible Pond Pump: The Hidden Guardian of Water Landscape Ecology
NewsJul.01,2025
-
Stainless Well Pump: A Reliable and Durable Pumping Main Force
NewsJul.01,2025
-
Stainless Steel Submersible Pump: An Efficient and Versatile Tool for Underwater Operations
NewsJul.01,2025
-
Deep Well Submersible Pump: An Efficient 'Sucker' of Groundwater Sources
NewsJul.01,2025
-
Deep Water Well Pump: An Efficient 'Sucker' of Groundwater Sources
NewsJul.01,2025
-
 Submersible Water Pump: The Efficient 'Power Pioneer' of the Underwater WorldIn the field of hydraulic equipment, the Submersible Water Pump has become the core equipment for underwater operations and water resource transportation due to its unique design and excellent performance.Detail
 -
 Submersible Pond Pump: The Hidden Guardian of Water Landscape EcologyIn courtyard landscapes, ecological ponds, and even small-scale water conservancy projects, there is a silent yet indispensable equipment - the Submersible Pond Pump.Detail
 -
 Stainless Well Pump: A Reliable and Durable Pumping Main ForceIn the field of water resource transportation, Stainless Well Pump has become the core equipment for various pumping scenarios with its excellent performance and reliable quality.Detail
