Oct . 16, 2024 23:59 Back to list
how to install submersible well pump
How to Install a Submersible Well Pump
Installing a submersible well pump can be a vital task for ensuring a reliable water supply, especially in rural areas or during droughts. Submersible pumps are designed to be submerged in water, which makes them highly efficient in drawing water from deep wells. This guide will walk you through the essential steps to install a submersible well pump safely and effectively.
1. Gather the Necessary Tools and Materials
Before you start the installation process, it’s crucial to gather all the necessary tools and materials. Basic tools include
- Safety gear gloves, goggles, and a hard hat - A well pump - Well casing pipe - Electrical wire and junction box - PVC pipe and fittings - A pipe wrench - A shovel - A bucket or hoist for lifting the pump - Water testing kit (optional)
2. Prepare the Site
Ensure that the wellhead is accessible and free from debris. If you’ve recently drilled a well, you may need to let it rest for a while to allow for sediment to settle. Once the well is clear, you can proceed with the installation.
3. Check the Well Pump Specifications
Before installation, confirm that your submersible well pump matches the specifications of your well. Check the depth of the well and the flow rate required for your household needs. This information is typically found in the pump's manual or on its packaging.
4. Assemble the Pump Components
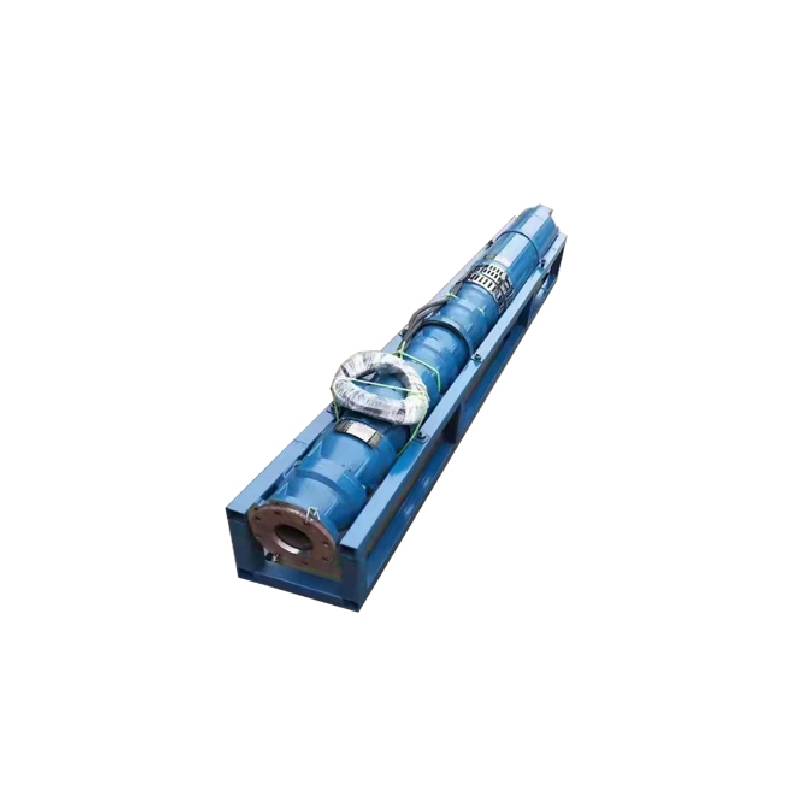
Begin by assembling the various components of the pump above ground. This usually involves attaching the discharge head to the pump itself. Ensure that all connections are secure. You should also connect the electrical wiring necessary for the pump's operation. Make certain that you follow the manufacturer’s wiring diagram to avoid any electrical issues.
how to install submersible well pump

5. Lower the Pump into the Well
This step requires careful handling. Use a hoist or a strong rope to lower the pump into the well. Ensure that the pump is oriented correctly and remains stable as it descends. Take your time to prevent damaging the pump or the well casing. It’s also essential to keep an eye on the electrical wires to ensure they are not tangled or pinched.
6. Connect the Pipe and Electrical Wiring
Once the pump is at the right depth, it’s time to connect the discharge pipe to the well casing. Use appropriate fittings to secure the connection. Next, make sure to connect the electrical wiring to the junction box, following the electrical code regulations. Ensure all connections are tight and water-resistant to avoid any electrical hazards.
7. Prime the Pump
Before turning the pump on, it’s essential to prime it if it is not a self-priming model. This process usually involves filling the pump and the discharge line with water. This helps to prevent air locks when the pump is started.
8. Test the Pump
Finally, turn on the power to the pump and let it run for a few minutes. Check for any leaks and ensure the water is flowing smoothly. If everything is working correctly, congratulations! You have successfully installed a submersible well pump.
Conclusion
Installing a submersible well pump can seem daunting, but with the right tools and careful execution, it becomes a manageable project. Always prioritize safety by wearing appropriate gear and following the manufacturer's instructions. Regular maintenance will ensure the longevity and efficiency of your submersible well pump, providing you with a reliable water supply for years to come.
-
Submersible Water Pump: The Efficient 'Power Pioneer' of the Underwater World
NewsJul.01,2025
-
Submersible Pond Pump: The Hidden Guardian of Water Landscape Ecology
NewsJul.01,2025
-
Stainless Well Pump: A Reliable and Durable Pumping Main Force
NewsJul.01,2025
-
Stainless Steel Submersible Pump: An Efficient and Versatile Tool for Underwater Operations
NewsJul.01,2025
-
Deep Well Submersible Pump: An Efficient 'Sucker' of Groundwater Sources
NewsJul.01,2025
-
Deep Water Well Pump: An Efficient 'Sucker' of Groundwater Sources
NewsJul.01,2025
-
 Submersible Water Pump: The Efficient 'Power Pioneer' of the Underwater WorldIn the field of hydraulic equipment, the Submersible Water Pump has become the core equipment for underwater operations and water resource transportation due to its unique design and excellent performance.Detail
 -
 Submersible Pond Pump: The Hidden Guardian of Water Landscape EcologyIn courtyard landscapes, ecological ponds, and even small-scale water conservancy projects, there is a silent yet indispensable equipment - the Submersible Pond Pump.Detail
 -
 Stainless Well Pump: A Reliable and Durable Pumping Main ForceIn the field of water resource transportation, Stainless Well Pump has become the core equipment for various pumping scenarios with its excellent performance and reliable quality.Detail
