Dec . 04, 2024 18:05 Back to list
how to prime a submersible pump
How to Prime a Submersible Pump
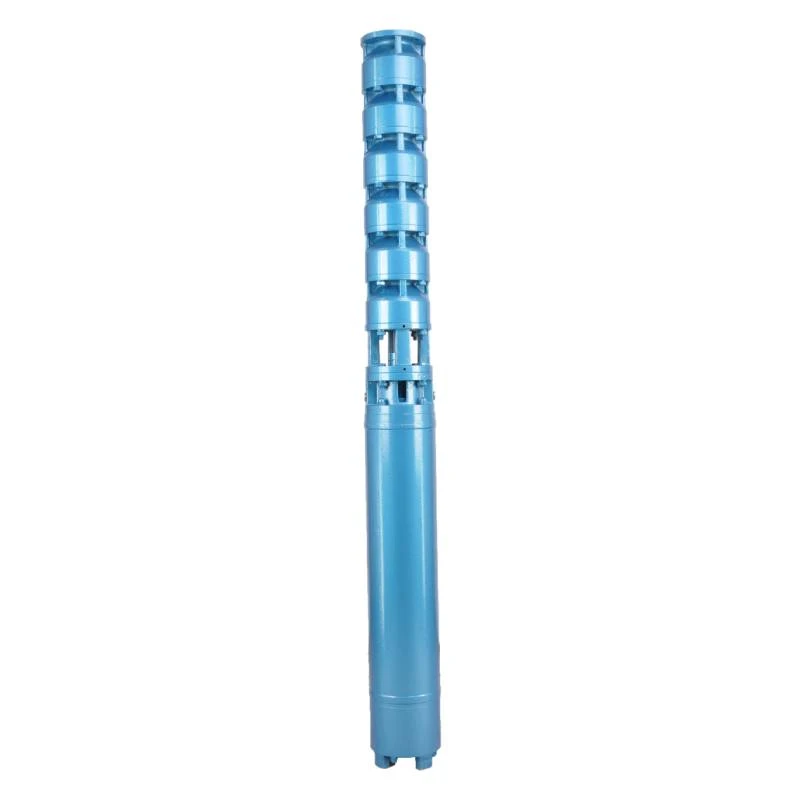
Priming a submersible pump is an essential step that ensures efficient operation and longevity of the pump. Unlike traditional pumps, submersible pumps are designed to operate underwater, which means that there are specific best practices to follow for priming them correctly. In this article, we will discuss what priming involves, why it is necessary, and provide a comprehensive guide on how to prime your submersible pump effectively.
Understanding Priming
Priming is the process of removing air from the pump and its intake lines, allowing water to fill the pump completely. For many pumps, including submersible types, it is crucial to ensure that they are filled with liquid before starting operations. This is because air can obstruct the pump's functionality, leading to cavitation, increased wear, and even pump failure.
Importance of Priming
1. Prevents Cavitation Cavitation occurs when vapor bubbles form in the fluid being pumped due to low pressure or insufficient liquid in the pump. These bubbles can collapse violently, causing significant damage to the pump components.
2. Enhances Efficiency A pump that is not primed properly may struggle to perform, leading to lower efficiency and higher energy consumption.
3. Extends Pump Life Regular maintenance, including proper priming, can greatly extend the lifespan of your pump by preventing unnecessary stress and wear.
Steps to Prime a Submersible Pump
Step 1 Gather Necessary Tools and Materials
Before you begin, ensure you have the following tools handy
- A hose or pipe connected to a water source - A bucket or container, if needed - A wrench, if adjustments to the pump or fittings are necessary
how to prime a submersible pump

Step 2 Inspect the Pump
Before you start the priming process, inspect the submersible pump for any visible signs of damage, wear, or corrosion. Ensure that the power supply to the pump is disconnected to avoid any accidents.
Step 3 Fill the Pump with Water
1. Remove the Pump from the Water If the pump is installed underwater, you will need to pull it out carefully, ensuring that you do not damage the electrical cords or hoses.
2. Access the Priming Port Many submersible pumps come with a priming port or vent. Locate this port, as it will serve as your entry point for water.
3. Add Water Using your hose or manually filling with water, pour water into the priming port until the pump is full. If your pump does not have a priming port, you may need to remove the discharge pipe temporarily.
Step 4 Reassemble and Secure Connections
Once the pump is filled with water, reassemble any parts that were removed and secure all connections to prevent leaks. Make sure any discharge piping is correctly installed and sealed.
Step 5 Test the Pump
Reconnect the power supply to the pump and turn it on. Observe the pump's operation closely. It should start pumping water immediately without any sputtering or air pockets. If you notice irregular sounds or lack of flow, it may indicate that there is still air trapped in the system.
Conclusion
Properly priming your submersible pump is crucial for maintaining its performance and preventing damage. By following the above steps, you can ensure that your pump operates smoothly and efficiently. Regular inspections and maintenance can go a long way in extending the life of your pump. Remember, when in doubt, consult the manufacturer’s guidelines or seek assistance from a professional to ensure you are taking the correct steps for your specific model.
-
Submersible Water Pump: The Efficient 'Power Pioneer' of the Underwater World
NewsJul.01,2025
-
Submersible Pond Pump: The Hidden Guardian of Water Landscape Ecology
NewsJul.01,2025
-
Stainless Well Pump: A Reliable and Durable Pumping Main Force
NewsJul.01,2025
-
Stainless Steel Submersible Pump: An Efficient and Versatile Tool for Underwater Operations
NewsJul.01,2025
-
Deep Well Submersible Pump: An Efficient 'Sucker' of Groundwater Sources
NewsJul.01,2025
-
Deep Water Well Pump: An Efficient 'Sucker' of Groundwater Sources
NewsJul.01,2025
-
 Submersible Water Pump: The Efficient 'Power Pioneer' of the Underwater WorldIn the field of hydraulic equipment, the Submersible Water Pump has become the core equipment for underwater operations and water resource transportation due to its unique design and excellent performance.Detail
 -
 Submersible Pond Pump: The Hidden Guardian of Water Landscape EcologyIn courtyard landscapes, ecological ponds, and even small-scale water conservancy projects, there is a silent yet indispensable equipment - the Submersible Pond Pump.Detail
 -
 Stainless Well Pump: A Reliable and Durable Pumping Main ForceIn the field of water resource transportation, Stainless Well Pump has become the core equipment for various pumping scenarios with its excellent performance and reliable quality.Detail
