Oct . 13, 2024 21:43 Back to list
Guide to Safely Extract a Submersible Well Pump from Its Depth
How to Remove a Submersible Well Pump
Removing a submersible well pump is a task that may seem daunting, but with the right tools and knowledge, it can be accomplished safely and efficiently. Whether you're dealing with a malfunctioning pump or simply need to replace it, follow these steps for a successful extraction.
Gather the Required Tools
Before starting the process, ensure you have all the necessary tools on hand. You'll need
1. Wrenches To disconnect the pump from the piping. 2. Tapes and Labels For organizing and tagging wires and pipes. 3. Pipe Wrench Useful for loosening stubborn fittings. 4. Pulley System or Winch If the pump is particularly heavy or deep. 5. Bucket or Container To catch any water that might spill out during removal. 6. Safety Gear Gloves, goggles, and steel-toed boots for protection.
Prepare the Well Site
Before you proceed, make sure that the power supply to the well pump is completely shut off. This is crucial for safety; failing to do so could lead to electrical hazards. Once the power is off, you can remove any protective covers around the well casing, ensuring you have clear access to the pump.
Disconnect the Pump
Begin by carefully disconnecting the electrical wires from the pump. It's advised to label each wire with tape for easy reinstallation later. After disconnecting the wires, move on to the piping. Use your wrenches and pipe wrench to loosen and remove the fittings. Depending on your setup, you might need to cut or unscrew some pipes. Make sure to have a bucket ready to collect any excess water that drains out.
Utilizing a Pulley System
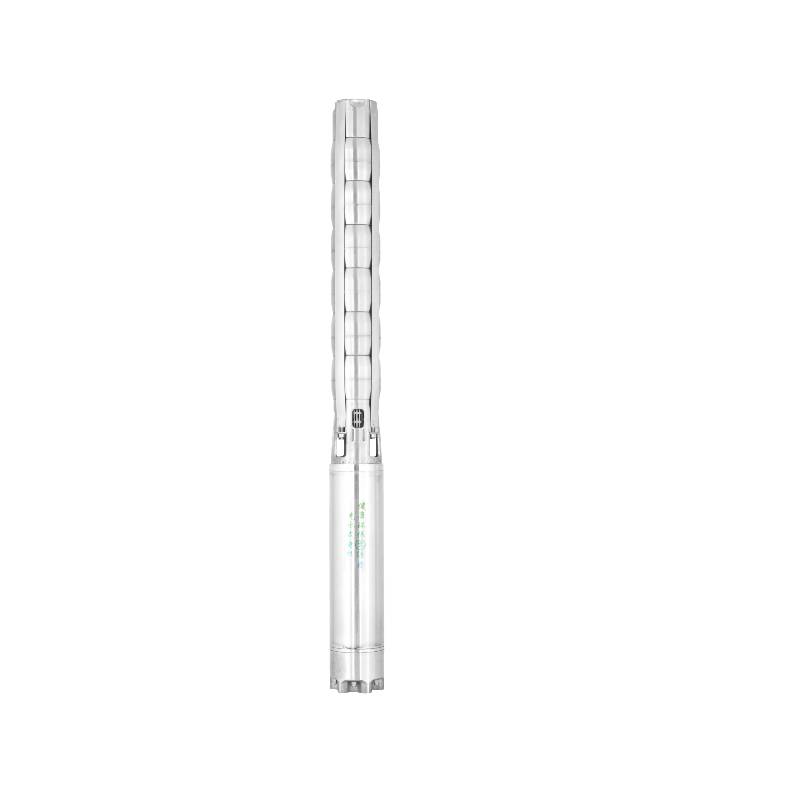
how to remove a submersible well pump

Once the pump is fully disconnected, it’s time to remove it from the well. If the pump is small and light, you might be able to pull it straight out by hand. However, larger pumps will require a pulley system or a winch. Attach the pulley to the top of the well or a sturdy structure nearby. Securely anchor the pump and carefully lift it straight up, ensuring that it's not snagged on any debris or bends in the casing.
Inspect the Pump and Well Casing
Once extracted, inspect the pump for any signs of damage or wear. This is a great opportunity to understand why the pump failed and what might need to be replaced in your new unit. Also, check the well casing for any debris or corrosion. Clean the casing to ensure a smooth reinstallation of the new pump.
Installing the New Pump
If you are replacing the pump, the installation process is the reverse of removal. Carefully lower the new pump into the well, making sure it’s aligned correctly with the well casing. Reconnect the piping and electrical wiring, using your labeled tags for reference. Ensure all connections are secure to prevent any leaks.
Final Check
Once the new pump is in place, turn the power back on and test the pump to ensure it operates correctly. Check for leaks around the fittings and ensure that the flow of water is consistent.
Conclusion
Removing a submersible well pump is a straightforward process, provided you prepare adequately and follow the appropriate safety protocols. If at any point you feel unsure, it’s wise to consult with a professional to avoid potential hazards. With the right approach, you’ll have your well up and running with minimal downtime.
-
Submersible Water Pump: The Efficient 'Power Pioneer' of the Underwater World
NewsJul.01,2025
-
Submersible Pond Pump: The Hidden Guardian of Water Landscape Ecology
NewsJul.01,2025
-
Stainless Well Pump: A Reliable and Durable Pumping Main Force
NewsJul.01,2025
-
Stainless Steel Submersible Pump: An Efficient and Versatile Tool for Underwater Operations
NewsJul.01,2025
-
Deep Well Submersible Pump: An Efficient 'Sucker' of Groundwater Sources
NewsJul.01,2025
-
Deep Water Well Pump: An Efficient 'Sucker' of Groundwater Sources
NewsJul.01,2025
-
 Submersible Water Pump: The Efficient 'Power Pioneer' of the Underwater WorldIn the field of hydraulic equipment, the Submersible Water Pump has become the core equipment for underwater operations and water resource transportation due to its unique design and excellent performance.Detail
 -
 Submersible Pond Pump: The Hidden Guardian of Water Landscape EcologyIn courtyard landscapes, ecological ponds, and even small-scale water conservancy projects, there is a silent yet indispensable equipment - the Submersible Pond Pump.Detail
 -
 Stainless Well Pump: A Reliable and Durable Pumping Main ForceIn the field of water resource transportation, Stainless Well Pump has become the core equipment for various pumping scenarios with its excellent performance and reliable quality.Detail
