Nov . 13, 2024 14:12 Back to list
how to replace a submersible water well pump
How to Replace a Submersible Water Well Pump
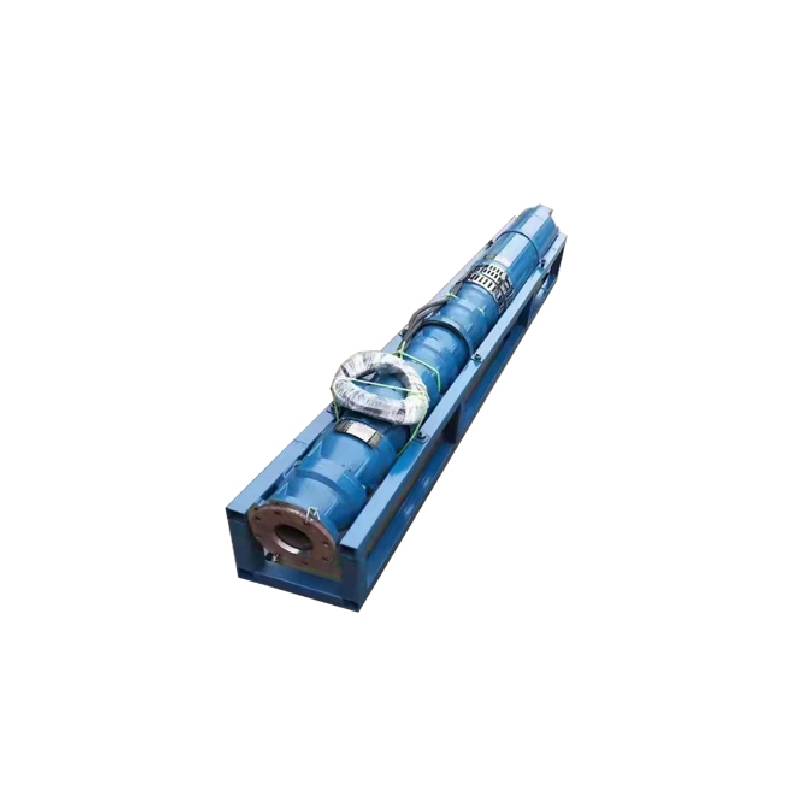
Replacing a submersible water well pump can be a daunting task, but with the right knowledge and tools, you can tackle this vital home improvement project effectively. A submersible pump is designed to be used underwater, pumping water from deep underground into your home or irrigation system. Over time, these pumps can wear out or fail due to various factors, including age, sediment buildup, and electrical issues. Here’s a step-by-step guide to help you successfully replace your submersible water well pump.
Step 1 Assess the Situation
Before beginning the replacement, assess the current situation to confirm that the pump indeed needs to be replaced. Common signs of failure include unusual noises, inconsistent water pressure, or no water flow at all. You might also want to check the electrical components, such as the pressure switch and circuit breakers, to ensure they're functioning properly. If they are all in working order, then it’s likely time to replace the pump.
Step 2 Gather Necessary Tools and Materials
You’ll need a variety of tools and materials for the replacement process. These typically include
- A replacement submersible well pump (ensure it has the same specifications as the old pump) - A well casing adapter (if needed) - Wrenches and pliers - A slingshot or a winch for lifting the pump - Teflon tape and pipe fittings - Electrical tape or connectors - A bucket or container to catch any residual water
Step 3 Disconnect Power
Safety is paramount when working with electrical components. Start by turning off the power to the well pump at the circuit breaker. Ensure that no electricity is flowing to the pump to avoid any shocks during the replacement process.
Step 4 Remove the Old Pump
how to replace a submersible water well pump

To remove the old submersible pump, you will need to pull it out of the well casing. This can often be done using a slingshot, winch, or a simple lifting mechanism. Carefully attach the lifting device to the pump, ensuring it’s secure before you start pulling it up. As you lift, be cautious of any wires or pipes that may be attached, as you don’t want to cause further damage.
After removing the pump, detach the electrical wires and the plumbing connections. Note how everything is connected, as you will need to set up the new pump in the same manner.
Step 5 Install the New Pump
Begin by preparing the new pump. If necessary, install the well casing adapter to ensure a proper fit. Next, connect the electrical wires according to the diagram provided with the pump, ensuring secure and watertight connections using electrical tape or connectors. Afterward, attach the pipe fittings and ensure they are tightly sealed with Teflon tape to prevent any leaks.
Step 6 Lower the New Pump
With the electrical and plumbing connections completed, it’s time to lower the new pump into the well. Slowly lower it down, ensuring that it is not snagging on any obstructions within the well. Take your time to avoid damaging the pump or the surrounding fixtures.
Step 7 Restore Power and Test
Once the new pump is securely in place, restore power at the circuit breaker. Turn on the pump and check for water flow. Monitor the pressure and ensure everything is functioning as it should. Check for leaks around the fittings and make adjustments if necessary.
Conclusion
Replacing a submersible water well pump is an achievable DIY project if you follow the correct procedures. However, if you encounter any issues or are uncomfortable performing any step, it’s best to consult a professional well technician. Proper maintenance and timely replacement of your pump can ensure a reliable water supply for years to come. Remember, safety first—never compromise on it while working with electrical appliances and water systems.
-
Submersible Water Pump: The Efficient 'Power Pioneer' of the Underwater World
NewsJul.01,2025
-
Submersible Pond Pump: The Hidden Guardian of Water Landscape Ecology
NewsJul.01,2025
-
Stainless Well Pump: A Reliable and Durable Pumping Main Force
NewsJul.01,2025
-
Stainless Steel Submersible Pump: An Efficient and Versatile Tool for Underwater Operations
NewsJul.01,2025
-
Deep Well Submersible Pump: An Efficient 'Sucker' of Groundwater Sources
NewsJul.01,2025
-
Deep Water Well Pump: An Efficient 'Sucker' of Groundwater Sources
NewsJul.01,2025
-
 Submersible Water Pump: The Efficient 'Power Pioneer' of the Underwater WorldIn the field of hydraulic equipment, the Submersible Water Pump has become the core equipment for underwater operations and water resource transportation due to its unique design and excellent performance.Detail
 -
 Submersible Pond Pump: The Hidden Guardian of Water Landscape EcologyIn courtyard landscapes, ecological ponds, and even small-scale water conservancy projects, there is a silent yet indispensable equipment - the Submersible Pond Pump.Detail
 -
 Stainless Well Pump: A Reliable and Durable Pumping Main ForceIn the field of water resource transportation, Stainless Well Pump has become the core equipment for various pumping scenarios with its excellent performance and reliable quality.Detail
