Nov . 15, 2024 23:12 Back to list
how to replace deep well submersible pump
How to Replace a Deep Well Submersible Pump
Replacing a deep well submersible pump can be a daunting task. However, with the right tools, safety precautions, and understanding of the process, you can successfully complete this project. This guide will walk you through the necessary steps to replace your deep well submersible pump efficiently.
Understanding Your Deep Well Submersible Pump
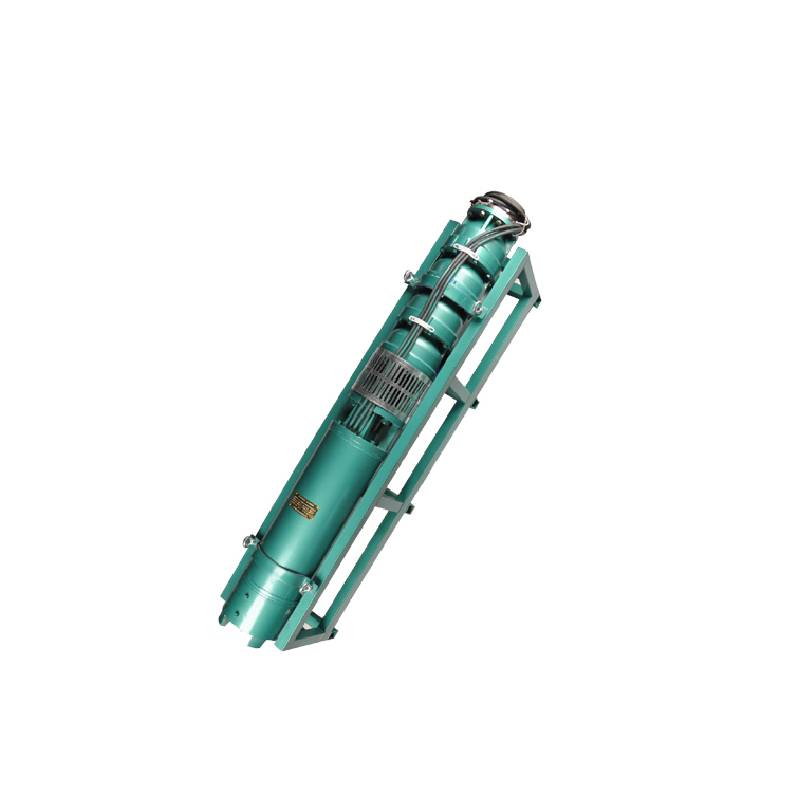
Before diving into the replacement process, it's essential to understand what a submersible pump is and where it is used. A deep well submersible pump is typically water well equipment located submerged in the water at the bottom of the well. It is designed to push water to the surface, often for agricultural, residential, or industrial use. These pumps are efficient but can wear out over time due to various factors, including sediments in the water, electrical issues, or mechanical failures.
Signs That Your Submersible Pump Needs Replacement
Some common signs that indicate your submersible pump may need replacement include - Reduced water flow or pressure. - Fluctuating water levels. - Strange noises coming from the pump. - Frequent cycling on and off. - Increased electricity bills due to higher energy consumption.
If you've identified these symptoms, it may be time to replace your pump.
Tools and Materials Needed
Before starting the replacement, gather the following tools and materials - Safety gloves and goggles - Wrench set - Rope - PVC pipe cutter - Teflon tape - Replacement submersible pump - Electrical wiring tools (wire connectors, wire strippers)
Step-by-Step Process for Replacement
how to replace deep well submersible pump

1. Safety First Ensure that the power supply to the pump is turned off before beginning any work. This might involve turning off a circuit breaker that controls the pump.
2. Disconnect the Pump Begin by locating the pitless adapter at the top of your well. This is where the water exits. You'll need to remove the well cap and disconnect any electrical connections or piping attached to the pump. Document the wiring setup to ensure you can reconnect it accurately later.
3. Pull the Pump With the piping disconnected, use a strong rope to pull the pump out of the well carefully. It may be heavy, so ensure you have assistance if needed. Take your time to avoid damaging the pump or the attached wiring.
4. Inspect the Components Once the pump is out, inspect the old unit as well as the well casing and discharge pipe. Check for any debris, corrosion, or damage that might have contributed to the pump's failure.
5. Prepare the New Pump Before installing the new pump, prepare it according to the manufacturer's instructions. This usually involves attaching the discharge head and ensuring that any check valves are properly installed.
6. Install the New Pump Carefully lower the new pump into the well. Make sure it sits correctly within the well casing. Once in place, reconnect the discharge piping and electrical connections according to the documentation you prepared earlier. Use Teflon tape on threaded joints to prevent leaks.
7. Test the System Once everything is reconnected, turn on the power supply and check the system. Look for any leaks and monitor your water flow. Ensure that the pump is functioning correctly and water is flowing at the desired rate.
8. Seal the Well Replace the well cap securely and ensure that all connections are tight and sealed. This will help prevent contaminants from entering your well.
Conclusion
Replacing a deep well submersible pump can be straightforward if you follow the outlined steps and take the necessary safety precautions. If at any point you feel uncertain or uncomfortable with the process, don't hesitate to contact a professional. Regular maintenance and timely replacements will ensure your water supply remains reliable, and you can continue to enjoy all the benefits that a deep well system provides.
-
Submersible Water Pump: The Efficient 'Power Pioneer' of the Underwater World
NewsJul.01,2025
-
Submersible Pond Pump: The Hidden Guardian of Water Landscape Ecology
NewsJul.01,2025
-
Stainless Well Pump: A Reliable and Durable Pumping Main Force
NewsJul.01,2025
-
Stainless Steel Submersible Pump: An Efficient and Versatile Tool for Underwater Operations
NewsJul.01,2025
-
Deep Well Submersible Pump: An Efficient 'Sucker' of Groundwater Sources
NewsJul.01,2025
-
Deep Water Well Pump: An Efficient 'Sucker' of Groundwater Sources
NewsJul.01,2025
-
 Submersible Water Pump: The Efficient 'Power Pioneer' of the Underwater WorldIn the field of hydraulic equipment, the Submersible Water Pump has become the core equipment for underwater operations and water resource transportation due to its unique design and excellent performance.Detail
 -
 Submersible Pond Pump: The Hidden Guardian of Water Landscape EcologyIn courtyard landscapes, ecological ponds, and even small-scale water conservancy projects, there is a silent yet indispensable equipment - the Submersible Pond Pump.Detail
 -
 Stainless Well Pump: A Reliable and Durable Pumping Main ForceIn the field of water resource transportation, Stainless Well Pump has become the core equipment for various pumping scenarios with its excellent performance and reliable quality.Detail
