Oct . 21, 2024 16:33 Back to list
Steps to Successfully Replace a Submersible Well Pump in Your Home or Property
How to Replace a Submersible Well Pump
Replacing a submersible well pump can be a daunting task, but it can also be quite manageable with the right tools, knowledge, and precautions. Well pumps are essential components for drawing water from underground reservoirs, and over time, they may wear out, leading to reduced water flow or even complete failure. In this guide, we’ll take you through the essential steps to replace a submersible well pump effectively.
Step 1 Safety First
Before beginning the replacement process, ensure your safety as well as that of others around you. Turn off the power to the well pump by switching off the circuit breaker in your home. Water and electricity do not mix, and working with electrical components can be hazardous. It’s also advisable to wear rubber gloves and goggles to protect yourself from any debris or water that may be present.
Step 2 Identify the Problem
Before replacing the pump, confirm that the pump is indeed the issue. Common signs of pump failure include low water pressure, strange noises, or the pump not turning on at all. If you have access to a multi-meter, you can check for proper voltage at the well. If the voltage is present but the pump isn’t functioning, it’s likely that a replacement is necessary.
Step 3 Gather Necessary Tools and Materials
Once you’ve confirmed that a pump replacement is necessary, gather the required tools. You will need
- A deep well pump puller or a hoist (for larger pumps) - Wrenches and pliers - A flashlight or headlamp (for visibility) - A new submersible well pump (ensure it’s the right size and capacity for your well) - Teflon tape for sealing connections - PVC pipes and fittings (if replacement is needed)
Step 4 Remove the Old Pump
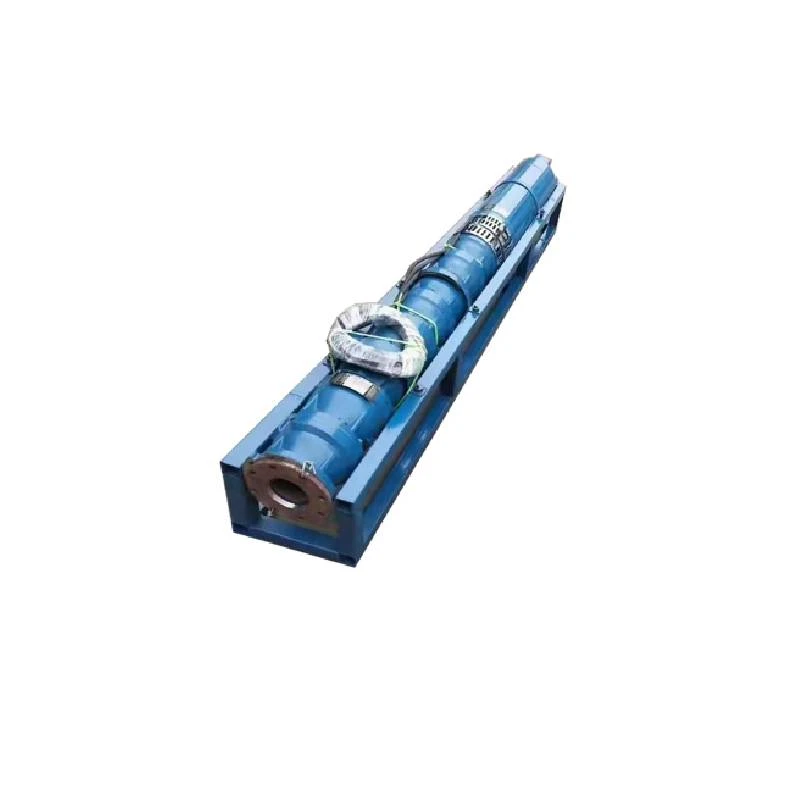
how to replace submersible well pump

To remove the old pump, first, disconnect the power supply again and shut off the water supply. Locate the well casing and remove the access cap to expose the pump. Carefully unclamp and disconnect any wiring, which may include a submersible pump cable and other electrical components. Using the puller or hoist, gently pull the old pump out of the well. Be cautious, as it may be heavy and could require assistance depending on the pump’s depth and weight.
Step 5 Install the New Pump
Once the old pump is out, it’s time to install the new one. Before lowering the new pump into the well, ensure that the well casing is clean and free from debris that could interfere with installation. Attach the pump to the existing piping using Teflon tape to ensure a watertight seal. Secure the electrical connections properly, making sure to follow the manufacturer’s wiring diagram for safety.
Step 6 Lower the Pump
Using the hoist or puller, carefully lower the new submersible pump into the well casing. Ensure it is positioned properly and that there are no kinks in the piping. Once the pump is in place, reattach the well access cap.
Step 7 Restore Power and Check Operation
With the new pump installed, it’s time to restore power. Turn on the circuit breaker and check if the pump operates properly. Allow the pump to run for a few minutes to ensure that water is flowing adequately and that there are no leaks at the joints.
Conclusion
Replacing a submersible well pump may seem intimidating, but by following these steps and exercising caution, you can successfully complete the task. Regular maintenance and monitoring of your well system can help extend the life of your pump, but when the time comes for a replacement, being informed and prepared is crucial. If at any point you feel uncomfortable, don’t hesitate to consult with a professional for assistance. Remember, safety is paramount.
-
Submersible Water Pump: The Efficient 'Power Pioneer' of the Underwater World
NewsJul.01,2025
-
Submersible Pond Pump: The Hidden Guardian of Water Landscape Ecology
NewsJul.01,2025
-
Stainless Well Pump: A Reliable and Durable Pumping Main Force
NewsJul.01,2025
-
Stainless Steel Submersible Pump: An Efficient and Versatile Tool for Underwater Operations
NewsJul.01,2025
-
Deep Well Submersible Pump: An Efficient 'Sucker' of Groundwater Sources
NewsJul.01,2025
-
Deep Water Well Pump: An Efficient 'Sucker' of Groundwater Sources
NewsJul.01,2025
-
 Submersible Water Pump: The Efficient 'Power Pioneer' of the Underwater WorldIn the field of hydraulic equipment, the Submersible Water Pump has become the core equipment for underwater operations and water resource transportation due to its unique design and excellent performance.Detail
 -
 Submersible Pond Pump: The Hidden Guardian of Water Landscape EcologyIn courtyard landscapes, ecological ponds, and even small-scale water conservancy projects, there is a silent yet indispensable equipment - the Submersible Pond Pump.Detail
 -
 Stainless Well Pump: A Reliable and Durable Pumping Main ForceIn the field of water resource transportation, Stainless Well Pump has become the core equipment for various pumping scenarios with its excellent performance and reliable quality.Detail
