Dec . 01, 2024 12:33 Back to list
how to replace submersible well pump
How to Replace a Submersible Well Pump
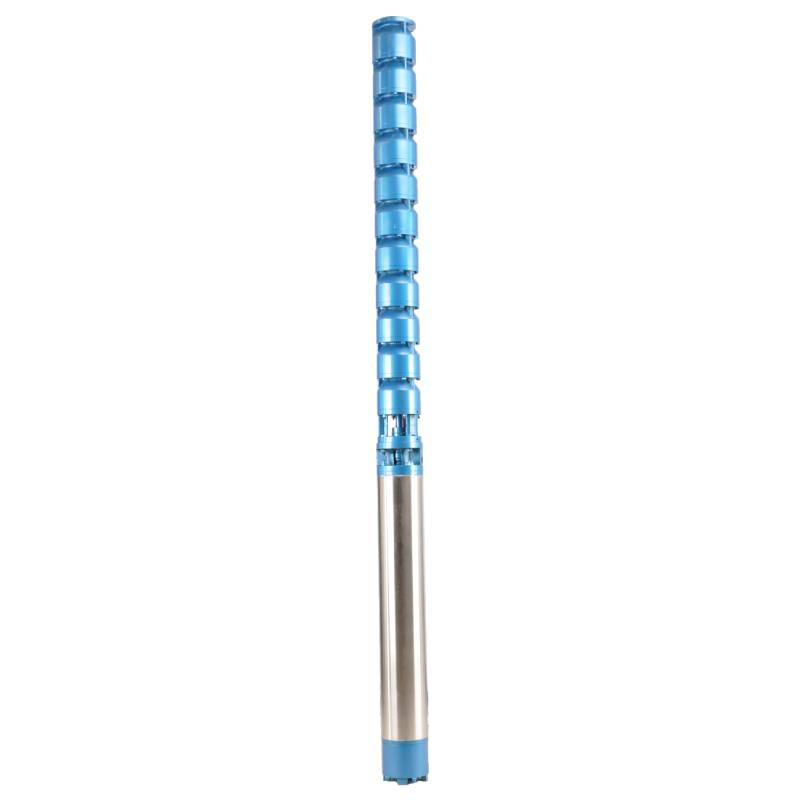
Replacing a submersible well pump can be a daunting task, but with the right preparation and knowledge, you can manage the process effectively. A submersible well pump is essential for drawing water from deep underground, and over time, wear and tear can cause it to malfunction. If you notice poor water pressure, unusual noises, or frequent cycling, it might be time to replace your pump. Here’s a step-by-step guide on how to do this safely and efficiently.
Tools and Materials Needed
Before beginning the replacement process, gather the necessary tools and materials. You will need
- A replacement submersible pump - Pipe wrenches - A screw driver set - A multimeter - A safety rope - Plumbing tape - PVC pipe and fittings (if necessary) - A bucket or container for water
Step 1 Assess the Situation
Before you begin, ensure that the pump is indeed the issue. Check your electrical supply and circuit breakers. Use a multimeter to test the voltage and make sure power is reaching the pump. If everything checks out on the electrical side, you can proceed with the pump replacement.
Step 2 Shut Off Power and Water Supply
Safety should always be your top priority. Locate the circuit breaker that controls the well pump and turn it off. It’s also essential to shut off the main water supply, ensuring that no water is running while you replace the pump.
Step 3 Remove the Pump
You will need to pull the pump out of the well. This is often achieved by locating the pitless adapter, which connects the pump to the above-ground plumbing.
1. Disconnect the Electrical Wires Make note of which colored wires connect where, and then disconnect the electrical supply to the pump. 2. Detach the Pipes Use pipe wrenches to loosen and remove the piping connected to the pump. Be prepared for a small amount of water to spill when disconnecting these pipes.
how to replace submersible well pump

3. Pull Up the Pump Using a safety rope, carefully pull the pump out of the well. If it’s stuck, you may need to wiggle it gently or consult a professional if it resists too much.
Step 4 Prepare for the New Pump
Before inserting the new pump, inspect the well for any debris, such as sand or sediment, that might have accumulated. Clean the well if necessary, as this will help prolong the life of your new pump.
Step 5 Install the New Pump
1. Connect the Electrical Wires Reconnect the electrical wires to the new pump, matching the colors to ensure proper connectivity. 2. Attach the Pipes Use plumbing tape to ensure a watertight seal when reattaching the pipes to the new pump. Tighten them securely using your pipe wrenches.
3. Lower the Pump into the Well Carefully lower the new pump into the well, making sure that it is properly oriented and secured.
Step 6 Restore Power and Water Supply
With the new pump installed and secured, turn the main water supply back on, followed by the power supply to the pump.
Step 7 Test the New Pump
After everything is reconnected, test the new pump by turning it on. Check for proper water flow, pressure, and any unusual noises. If everything seems to be functioning correctly, secure any access points and clean up your work area.
Conclusion
Replacing a submersible well pump can seem challenging, but by following these steps, you can do it safely and efficiently. Always remember to prioritize safety and, if you feel uncertain at any stage, don’t hesitate to call professional help. With your new pump installed, you can enjoy a reliable source of water for years to come.
-
Submersible Water Pump: The Efficient 'Power Pioneer' of the Underwater World
NewsJul.01,2025
-
Submersible Pond Pump: The Hidden Guardian of Water Landscape Ecology
NewsJul.01,2025
-
Stainless Well Pump: A Reliable and Durable Pumping Main Force
NewsJul.01,2025
-
Stainless Steel Submersible Pump: An Efficient and Versatile Tool for Underwater Operations
NewsJul.01,2025
-
Deep Well Submersible Pump: An Efficient 'Sucker' of Groundwater Sources
NewsJul.01,2025
-
Deep Water Well Pump: An Efficient 'Sucker' of Groundwater Sources
NewsJul.01,2025
-
 Submersible Water Pump: The Efficient 'Power Pioneer' of the Underwater WorldIn the field of hydraulic equipment, the Submersible Water Pump has become the core equipment for underwater operations and water resource transportation due to its unique design and excellent performance.Detail
 -
 Submersible Pond Pump: The Hidden Guardian of Water Landscape EcologyIn courtyard landscapes, ecological ponds, and even small-scale water conservancy projects, there is a silent yet indispensable equipment - the Submersible Pond Pump.Detail
 -
 Stainless Well Pump: A Reliable and Durable Pumping Main ForceIn the field of water resource transportation, Stainless Well Pump has become the core equipment for various pumping scenarios with its excellent performance and reliable quality.Detail
