Sep . 02, 2024 19:40 Back to list
Complete Guide to Installing Submersible Pumps
Installing a Submersible Pump A Step-by-Step Guide
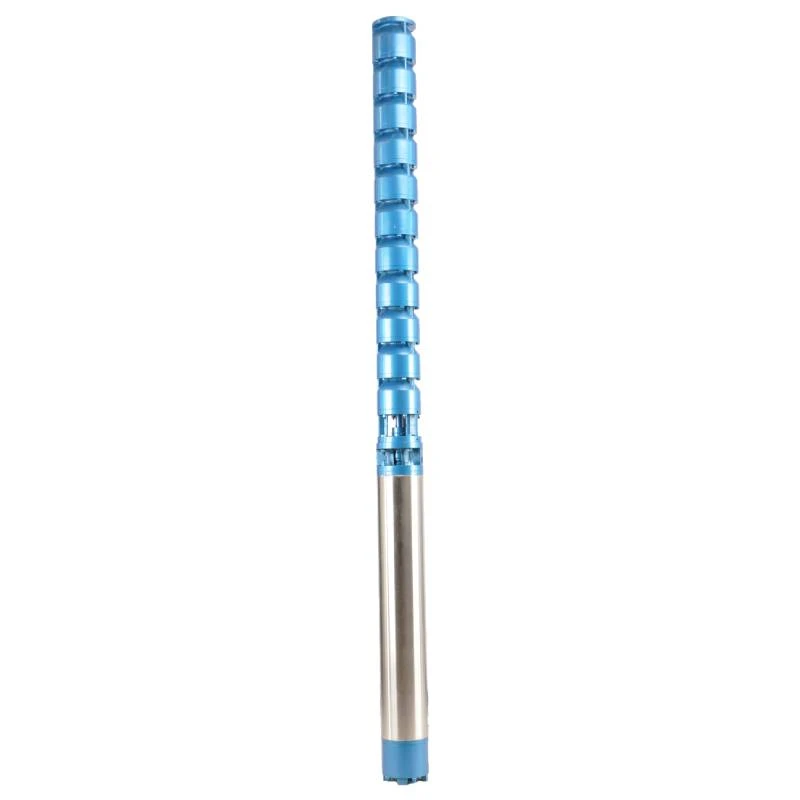
Submersible pumps are essential devices used to move water from deep below the surface, making them an ideal choice for applications like well pumping, dewatering, and irrigation. Installing a submersible pump might seem daunting, but by following a structured approach, you can successfully complete the task. This article aims to guide you through the installation process, ensuring optimal performance and longevity of your pump.
1. Gather Necessary Equipment and Tools
Before you begin, make sure you have all the necessary tools and equipment. You will need
- A submersible pump - PVC or galvanized piping (appropriate for your setup) - Electrical wiring and conduit - A power source or control panel - A well casing or pit (if applicable) - A rope or cable to lower the pump - A wrench, pipe sealant, and other standard tools
2. Determine the Pump’s Depth and Location
The first step in installation is to identify the exact depth at which the pump will be submerged. This is typically determined based on the water table, which can fluctuate due to seasonal changes. Carefully measure and mark the location, ensuring the pump will be submerged adequately to avoid running dry.
3. Prepare the Pump and Equipment
Once you have identified the installation depth, assemble the pump according to the manufacturer’s instructions. Attach the discharge head to the pump and ensure all connections are secure. Use appropriate sealants to avoid leaks, and attach the necessary piping to facilitate water movement to the surface.
4. Lower the Pump into the Well
Attach a sturdy rope or cable to the pump and slowly lower it into the well or pit. Ensure that the pump remains vertical during this process to prevent any damage. It's crucial to lower the pump carefully, as dropping it can impact performance and safety.
installing submersible pump

5. Connect the Power Supply
Once the pump is positioned, it’s time to connect the electrical power supply. Ensure that all electrical work complies with local codes. Use a control panel or switch appropriate for your pump’s specifications. It's advisable to hire a licensed electrician for this part if you're not experienced with electrical installations.
6. Secure the Discharge Piping
After connecting the power, secure the discharge piping above ground. Ensure it is properly supported to prevent stress on the pump and prevent any leaks. The discharge pipe should be directed away from the well to avoid flooding the area around it.
7. Test the System
Before you finish, it's essential to thoroughly test your installation. Turn on the power and monitor the pump's performance. Check for leaks in the piping and ensure that water is flowing smoothly. Adjust the settings on the control panel as needed for optimal operation.
8. Final Checks and Maintenance
Once you are satisfied with the installation, perform a final inspection of all connections and fittings. It is advisable to establish a routine maintenance schedule for your submersible pump to ensure its longevity and efficiency. Regular checks can prevent potential issues and extend the pump's lifespan.
Conclusion
Installing a submersible pump does not have to be a complicated task. By following these steps methodically, you can ensure a successful installation. Whether for residential use or agricultural needs, a properly installed submersible pump can provide reliable water delivery for years to come. Always refer to the manufacturer’s instructions throughout the process, and consult professionals whenever necessary to guarantee safety and effectiveness.
-
Submersible Water Pump: The Efficient 'Power Pioneer' of the Underwater World
NewsJul.01,2025
-
Submersible Pond Pump: The Hidden Guardian of Water Landscape Ecology
NewsJul.01,2025
-
Stainless Well Pump: A Reliable and Durable Pumping Main Force
NewsJul.01,2025
-
Stainless Steel Submersible Pump: An Efficient and Versatile Tool for Underwater Operations
NewsJul.01,2025
-
Deep Well Submersible Pump: An Efficient 'Sucker' of Groundwater Sources
NewsJul.01,2025
-
Deep Water Well Pump: An Efficient 'Sucker' of Groundwater Sources
NewsJul.01,2025
-
 Submersible Water Pump: The Efficient 'Power Pioneer' of the Underwater WorldIn the field of hydraulic equipment, the Submersible Water Pump has become the core equipment for underwater operations and water resource transportation due to its unique design and excellent performance.Detail
 -
 Submersible Pond Pump: The Hidden Guardian of Water Landscape EcologyIn courtyard landscapes, ecological ponds, and even small-scale water conservancy projects, there is a silent yet indispensable equipment - the Submersible Pond Pump.Detail
 -
 Stainless Well Pump: A Reliable and Durable Pumping Main ForceIn the field of water resource transportation, Stainless Well Pump has become the core equipment for various pumping scenarios with its excellent performance and reliable quality.Detail
