Nov . 30, 2024 09:42 Back to list
Guidelines for Setting Up a Submersible Pump in a Deep Water Well
Installing a Submersible Pump in a Deep Water Well
Installing a submersible pump in a deep water well can be a rewarding project, providing a reliable water source for various applications, including irrigation, residential use, and industrial processes. This article will guide you through the essential steps involved in the installation process, as well as some critical considerations to ensure a successful setup.
Understanding Submersible Pumps
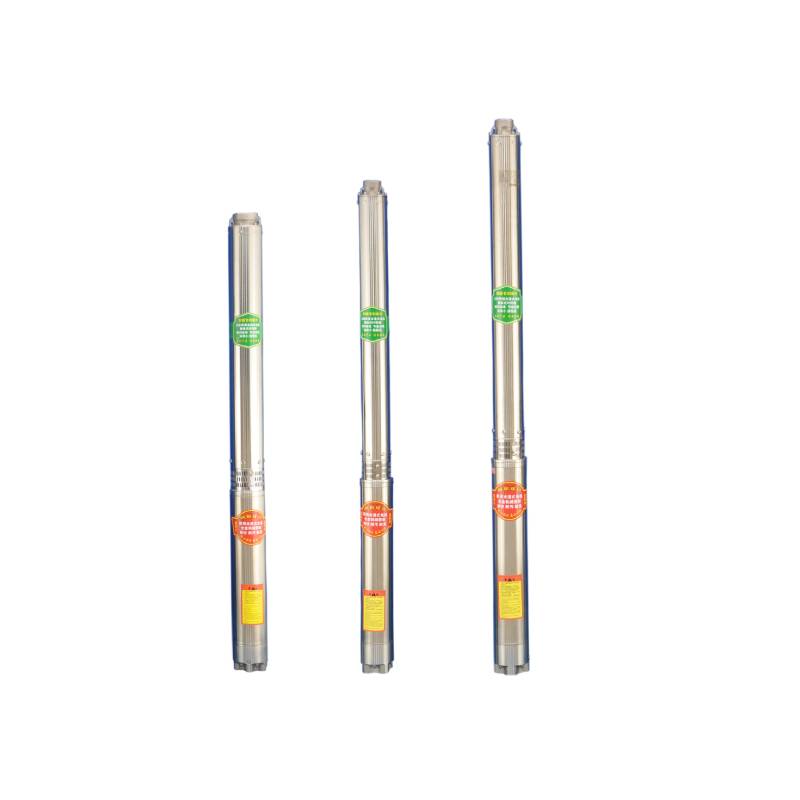
A submersible pump is designed to be submerged in water, utilizing an electric motor to drive the pump. These pumps are typically more efficient than traditional pumps, especially in deep wells, due to their ability to push water to the surface rather than pulling it up. They are encased in a protective housing, offering durability and reliability in harsh conditions.
Step 1 Gathering Materials and Tools
Before starting your installation, it's crucial to have all the necessary tools and materials. You'll need
- A submersible pump suited to your well depth and water needs. - A power source (preferably a generator or direct-line electricity). - PVC piping or poly tubing for water delivery. - Electrical wires and connectors. - Safety gear, including gloves and a hard hat. - A drill with extension bits (if needed). - A hoist or pulley system to help lower the pump into the well.
Step 2 Assessing Your Well
Before you begin installation, assess the well’s structure and depth. Measure the diameter of the well casing to ensure the pump can fit. Additionally, check for any obstructions in the well that may inhibit the pump's placement. It is also advisable to determine the static water level and the total dynamic head to select an appropriately sized pump.
Step 3 Preparing the Pump
installing a submersible pump in a deep water well

Begin by configuring the submersible pump according to the manufacturer’s instructions. This often includes attaching the discharge head to the pump and connecting the necessary piping. Ensure all connections are tight and secure to prevent leaks once the pump is submerged.
Next, connect the electrical wiring as per the pump’s specifications. This can involve wire splicing and securing connections with waterproof connectors. Always adhere to safety guidelines and local electrical codes.
Step 4 Lowering the Pump into the Well
With the pump prepared, it’s time to lower it into the well. Use a hoist or pulley system to gently lower the pump, taking care not to damage the casing or the pump itself. Lower it to the designated depth based on your earlier measurements, ensuring the pump is at or just above the static water level.
Step 5 Connecting the Power Source
Once the pump is securely at the desired depth, it’s time to connect it to the power source. If using a generator, ensure it’s placed securely and is operating smoothly. If connecting to a permanent electrical supply, double-check all wiring for safety and compliance with local regulations.
Step 6 Testing the System
After ensuring all connections are secure, it’s time to test the pump system. Start the pump and monitor its operation. Check for proper water flow and listen for any unusual noises that might indicate issues. If everything appears to be functioning correctly, allow the pump to run for several minutes to confirm stable operation.
Conclusion
Installing a submersible pump in a deep water well may seem daunting, but with the right preparation and systematic approach, it can be a straightforward process. Always prioritize safety and be mindful of local regulations regarding well installations and electrical systems. A well-installed submersible pump can provide years of reliable service, ensuring that you have a consistent water supply for your needs. Whether for agricultural irrigation, domestic use, or other applications, understanding the installation process will set you up for success.
-
Submersible Water Pump: The Efficient 'Power Pioneer' of the Underwater World
NewsJul.01,2025
-
Submersible Pond Pump: The Hidden Guardian of Water Landscape Ecology
NewsJul.01,2025
-
Stainless Well Pump: A Reliable and Durable Pumping Main Force
NewsJul.01,2025
-
Stainless Steel Submersible Pump: An Efficient and Versatile Tool for Underwater Operations
NewsJul.01,2025
-
Deep Well Submersible Pump: An Efficient 'Sucker' of Groundwater Sources
NewsJul.01,2025
-
Deep Water Well Pump: An Efficient 'Sucker' of Groundwater Sources
NewsJul.01,2025
-
 Submersible Water Pump: The Efficient 'Power Pioneer' of the Underwater WorldIn the field of hydraulic equipment, the Submersible Water Pump has become the core equipment for underwater operations and water resource transportation due to its unique design and excellent performance.Detail
 -
 Submersible Pond Pump: The Hidden Guardian of Water Landscape EcologyIn courtyard landscapes, ecological ponds, and even small-scale water conservancy projects, there is a silent yet indispensable equipment - the Submersible Pond Pump.Detail
 -
 Stainless Well Pump: A Reliable and Durable Pumping Main ForceIn the field of water resource transportation, Stainless Well Pump has become the core equipment for various pumping scenarios with its excellent performance and reliable quality.Detail
