Aug . 09, 2024 05:20 Back to list
Steps to Successfully Replace a Deep Well Submersible Pump for Optimal Performance
How to Replace a Deep Well Submersible Pump
Replacing a deep well submersible pump can seem daunting, but with the right tools, preparation, and guidance, it can be a manageable task. Whether you’re experiencing decreased water flow, strange noises, or complete failure, knowing how to properly replace your pump is crucial for ensuring your water supply is restored quickly and efficiently.
Understanding Your Submersible Pump
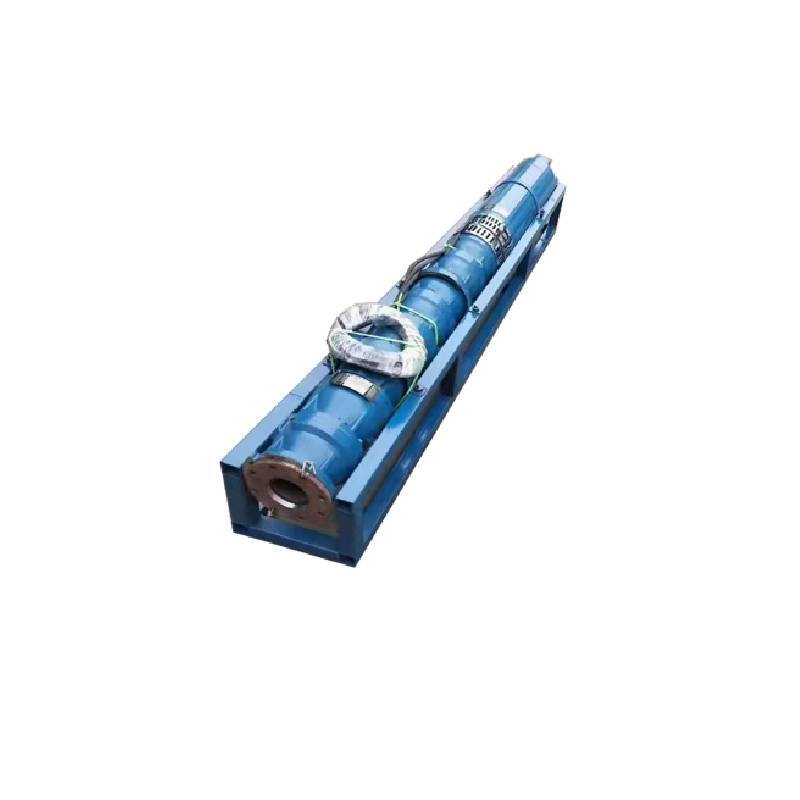
Before you start the replacement process, it’s essential to understand what a submersible pump does. These pumps are designed to be submerged underwater and typically consist of a motor and a pump assembly, allowing them to move groundwater from deep wells to the surface. They are widely used in residential, agricultural, and commercial applications.
Tools and Materials Needed
To replace your submersible pump, gather the following tools and materials - A new submersible pump - A wrench set - A PVC pipe cutter or saw - A bucket or container for any water that may spill - A safety harness or safety rope (for deep wells) - Teflon tape or plumber’s thread sealant - Electrical tape and connectors
Steps to Replace the Pump
1. Safety First Before starting, ensure that the power to the pump is turned off at the circuit breaker. Use a voltage tester to confirm that there is no electricity flowing to the pump. If your well is particularly deep, consider using a safety harness.
2. Remove the Old Pump Start by pulling the pump's drop pipe. This may require some muscle, as the pump can be heavy and is typically seated firmly. Use a wrench to disconnect the pump from the electrical wiring and plumbing. If your pump is attached with a submersible cable, gently detach it, making sure not to damage the wiring when removing it.
how to replace a deep well submersible pump

3. Inspect the Well Once the pump is out, take the opportunity to inspect the condition of the well. Look for any debris or damage inside the well casing, and clear out any obstructions that could affect the new pump's operation.
4. Prepare the New Pump Before lowering the new pump into the well, securely connect the electrical and plumbing components. Make sure to use Teflon tape on threaded connections to prevent leaks. If your new pump comes with a manual, follow any specific installation instructions provided by the manufacturer.
5. Install the New Pump Carefully lower the new pump into the well. Be cautious to avoid kinking or damaging the electrical cable. Once the pump is in place, reconnect the drop pipe and ensure that everything is securely fastened.
6. Reconnect Power After ensuring all connections are correct and secure, turn the power back on at the circuit breaker. Monitor the pump as it starts up to verify that it’s functioning properly. Listen for any unusual noises and check for leaks.
7. Testing the System Once the pump is running, test the water flow by opening a faucet connected to the system. Check the pressure and quality of the water to confirm everything is operating efficiently. It may take a few moments for the water to clear if there was sediment buildup in the well.
8. Final Checks and Maintenance It's good practice to test the system over the next few days to ensure the pump continues to operate smoothly. Regular maintenance and monitoring will prolong the life of your new submersible pump.
Conclusion
Replacing a deep well submersible pump may seem overwhelming at first, but with the right preparation and approach, you can do it yourself. Always prioritize safety and, if you encounter any complexities beyond your skill level, don’t hesitate to consult a professional. Keeping your water supply system intact is vital, and knowing how to replace a pump can save you time and money in the long run.
-
Submersible Water Pump: The Efficient 'Power Pioneer' of the Underwater World
NewsJul.01,2025
-
Submersible Pond Pump: The Hidden Guardian of Water Landscape Ecology
NewsJul.01,2025
-
Stainless Well Pump: A Reliable and Durable Pumping Main Force
NewsJul.01,2025
-
Stainless Steel Submersible Pump: An Efficient and Versatile Tool for Underwater Operations
NewsJul.01,2025
-
Deep Well Submersible Pump: An Efficient 'Sucker' of Groundwater Sources
NewsJul.01,2025
-
Deep Water Well Pump: An Efficient 'Sucker' of Groundwater Sources
NewsJul.01,2025
-
 Submersible Water Pump: The Efficient 'Power Pioneer' of the Underwater WorldIn the field of hydraulic equipment, the Submersible Water Pump has become the core equipment for underwater operations and water resource transportation due to its unique design and excellent performance.Detail
 -
 Submersible Pond Pump: The Hidden Guardian of Water Landscape EcologyIn courtyard landscapes, ecological ponds, and even small-scale water conservancy projects, there is a silent yet indispensable equipment - the Submersible Pond Pump.Detail
 -
 Stainless Well Pump: A Reliable and Durable Pumping Main ForceIn the field of water resource transportation, Stainless Well Pump has become the core equipment for various pumping scenarios with its excellent performance and reliable quality.Detail
