Nov . 29, 2024 21:28 Back to list
water well submersible pump installation
Installing a Submersible Water Well Pump A Comprehensive Guide
Installing a submersible water well pump can seem like a daunting task, but with the right preparation and knowledge, it can be completed successfully. Submersible pumps are an efficient solution for drawing water from wells, especially in rural areas where water supply is critical. This guide will walk you through the essential steps and considerations for a successful installation.
Understanding Submersible Pumps
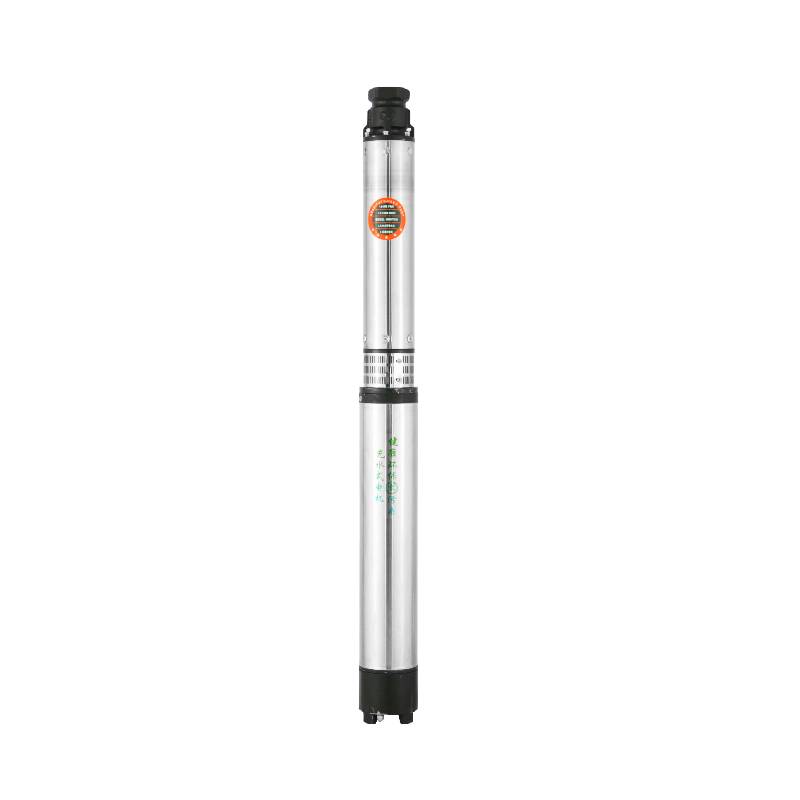
A submersible water well pump is designed to be submerged in water. Unlike traditional pumps that sit above ground, these pumps are placed deep inside the well, allowing them to push water up to the surface. The submerged design helps to reduce noise and provides better efficiency at deeper water levels.
Key Considerations Before Installation
1. Water Well Inspection Before beginning the installation, inspect your well. Check for obstructions, assess the well depth, and measure the water level when it’s full. Have a professional evaluate the well structure if you are unsure.
2. Pump Selection Choose a pump that matches your well's depth and the required water output. Pumps are rated by the volume of water they can deliver and the depth they can reach. Ensure that the horsepower, flow rate, and head pressure meet your needs.
3. Accessories and Tools Gather all necessary tools and materials for the installation, which may include a wrench set, pliers, Teflon tape, a bucket, a rope, and a power source. Most pumps also come with installation guides that outline specific requirements for your model.
Step-by-Step Installation Process
water well submersible pump installation

Step 1 Prepare the Wellhead Begin by clearing the area around the wellhead of any debris. If there’s an old pump, remove it carefully following the manufacturer's guidelines. Ensure that the well casing is clean and free of any contaminants.
Step 2 Assemble the Pump Follow the manufacturer’s instructions to assemble the pump. Attach the necessary fittings, ensuring that all connections are secure. Use Teflon tape on threaded connections to prevent leaks.
Step 3 Lower the Pump into the Well Once assembled, gently lower the submersible pump into the well using a strong rope or appropriately rated cable. Be careful to avoid twisting or bending the pipe, which can cause damage. Lower the pump to the depth required, ensuring it is submerged at least a few feet below the water level.
Step 4 Secure the Pump After placing the pump in position, secure the power cable and discharge line. It's essential that these lines are anchored properly to prevent strain on the connections when the pump is activated. You can use clamps or brackets for added stability.
Step 5 Connect the Electrical Supply Before making electrical connections, ensure that the power supply is turned off. Connect the pump to a dedicated circuit to handle the pump's load. It’s advisable to use a professional electrician for complex electrical installations to ensure safety and compliance with local codes.
Step 6 Test the Pump After completing the installation, turn on the power supply and test the pump. Monitor the system for any unusual noises or vibrations, which could indicate issues. Allow the pump to operate for a few minutes to check for proper water flow.
Step 7 Final Checks Finally, make sure that all connections are secure and leak-free. Inspect the wellhead for any signs of water leakage, and ensure the area is clean and safe.
Conclusion
Installing a submersible water well pump is a significant yet rewarding undertaking that can provide a reliable water source for your property. While the installation process requires attention to detail, careful planning and adherence to safety protocols will ensure a successful outcome. If you encounter any issues or uncertainties, do not hesitate to consult with a professional. A properly installed submersible pump can offer years of efficient service, ensuring that you have access to clean water whenever you need it.
-
Submersible Water Pump: The Efficient 'Power Pioneer' of the Underwater World
NewsJul.01,2025
-
Submersible Pond Pump: The Hidden Guardian of Water Landscape Ecology
NewsJul.01,2025
-
Stainless Well Pump: A Reliable and Durable Pumping Main Force
NewsJul.01,2025
-
Stainless Steel Submersible Pump: An Efficient and Versatile Tool for Underwater Operations
NewsJul.01,2025
-
Deep Well Submersible Pump: An Efficient 'Sucker' of Groundwater Sources
NewsJul.01,2025
-
Deep Water Well Pump: An Efficient 'Sucker' of Groundwater Sources
NewsJul.01,2025
-
 Submersible Water Pump: The Efficient 'Power Pioneer' of the Underwater WorldIn the field of hydraulic equipment, the Submersible Water Pump has become the core equipment for underwater operations and water resource transportation due to its unique design and excellent performance.Detail
 -
 Submersible Pond Pump: The Hidden Guardian of Water Landscape EcologyIn courtyard landscapes, ecological ponds, and even small-scale water conservancy projects, there is a silent yet indispensable equipment - the Submersible Pond Pump.Detail
 -
 Stainless Well Pump: A Reliable and Durable Pumping Main ForceIn the field of water resource transportation, Stainless Well Pump has become the core equipment for various pumping scenarios with its excellent performance and reliable quality.Detail
