Oct . 16, 2024 08:51 Back to list
Guide to Installing a Submersible Pump for Optimal Performance and Efficiency
How to Set Up a Submersible Pump
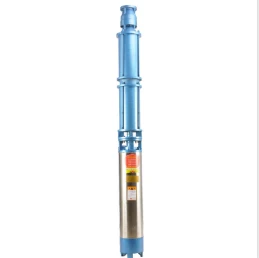
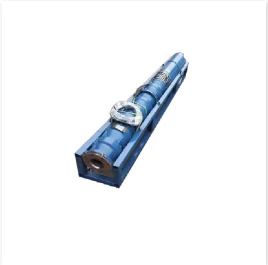
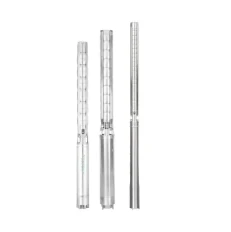
Setting up a submersible pump can seem intimidating, but with the right preparation and steps, it can be a straightforward process. Submersible pumps are commonly used for various applications, including draining water from basements, emptying ponds, or supplying water from wells. In this guide, we will walk you through the steps to effectively set up a submersible pump.
1. Gather Necessary Materials
Before beginning the installation, ensure that you have all the necessary materials. You will need
- Submersible pump - Power source (extension cord or dedicated circuit) - PVC piping or hoses (if required) - Check valve (to prevent backflow) - Discharge fittings - Hose clamps (if using hoses) - Tools for connection (screwdriver, wrench, etc.) - Cable ties or clamps for securing cables
2. Choose an Appropriate Location
The location is crucial for the efficient functioning of your submersible pump. It needs to be placed in a section of water that allows it to remain submerged at all times. If you’re using it in a well, ensure it is deep enough to avoid running dry, which can damage the pump. Conversely, if you are draining a pond or a flooded basement, place the pump in the lowest area to maximize water removal.
3. Inspect the Pump
Before starting the installation, inspect your submersible pump to ensure it is in good working condition. Check for any visible cracks, worn wires, or other damage. If anything seems amiss, do not attempt to use the pump and contact the manufacturer or a professional for assistance.
4. Connect the Pump to the Discharge Line
Once you have chosen the location, connect your submersible pump to the discharge line. Most submersible pumps come with threaded outlets or fittings. Ensure you use the appropriate size piping or hose for your pump’s output, as inadequate sizing can lead to reduced efficiency and potential overheating.
how to set up submersible pump

- If using PVC piping, use a primer and solvent cement to secure the connections. - If using a hose, attach it securely and use hose clamps to prevent leaks.
5. Position the Pump
Carefully lower the pump into the water. Ensure that it is completely submerged, but not resting on the bottom sediment, as this could block the intake screen. You may want to use a weight or a sandbag to hold the pump in position if necessary.
6. Setup the Power Source
Connect the pump to an appropriate power source. It's essential to use a GFCI (Ground Fault Circuit Interrupter) outlet for safety. If you are using an extension cord, ensure it is rated for outdoor use and adequately rated for the pump’s power load. Check that all connections are secure and waterproof.
7. Install a Check Valve
To prevent backflow and ensure optimal performance, install a check valve at the discharge line. This valve allows water to flow out while preventing it from flowing back into the pump when it is turned off.
8. Test the System
Once everything is set up, turn the pump on to test its functionality. Observe the water flow and check for leaks in all connections. If the pump operates smoothly and effectively pumps water, you've successfully set it up.
Conclusion
Setting up a submersible pump requires careful planning and execution, but by following these steps, you can ensure a successful installation. Always prioritize safety and proper maintenance to keep your pump in optimal condition for years to come. Whether for residential or agricultural use, a submersible pump can be a valuable asset in managing water efficiently.
-
Water Pumps: Solutions for Every Need
NewsJul.30,2025
-
Submersible Well Pumps: Reliable Water Solutions
NewsJul.30,2025
-
Stainless Steel Water Pumps: Quality and Durability
NewsJul.30,2025
-
Powerful Water Pumps: Your Solution for Efficient Water Management
NewsJul.30,2025
-
Oil vs Water Filled Submersible Pumps: Which is Better?
NewsJul.30,2025
-
Deep Well Pumps: Power and Reliability
NewsJul.30,2025
-
 Water Pumps: Solutions for Every NeedWhen it comes to handling dirty water, the dirty water pump is a must-have.Detail
 -
 Submersible Well Pumps: Reliable Water SolutionsWhen it comes to ensuring a reliable water supply, submersible well pumps are a top choice.Detail
 -
 Stainless Steel Water Pumps: Quality and DurabilityWhen it comes to choosing a water pump, the stainless steel water pump price is a crucial factor.Detail
