Sep . 29, 2024 03:48 Back to list
Steps for Successfully Replacing a Submersible Well Pump in Your Water System
How to Replace a Submersible Well Pump
Replacing a submersible well pump can seem like a daunting task, but with the right tools, knowledge, and preparation, you can efficiently handle the process. A well pump is integral to supplying water for your household, and understanding how to replace it will save you time and potentially expensive repair bills. This guide takes you through the essential steps for successfully replacing your submersible well pump.
Understanding Submersible Well Pumps
A submersible well pump is designed to be submerged in water and is commonly used to draw water from deep underground sources. Unlike jet pumps, which are installed above ground, submersible pumps are placed deep in the well. This design minimizes the risk of cavitation—where air bubbles form and lead to pump failure. However, like any mechanical device, submersible pumps will eventually wear out and need to be replaced.
Signs Your Pump Needs Replacement
Before you decide to replace your well pump, confirm if it truly needs replacement. Common signs include
- Reduced Flow Rate If the water flow from your faucets has significantly decreased, it may indicate pump wear. - No Water Output If your pump is running but no water is coming out, it might have burnt out. - Unusual Noises Grinding, whining, or rattling sounds coming from the pump could signify mechanical issues. - Increased Energy Bills If your electricity costs have skyrocketed and water usage hasn't changed, the pump might be working harder than necessary.
Tools and Materials You’ll Need
To replace your submersible well pump, gather the necessary tools and materials
- Wrench and pliers - A rope or chain (to pull the pump) - Buckets or a sump pump (for draining water) - PVC pipes and fittings (if needed for the new pump installation) - New submersible well pump - Electrical tape and connectors - Safety gear (gloves, goggles)
Step-by-Step Replacement Process
1. Turn Off Power
The first step in replacing your well pump is to shut off the power supply to the pump at the circuit breaker
. Ensure it’s completely turned off to avoid any risk of electric shock.how to replace a submersible well pump

2. Access the Pump
Locate the well casing. If your pump is in a pitless adapter, you’ll likely need to pull the pump from the well. Use a rope or chain to loop through the pump and pull it straight up. Be cautious, as the pump can be heavy and unwieldy.
3. Disconnect Tubing and Wires
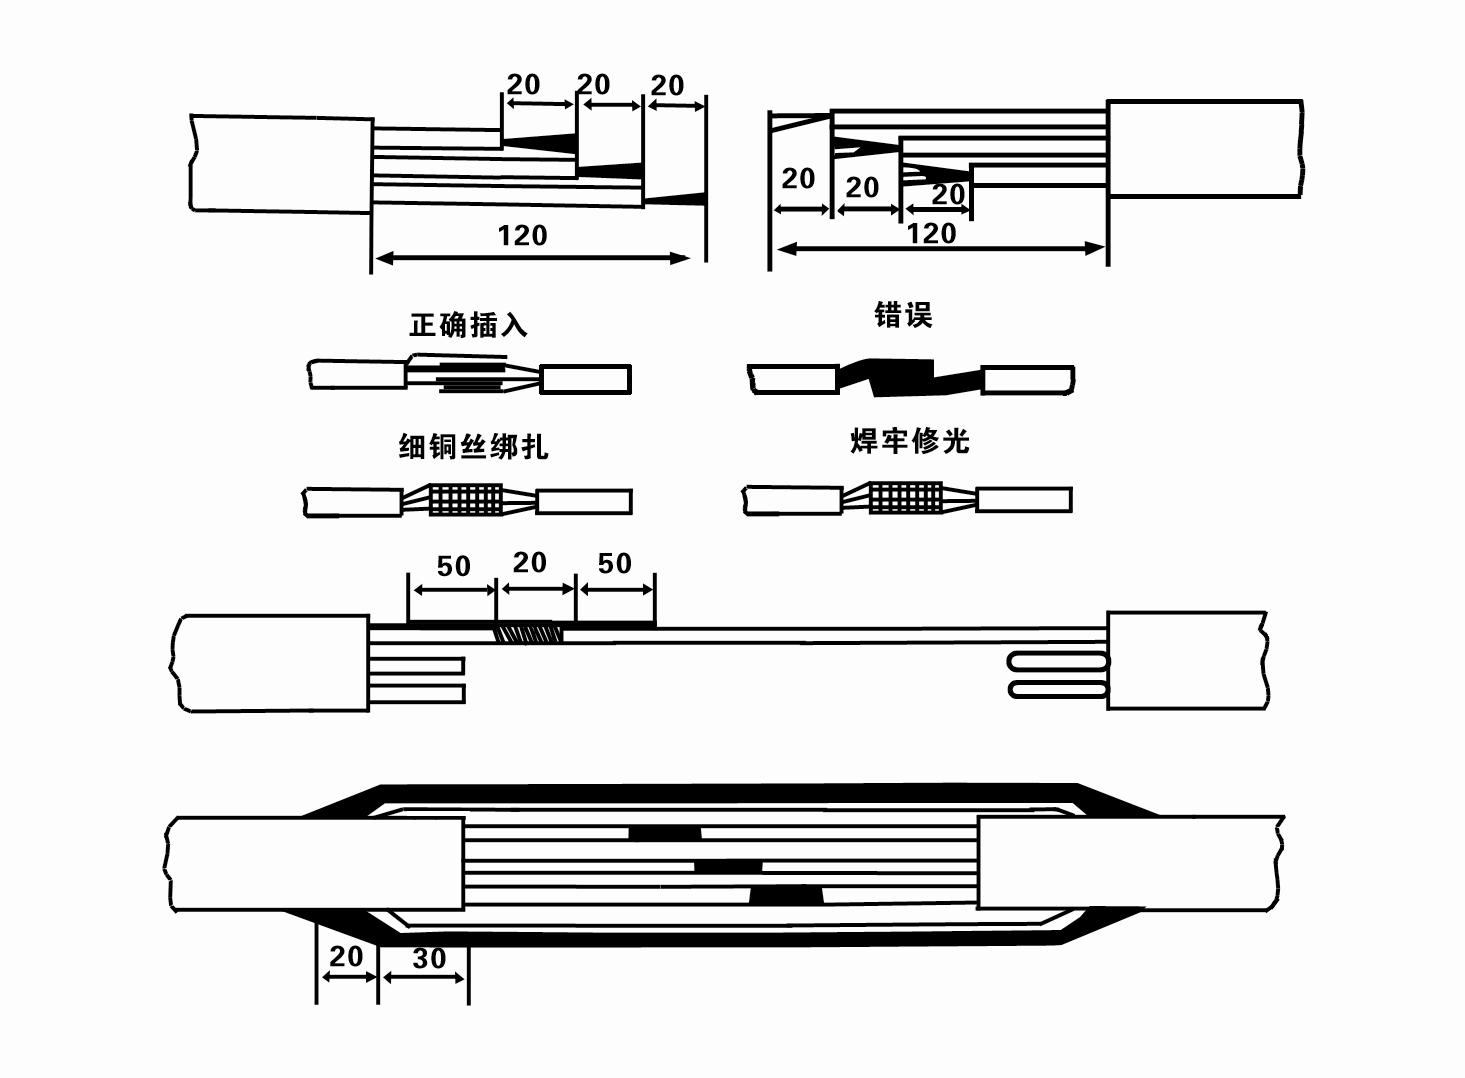
Once the pump has been removed from the well, disconnect the outlet piping and the electrical wiring. Take note of how everything is connected, as you'll need to replicate this setup with your new pump.
4. Install the New Pump
After removing the old pump, it’s time to install the new one. First, connect the pump to the outlet pipes and secure everything tightly. Then, attach the electrical wiring according to the manufacturer's instructions. It's important to seal all connections properly to prevent leaks.
5. Lower the Pump Back into the Well
Carefully lower the new pump back into the well. Ensure that the pump is placed at the correct depth and that your connections are not damaged during this process.
6. Restore Power and Test
After ensuring everything is secure, restore power to the pump. Turn on a faucet in your home to allow air to escape from the system. Monitor the system for a few minutes, checking for leaks and ensuring that the water flow is back to normal.
Conclusion
Replacing a submersible well pump can be a straightforward task if you follow the right steps. Remember to prioritize safety and take your time during the process. If at any point you feel unsure, consider consulting a professional to help with the replacement. With the new pump installed, you can enjoy a reliable water supply once again!
-
Submersible Water Pump: The Efficient 'Power Pioneer' of the Underwater World
NewsJul.01,2025
-
Submersible Pond Pump: The Hidden Guardian of Water Landscape Ecology
NewsJul.01,2025
-
Stainless Well Pump: A Reliable and Durable Pumping Main Force
NewsJul.01,2025
-
Stainless Steel Submersible Pump: An Efficient and Versatile Tool for Underwater Operations
NewsJul.01,2025
-
Deep Well Submersible Pump: An Efficient 'Sucker' of Groundwater Sources
NewsJul.01,2025
-
Deep Water Well Pump: An Efficient 'Sucker' of Groundwater Sources
NewsJul.01,2025
-
 Submersible Water Pump: The Efficient 'Power Pioneer' of the Underwater WorldIn the field of hydraulic equipment, the Submersible Water Pump has become the core equipment for underwater operations and water resource transportation due to its unique design and excellent performance.Detail
 -
 Submersible Pond Pump: The Hidden Guardian of Water Landscape EcologyIn courtyard landscapes, ecological ponds, and even small-scale water conservancy projects, there is a silent yet indispensable equipment - the Submersible Pond Pump.Detail
 -
 Stainless Well Pump: A Reliable and Durable Pumping Main ForceIn the field of water resource transportation, Stainless Well Pump has become the core equipment for various pumping scenarios with its excellent performance and reliable quality.Detail
