dec . 29, 2024 06:59 Back to list
how to change submersible well pump
How to Change a Submersible Well Pump A Step-by-Step Guide
Replacing a submersible well pump can seem like a daunting task, especially for those who are not familiar with plumbing or well systems. However, with the right tools, preparation, and guidance, homeowners can successfully change their submersible well pump and restore their water supply. This article will outline the steps necessary to replace a submersible well pump, ensuring a smooth and efficient process.
Understanding the Submersible Well Pump
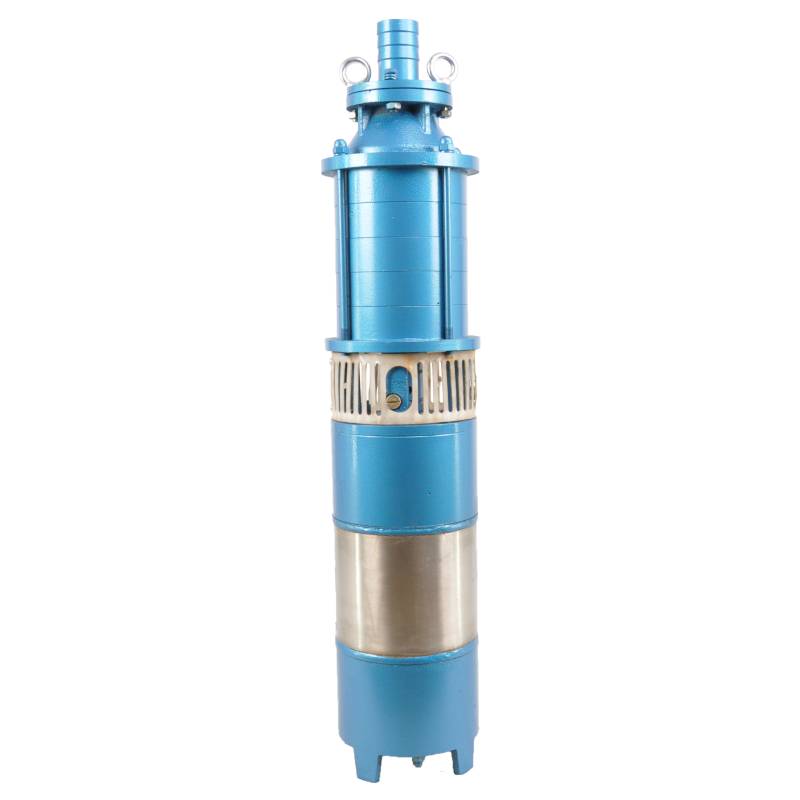
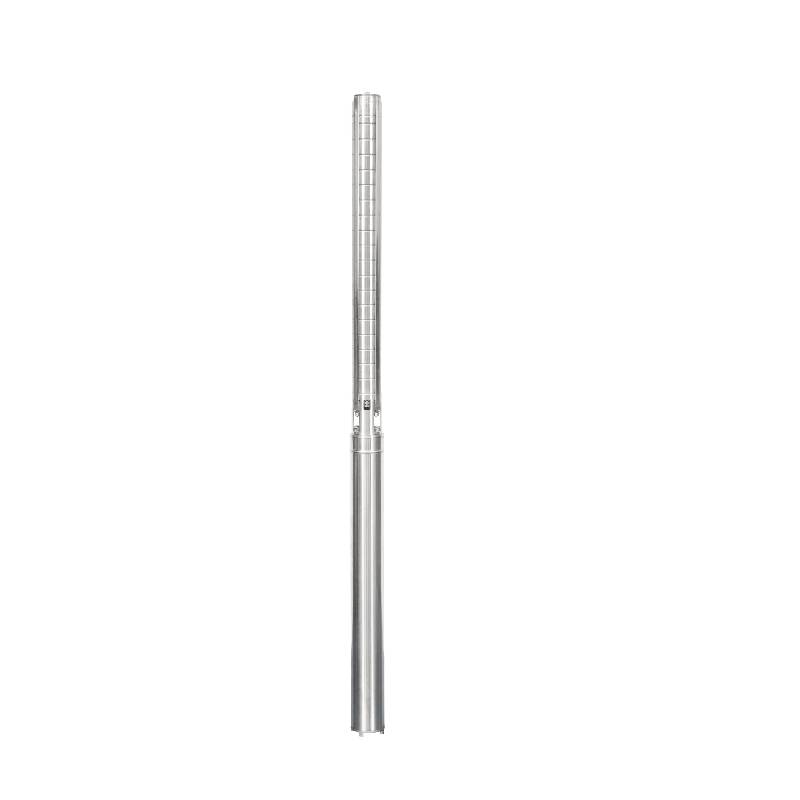
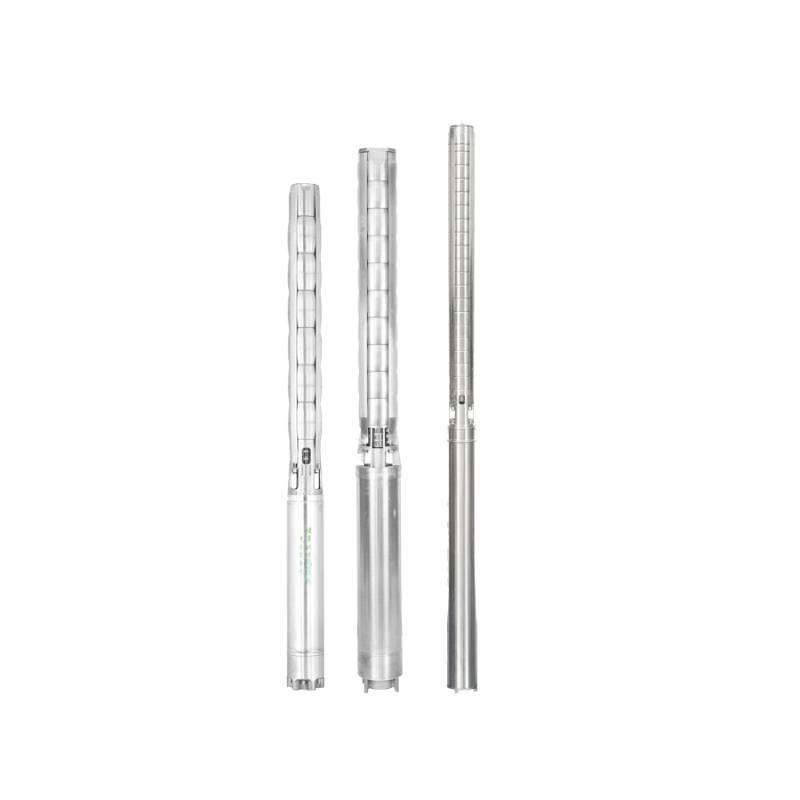
A submersible well pump is designed to be submerged in water, making it highly effective for drawing water from deep wells. These pumps are typically sealed and placed at the bottom of the well, utilizing a motor that pushes water to the surface. Over time, wear and tear can lead to pump failure, necessitating a replacement.
Tools and Supplies Needed
Before embarking on the pump replacement, gather the following tools and supplies
1. Wrench set 2. Pipe wrench 3. Screwdriver set 4. Electrical tape and wire connectors 5. Replacement submersible well pump 6. Rope or lifting device 7. Bucket or container for water safety 8. Safety gear (gloves, goggles)
Step-by-Step Guide
1. Turn Off the Power
The first and most crucial step is to turn off the power to the well pump. Locate the circuit breaker for the pump and switch it off to prevent any electrical hazards. It’s important to ensure that the pump is completely disconnected from the power source before proceeding.
2. Remove the Well Cap
Using a screwdriver, carefully remove the well cap to access the well casing. Depending on your well design, the cap might be secured with screws or bolts. Once the cap is off, make sure to clean the area to prevent dirt and debris from entering the well.
3
. Disconnect the Pumphow to change submersible well pump

Locate the wire connections leading to the submersible pump and carefully disconnect them. Label the wires with tape to ensure correct reconnection later. Then, use a pipe wrench to disconnect the water pipe. Be prepared for some water to flow out—having a bucket handy will help manage this.
4. Lift the Pump
Next, you’ll need to lift the pump out of the well. Attach a sturdy rope to the pump's discharge head. Be cautious as you pull the pump up, ensuring that the wire and pipe do not get twisted or snagged. If your pump is heavy or deeply submerged, consider using a lifting device to make the process easier.
5. Prepare the New Pump
Before installing the new pump, ensure that it is compatible with your well system. Check the specifications and make any necessary adjustments. It’s a good idea to connect the discharge pipe to the new pump and secure it with Teflon tape to prevent leaks.
6. Install the New Pump
Carefully lower the new pump into the well, ensuring that the wire and discharge pipe are aligned properly. Once it reaches the bottom, make sure it sits securely in place. Reconnect the electrical wires according to the labels from the old pump, ensuring all connections are tight and secure.
7. Replace the Well Cap
After ensuring everything is in place, replace the well cap, securing it with screws or bolts. Check for any tools or materials left in the area before closing it up.
8. Restore Power and Test
With everything reassembled, turn the circuit breaker back on and allow the new pump to operate for a few minutes. Check for leaks at the connections and listen for any unusual noises from the pump. If everything is functioning correctly, you have successfully replaced your submersible well pump!
Conclusion
Changing a submersible well pump can be a manageable task with the right preparation and tools. By following these steps, homeowners can ensure a successful replacement, restoring their water supply efficiently. Always consult with a professional if you are uncertain about any aspect of the change, as they can provide additional guidance and support. Proper maintenance and prompt replacement of faulty components are key to a well-functioning water system.
-
submersible-sump-pump-auto-drainage-for-crawlspaces
NewsAug.22,2025
-
solar-powered-stainless-steel-submersible-well-pump-setup
NewsAug.22,2025
-
stainless-steel-well-pump-flow-rate-optimization
NewsAug.22,2025
-
water-filled-submersible-pump-fish-farm-oxygenation
NewsAug.22,2025
-
submersible-pump-in-aquaculture-and-fish-farming
NewsAug.22,2025
-
deep-well-submersible-pump-for-drought-areas
NewsAug.22,2025
-
 submersible-sump-pump-auto-drainage-for-crawlspacesCrawlspaces, those narrow areas beneath homes, are prone to water accumulation due to leaks, groundwDetail
 -
 solar-powered-stainless-steel-submersible-well-pump-setupHarnessing solar energy to power stainless steel submersible well pumps is a sustainable and coDetail
 -
 stainless-steel-well-pump-flow-rate-optimizationIn various applications like agriculture, domestic water supply, and industrial use, the flow rate oDetail
