ก.ย. . 07, 2024 21:36 Back to list
Changing a Submersible Well Pump
Changing a Submersible Well Pump A Step-by-Step Guide
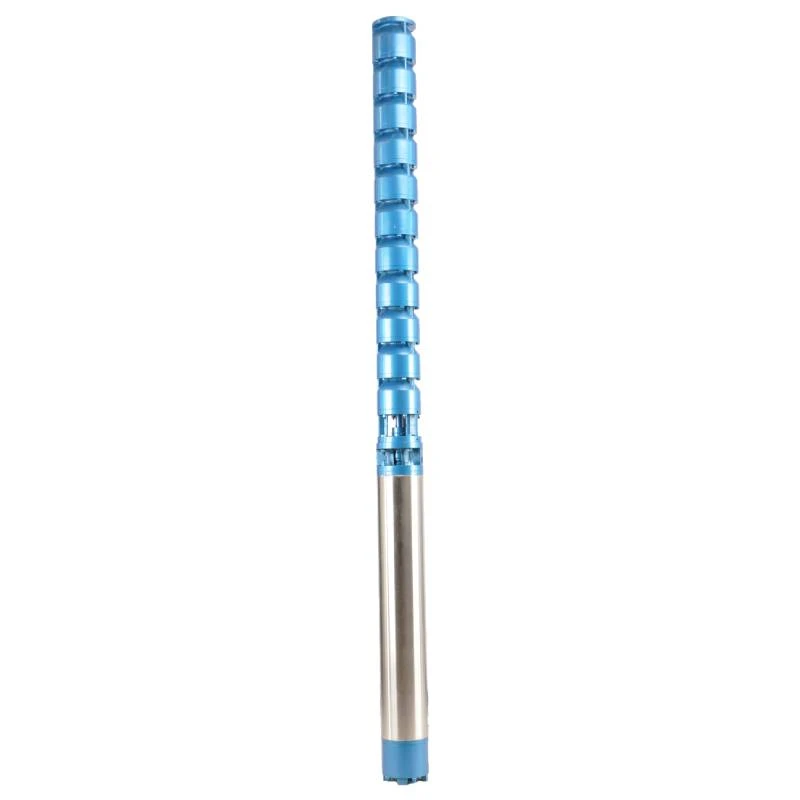
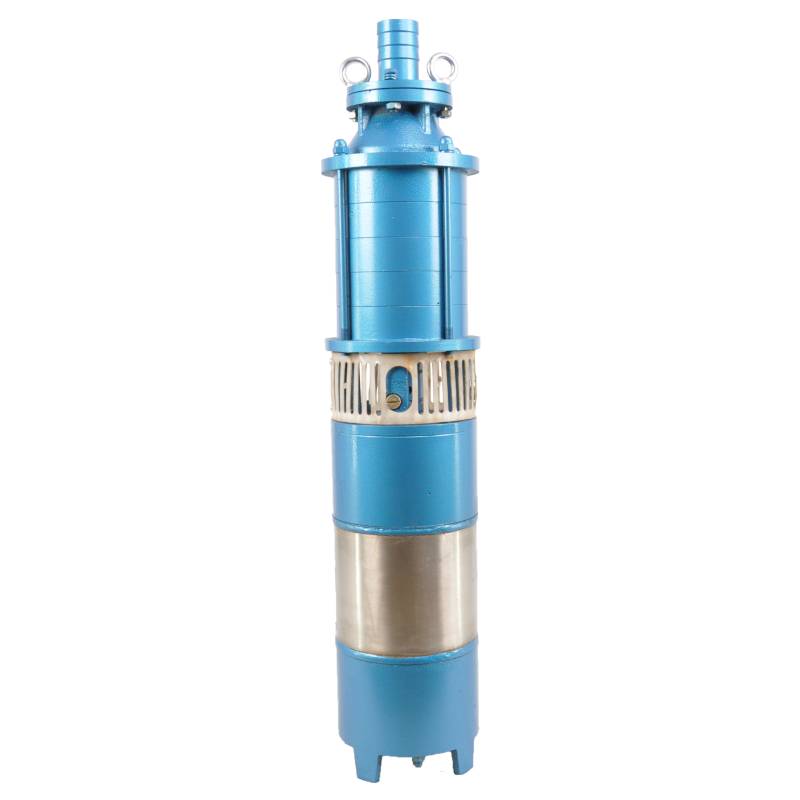
A submersible well pump is an essential component for accessing groundwater, making it critical for many homes and agricultural setups. Over time, these pumps can wear out or malfunction, leading to decreased water flow or complete failure. When that happens, knowing how to change a submersible well pump can save you time and money. Here’s a step-by-step guide to help you through the process.
1. Preparation and Safety Before starting, ensure you have the necessary tools a pipe wrench, adjustable wrenches, pliers, a shovel, and safety gear such as gloves and goggles. It’s vital to turn off the power supply to the pump at the circuit breaker to prevent any electrical accidents.
2. Removing the Pump The first step is to locate the well casing. Depending on the type of well, you may have a well cap or a protective housing that you’ll need to remove. Use a shovel to dig around the well casing if it is buried. Carefully remove any piping connections using a pipe wrench. Remember to label the wires and pipes as you remove them to facilitate reinstallation.
3. Lifting the Pump Once disconnected, it's time to lift the pump out of the well. You can use a hoist or a winch to prevent any physical strain. If the pump is heavy, it may require more than one person to lift it safely. Take care not to damage any components while handling, as they can be fragile.
changing a submersible well pump

4. Inspecting the Old Pump Before installing the new pump, inspect the old one. Look for signs of wear and tear, rust, or other damage. This inspection can provide insights into why the pump failed, helping you avoid similar issues with the new installation.
5. Installing the New Pump With the old unit removed, it’s time to install the new pump. Lower it into the well carefully, ensuring that the electrical wires and pipes are aligned correctly. Connect the piping and electrical components as previously labeled, ensuring all connections are secure to prevent leaks or electrical issues.
6. Testing the System Once everything is connected, turn the power back on at the circuit breaker. Test the pump to ensure it is functioning correctly. Check for any leaks around the connections and listen for unusual noises, which could indicate a problem.
7. Final Touches After confirming that the pump works properly, replace the well cap and bury any exposed pipe if necessary. Clean up the work area to ensure a safe and tidy environment.
Conclusion Changing a submersible well pump may seem daunting, but with the right preparation and knowledge, it can be a manageable DIY project. Always prioritize safety, and don’t hesitate to seek professional help if needed. A functioning well pump is crucial for ensuring a consistent water supply for your needs.
-
Submersible Sump Pump Auto-Drainage for Crawlspaces
NewsAug.22,2025
-
Solar-Powered Stainless Steel Submersible Well Pump Setup
NewsAug.22,2025
-
Stainless Steel Well Pump Flow Rate Optimization
NewsAug.22,2025
-
Water Filled Submersible Pump Fish Farm Oxygenation
NewsAug.22,2025
-
Submersible Pump in Aquaculture and Fish Farming
NewsAug.22,2025
-
Deep Well Submersible Pump for Drought Areas
NewsAug.22,2025
-
 Submersible Sump Pump Auto-Drainage for CrawlspacesCrawlspaces, those narrow areas beneath homes, are prone to water accumulation due to leaks, groundwDetail
 -
 Solar-Powered Stainless Steel Submersible Well Pump SetupHarnessing solar energy to power stainless steel submersible well pumps is a sustainable and coDetail
 -
 Stainless Steel Well Pump Flow Rate OptimizationIn various applications like agriculture, domestic water supply, and industrial use, the flow rate oDetail
