Nov . 26, 2024 21:47 Back to list
Guide to Installing a Submersible Pump for Deep Well Applications
How to Install a Submersible Deep Well Pump
Installing a submersible deep well pump can be a daunting task for those unfamiliar with plumbing and electrical work. However, with the right tools and knowledge, it can be a manageable project for homeowners. This article will provide a step-by-step guide to help you through the installation process of a submersible deep well pump.
Step 1 Gather Tools and Materials
Before embarking on the installation, ensure you have all the necessary tools and materials on hand. You'll need
- A submersible pump appropriate for your well depth - A well casing adapter - PVC pipe or other piping materials - A pump control box - Electrical wiring - A torque arrestor (if applicable) - Safety gear (gloves, goggles) - Wrenches and pliers - A bucket and rope (for retrieving the pump) - A level
Step 2 Prepare the Well Site
Start by ensuring the wellhead is clean and free from debris. This is crucial to prevent contamination of your water supply. It’s also a good idea to check the depth of the well and the distance between the water level and the top of the well to confirm the length of the pump you will need.
Step 3 Cut the Discharge Pipe
Using a saw, cut the discharge pipe to the appropriate length required to connect the pump to the surface plumbing. Ensure you leave enough length to reach comfortably above the water level, taking into consideration future maintenance needs.
Step 4 Assemble the Pump
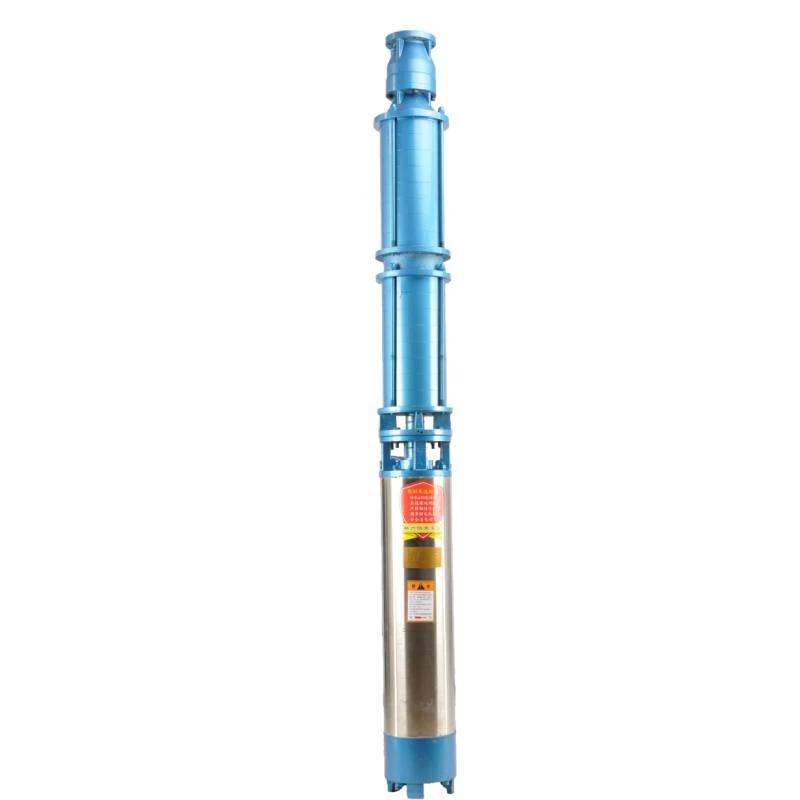
Carefully assemble the pump according to the manufacturer’s instructions. This often involves attaching the discharge pipe to the pump body and securing it tightly to prevent leaks. If your pump requires a torque arrestor, make sure to install it as well.
Step 5 Wiring the Pump
Next, it’s time to wire the pump. Follow the manufacturer’s guide closely to connect the pump to the electrical supply. Make sure the power is turned off at the circuit breaker before doing any electrical work. Employ proper techniques for making safe electrical connections. Utilize a control box if your pump requires one, ensuring all connections are secure and water-tight.
how to install a submersible deep well pump

Step 6 Lowering the Pump into the Well
Once the pump is assembled and wired, it’s time to lower it into the well. Lower the pump slowly and carefully using a rope or other suitable method to avoid damaging the wiring. Ensure that the pump is always submerged once it’s below the water level, as running it dry can result in significant damage.
Step 7 Secure the Pump
After successfully lowering the pump, secure the discharge pipe to the well casing using appropriate straps or brackets. This will help prevent the pump from shifting, which could affect its performance and longevity.
Step 8 Connect the Surface Equipment
Once the pump is secure in the well, connect the discharge pipe to your home’s plumbing system. This may involve attaching to an existing water line or connecting to a new pressure tank. Ensure that all connections are tight and leak-free.
Step 9 Test the System
With everything connected, it’s time to test the system. Turn the power back on and check for proper operation. Listen for any unusual noises and watch for leaks. Open any faucets connected to the pump to purge air from the system and check water flow.
Step 10 Final Checks
Finally, conduct a thorough inspection of the entire setup. Ensure that all connections are secure and that the pump is functioning as expected. If everything looks good, replace any well covers or protective barriers you may have removed during the installation process.
Conclusion
Installing a submersible deep well pump can be a straightforward project with the right preparation and care. Always prioritize safety, and don't hesitate to consult a professional if you find any part of the process overwhelming. A properly installed pump can provide years of reliable service for your water needs.
-
Troubleshooting for Water-Filled Submersible Pumps
NewsJun.04,2025
-
Troubleshooting for Floating Deep Well Submersible Pumps
NewsJun.04,2025
-
How to Choose SS Submersible Pump for Deep Well Applications
NewsJun.04,2025
-
Floating Deep Well Submersible Pump Cost: Factors Affecting Pricing
NewsJun.04,2025
-
Buying Guide for Deep Well Submersible Pumps
NewsJun.04,2025
-
Best Submersible Pumps for Agriculture and Irrigation
NewsJun.04,2025
-
 Troubleshooting for Water-Filled Submersible PumpsSubmersible pumps are essential for various applications, including irrigation, drainage, and water supply systems.Detail
 -
 Troubleshooting for Floating Deep Well Submersible PumpsWhen it comes to reliable water extraction solutions, the floating deep well submersible pumps stands out as a top choice for both residential and industrial applications.Detail
 -
 How to Choose SS Submersible Pump for Deep Well ApplicationsWhen it comes to deep well water extraction, selecting the right pump is crucial for efficiency, durability, and long-term performance.Detail
