Ноя . 27, 2024 00:34 Back to list
Steps for Installing a Submersible Pump in a Deep Water Well
Installing a Submersible Pump in a Deep Water Well
Installing a submersible pump in a deep water well is a critical task that enables efficient water extraction for various purposes, including domestic use, irrigation, and industrial applications. The process involves several steps, from planning and preparation to installation and testing. This guide aims to provide a comprehensive overview of the installation process, ensuring that users can effectively and safely set up a submersible pump.
Understanding Submersible Pumps
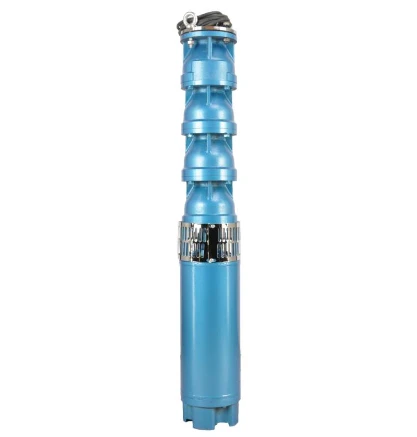
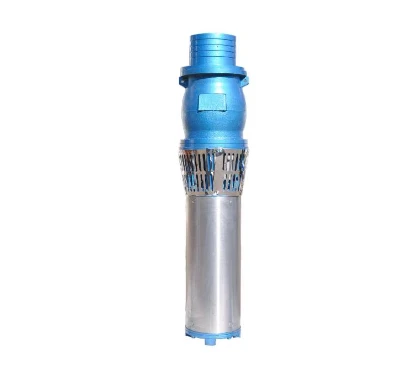
A submersible pump is designed to function while submerged in water. Unlike surface pumps that draw water from a well, submersible pumps push water to the surface. They are typically used in deep wells, where other pumping systems may not be effective. These pumps are durable, efficient, and capable of handling large volumes of water over extended periods.
Planning and Preparation
Before installing a submersible pump, proper planning is vital. First, determine the depth of the well and the water level. This information will help you select the appropriate pump size and type. Submersible pumps are rated by their flow rate (gallons per minute) and total dynamic head (TDH), which includes the depth of the well and any additional pressure needed to deliver water to its final destination.
Next, gather necessary materials and tools. You will typically need
- A submersible pump - Electrical cable - Well casing (if not already present) - Drop pipe (to connect the pump to the surface) - Check valve - Disconnect switch - Plumbing fittings - Rope or lifting equipment
Installing the Pump
Step 1 Prepare the Well
Clean the well casing to ensure it is free of debris or obstructions. If the well is not properly cased, it may need to be lined with PVC or steel casing to prevent collapse and contamination.
Step 2 Connect the Pump
Attach the pump to the drop pipe. Ensure that all connections are secure and watertight. It’s also advisable to install a check valve near the pump to prevent backflow, which can damage the pump and reduce efficiency.
installing a submersible pump in a deep water well

Step 3 Lower the Pump
Using a lifting mechanism or rope, carefully lower the pump into the well. Take care to lower the pump straight into the casing, avoiding twisting or bending the pipe. The pump should be positioned at an appropriate depth to ensure it remains submerged when the water level fluctuates.
Step 4 Make Electrical Connections
Run the electrical cable to the wellhead and connect it to the pump according to the manufacturer’s instructions. It’s essential to ensure that the wiring is done safely to prevent any electrical hazards. Use a disconnect switch for easy access in case of emergencies.
Step 5 Secure the Wellhead
Once the pump is in place and all connections are made, secure the wellhead. This will protect the pump and electrical connections from contamination and environmental damage. Seal any access points to prevent surface water from entering the well.
Testing the Installation
After everything is installed, it's time to test the system. Turn on the pump and check for any leaks in the piping and connections. Measure the flow rate and ensure that it meets your requirements. If the pump operates efficiently and the water delivery is consistent, the installation is likely successful.
Maintenance
Regular maintenance is essential to ensure the longevity and efficiency of the submersible pump. Periodically check the electrical connections, inspect the pump for wear, and clean any debris from around the well to maintain optimal water flow.
Conclusion
Installing a submersible pump in a deep water well can be a straightforward process if approached with careful planning and execution. By following the steps outlined in this article, you can effectively install and maintain a pumping system that meets your water needs for years to come. Always consult with professionals as necessary, particularly concerning electrical work and adherence to local regulations, to ensure a safe and successful installation.
-
Submersible Well Pumps Buying Guide
NewsMay.14,2025
-
Submersible Sump, Dirty Water, Borehole Pumps Demystified
NewsMay.14,2025
-
Stainless Steel Submersible Pumps Superior Performance
NewsMay.14,2025
-
High Flow Submersible Well Pumps Essential Features
NewsMay.14,2025
-
Choosing the Best Stainless Well Pump
NewsMay.14,2025
-
A Comparison of Submersible Pumps Filled with Water and Oil
NewsMay.14,2025
-
 Submersible Well Pumps Buying GuideReliable access to clean water is fundamental for residential, agricultural, and commercial operations, making the selection of an appropriate well pump system one of the most important infrastructure decisions.Detail
 -
 Submersible Sump, Dirty Water, Borehole Pumps DemystifiedThe world of water management has undergone a technological revolution, with advanced pumping systems now offering unprecedented efficiency and reliability across diverse applications.Detail
 -
 Stainless Steel Submersible Pumps Superior PerformanceModern water extraction and fluid handling systems demand equipment capable of withstanding harsh environments while maintaining peak efficiency.Detail
