Sep . 21, 2024 20:36 Back to list
how to wire submersible well pump
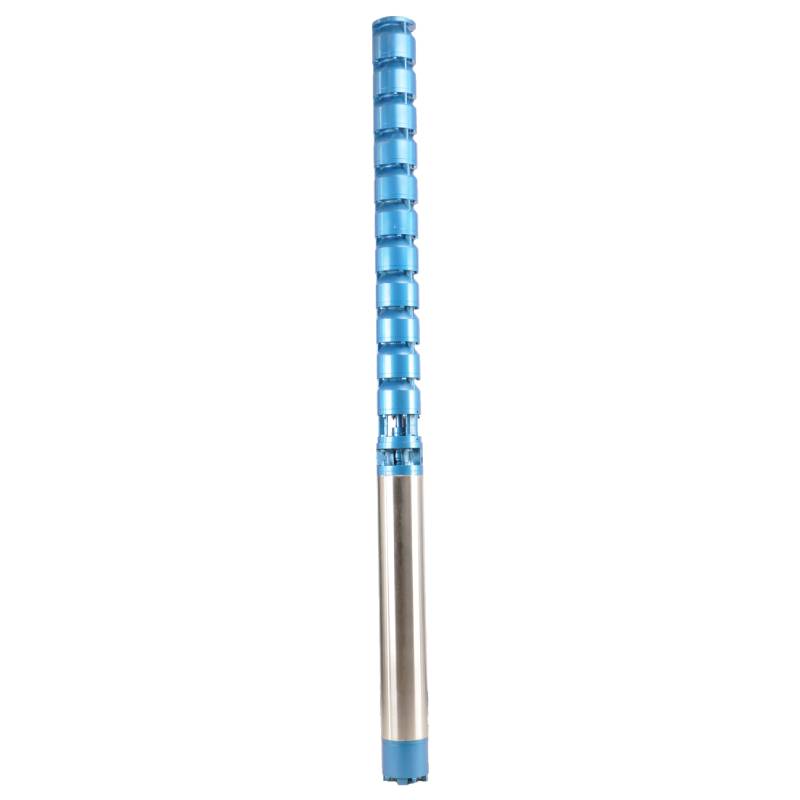
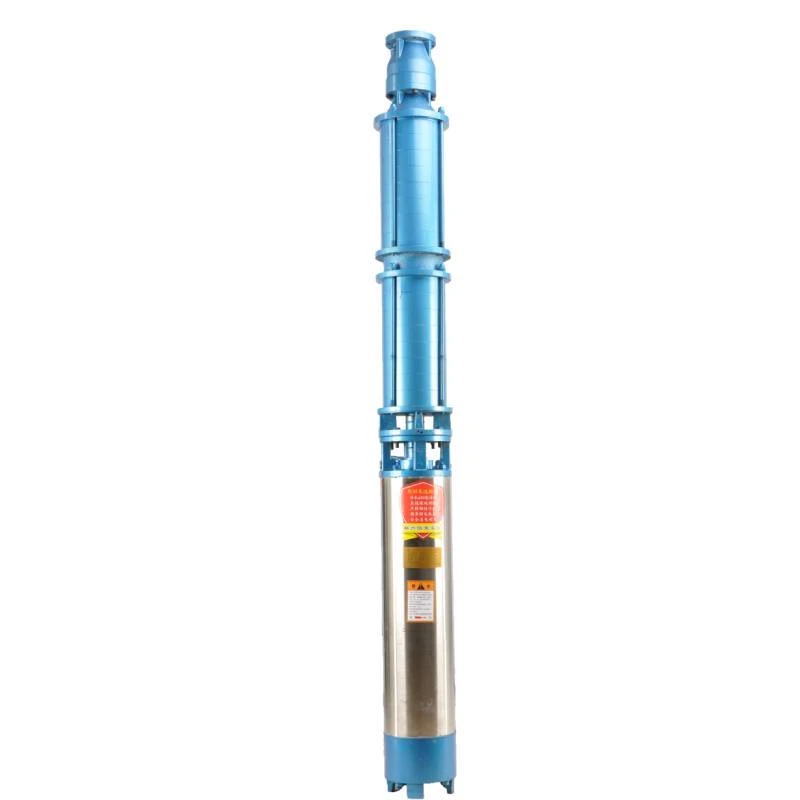
Wiring a submersible well pump can be a crucial task for homeowners looking to ensure a reliable and efficient water supply. A submersible pump is designed to be submerged underwater, and it operates by pushing water up to the surface. Proper wiring is essential for the functionality and safety of the pump. This guide will highlight the basic steps required to wire a submersible well pump effectively.
Tools and Materials Needed
Before beginning the wiring process, gather all necessary tools and materials. You will need
- Wire connectors - Electrical tape - A circuit breaker (sized appropriately for your pump) - Non-corrosive junction box - Proper gauge wire (generally 10-12 AWG for submersible pumps) - Wire stripper - Screwdriver
Step 1 Turn Off Power
Before you start any electrical work, safety should be your top priority. Ensure that the power supply to the pump circuit is turned off at the main breaker. This step will prevent any accidental electrical shock while handling wires.
Step 2 Select the Right Wire
Choose the correct gauge wire for your submersible pump. The size of the wire depends on the horsepower (HP) of the pump and the distance from the power source to the pump. A heavier gauge wire (lower AWG number) is required for longer distances to prevent voltage drop.
Step 3 Locate the Control Box
Most submersible pumps require a control box that regulates the electrical supply to the pump. Locate this control box, which is typically installed above ground. This box connects the power supply to your pump and is also where you will wire the incoming power.
how to wire submersible well pump

Step 4 Connect the Wires
Carefully remove the cover of the control box. You will find terminals for connecting wires. Usually, there are three main wires the hot wire (black), the neutral wire (white), and the ground wire (green or bare copper). Connect the hot wire from the power supply to the corresponding terminal in the control box. Do the same for the neutral and ground wires, ensuring secure connections.
It's essential to follow the manufacturer's wiring diagrams for your specific pump model, as configurations may vary.
Step 5 Install the Pump
Once the wiring in the control box is complete, it’s time to install the pump. Lower it slowly into the well, ensuring the power wires are securely attached to it. If you have a drop cable, ensure it is appropriately secured to prevent any strain on the wires when the pump is in operation.
Step 6 Test the System
After everything is connected, double-check your work. Make sure all connections are tight and insulated with electrical tape. Turn on the circuit breaker to power the system. Monitor the pump for proper operation and listen for any unusual sounds.
Conclusion
Wiring a submersible well pump requires careful attention to detail and adherence to safety protocols. If at any point you feel uncertain, it’s recommended to consult with a professional electrician. By following these steps, you can ensure your submersible pump is wired correctly, allowing you to enjoy a consistent water supply for your home. Proper setup will not only enhance the efficiency of the pump but also ensure longevity and reliability.
-
Deep Well Pump Installation Guide: Reliable Submersible Pumps
NewsAug.29,2025
-
125QJR Deep Well Submersible Pump - High Performance & Reliable Water Supply
NewsAug.28,2025
-
Water Filled Submersible Pump
NewsAug.26,2025
-
The Ultimate Solution for Clean
NewsAug.26,2025
-
SS Submersible Pump
NewsAug.26,2025
-
Reliable Water Extraction from Great Depths
NewsAug.26,2025
-
 Deep Well Pump Installation Guide: Reliable Submersible PumpsGet expert deep well pump installation for reliable, consistent water. Our durable submersible well water pumps are ideal for homes & farms. View our installation diagram & solutions.Detail
 -
 125QJR Deep Well Submersible Pump - High Performance & Reliable Water SupplyGet reliable, high-performance water with the 125QJR Deep Well Submersible Pump. Ideal for irrigation, agriculture, and industrial deep well applications. Experience efficient, continuous water supply. Shop now!Detail
 -
 Water Filled Submersible PumpA water filled submersible pump is engineered for optimal cooling, eco-friendliness, and high efficiency, especially in applications involving clean or slightly sandy water.Detail
